Banana Popsicles (Dairy-Free)
These Banana Popsicles are made with no dairy and are a delicious frozen treat! Both kids and adults love this budget-friendly dessert that tastes like a banana milkshake on a stick.
Learn to make these healthy popsicles that the entire family will love.
This recipe has just a few simple steps using ingredients you probably already have at home. It’s perfect for a hot summer day and for kids of all ages.
Did you know that one banana can give you 13% of your daily potassium requirement? Potassium is essential for regulating blood pressure, synthesizing protein, and ensuring effective muscle contraction.
Who would’ve thought that something so tasty could be so good for us too!
With this recipe, you’ll get a boost of potassium in a refreshing treat. It’s so rich and creamy; you wouldn’t even notice it’s healthy.
Banana Popsicle Benefits
- Freezing bananas makes sense because they become ripe so quickly! Making banana popsicles is an excellent way to use up frozen bananas (see my guide for how to freeze bananas for smoothies).
- Frozen Bananas with Chocolate are a decadent treat the whole family can enjoy! This recipe has no artificial sweeteners. Use chocolate or leave it off if you want a dessert with no added sugar.
- These popsicles keep in the freezer for up to three months so that you can have a ready-made snack waiting for you. Make enough of them! Once you’ve tried one, they’ll be hard to resist.
What You’ll Need to Make Banana Popsicles
Here is the equipment you’ll need to whip up a yummy batch of homemade banana popsicles.
1. Popsicle Molds
Most popsicle molds are inexpensive and will work with this recipe.
Since banana popsicles are ideal for kids, why not get a bunch of fun molds in different shapes? You’ll be spoilt for choice, from rocket ships, moons, and stars to animal shapes and cartoon characters!
The silicone popsicle molds are easier to use, but the traditional molds made of harder material make more popsicles at a time.
If you don’t have store-bought molds, you can always use whatever you have at home, such as muffin pans or disposable paper cups. Paper cups won’t give you fancy shapes, but they will work just fine.
2. Popsicle Sticks
Store-bought molds usually have built-in sticks, but if they don’t, or you’re using something else for a mold, you’ll have to use wooden popsicle sticks. They’re inexpensive, and if you don’t have any, you can use plastic spoons or sturdy wooden skewers.
To ensure the sticks stay put in the center of each popsicle, cover the molds with plastic wrap or aluminum foil and punch the sticks through into the liquid. The plastic or foil will keep them upright.
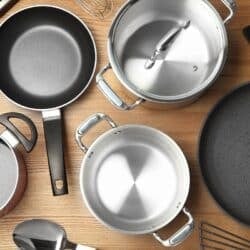
3. A Food Processor
You should use a food processor for the best results for this recipe. But if you don’t have one, a blender would work; just remember to scrape down the sides of the blender if the mixture sticks.
Banana Popsicle Ingredients
This recipe has three simple ingredients with the option to add chocolate to the popsicles. Besides the bananas, you can substitute all of them. There are also some fun variations you can try!
Bananas
Whole bananas ripen so quickly that I usually have some in the freezer. If you don’t, store-bought frozen bananas work just as well.
For home freezing, it’s important to note that the flavor will change depending on how ripe the bananas are when you freeze them. The riper the bananas are before freezing, the sweeter they will be in your popsicles.
Be sure to freeze your fresh bananas before making this recipe to shorten the freezing process.
Coconut Milk
For creamy banana popsicles, use full-fat coconut milk. If you want the popsicles even creamier, you can use coconut cream.
If you don’t like coconut, you could try any other plant milk. I’ve tried oat milk, almond milk, and cashew milk. Both worked, but I much preferred how the popsicles turned out with coconut milk.
Peanut Butter
The best peanut butter you can buy has one ingredient: peanuts! You don’t need any added salt or sugar to make peanut butter work in this recipe.
So, look for 100% plain peanut butter with nothing else added. If you or a family member is allergic to peanuts, you can use any nut butter you enjoy. Almond butter is a great option.
Chocolate
Use a high-quality chocolate bar or chocolate chips for the optional chocolate dip for your banana popsicles. If you are dairy-free or vegan, be sure to use a dairy-free option.
Additional or Alternate Flavor Options
Bananas go great paired with many different other delicious flavors. It makes it easy to experiment with various flavor profiles. You’ll never be bored with these banana popsicles with so many options!
Try these ideas:
- Cacao popsicles: Add one tablespoon of unsweetened cacao powder or cocoa powder. Chocolate lovers will love the deep, rich flavor, and the cacao has fantastic health benefits. Don’t have any on hand? See my list of the best substitutes for cocoa powder.
- Spicy banana popsicles: Cinnamon has powerful medicinal properties and is one of the most delicious spices. Cinnamon and bananas actually go really well together. Add a tablespoon of it to spice up your popsicles!
- Toasted coconut popsicles: If you love coconut, toast a tablespoon of unsweetened desiccated coconut and add it to the mix, it’s delicious!
- Peanuts: Double up on nutty flavor with two tablespoons of crushed, toasted peanuts in your mixture. If you’re using another type of nut butter, crush and toast some of the same nuts.
Recipe Steps
Here’s a summary the steps to make your homemade Banana Popsicles with an optional chocolate coating. You only need a handful of ingredients for this easy treat.
For the exact recipe and measurements, be sure to check the printable recipe card below.
Step One
Blend the frozen banana, coconut milk, and peanut butter.
Step Two
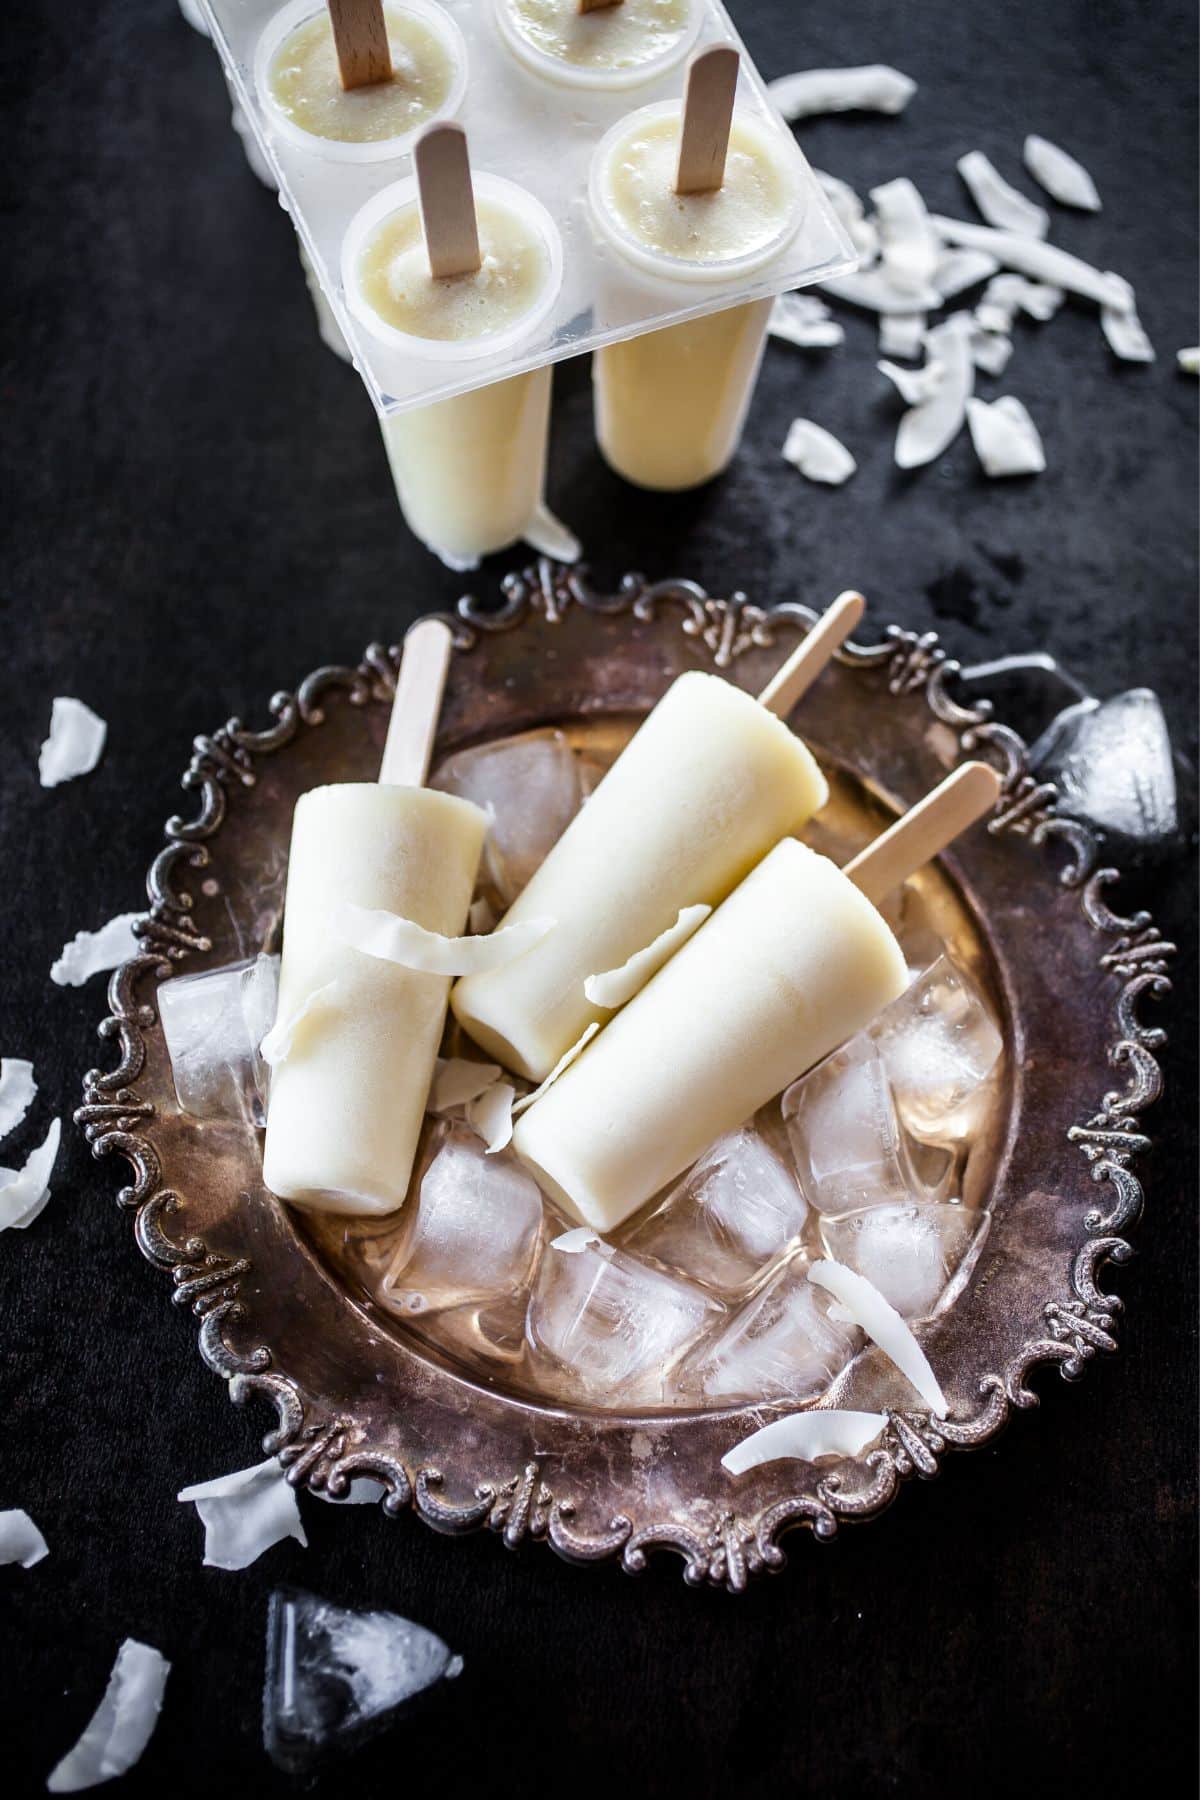
Freeze the mixture in your molds. You can tap the molds on a hard surface once you’ve filled them to get rid of any air bubbles.
Be sure to add wooden sticks or something to make a handle.
Step Three
Remove the popsicles from the molds. If they are difficult to remove, just run them under some warm water for a few seconds.
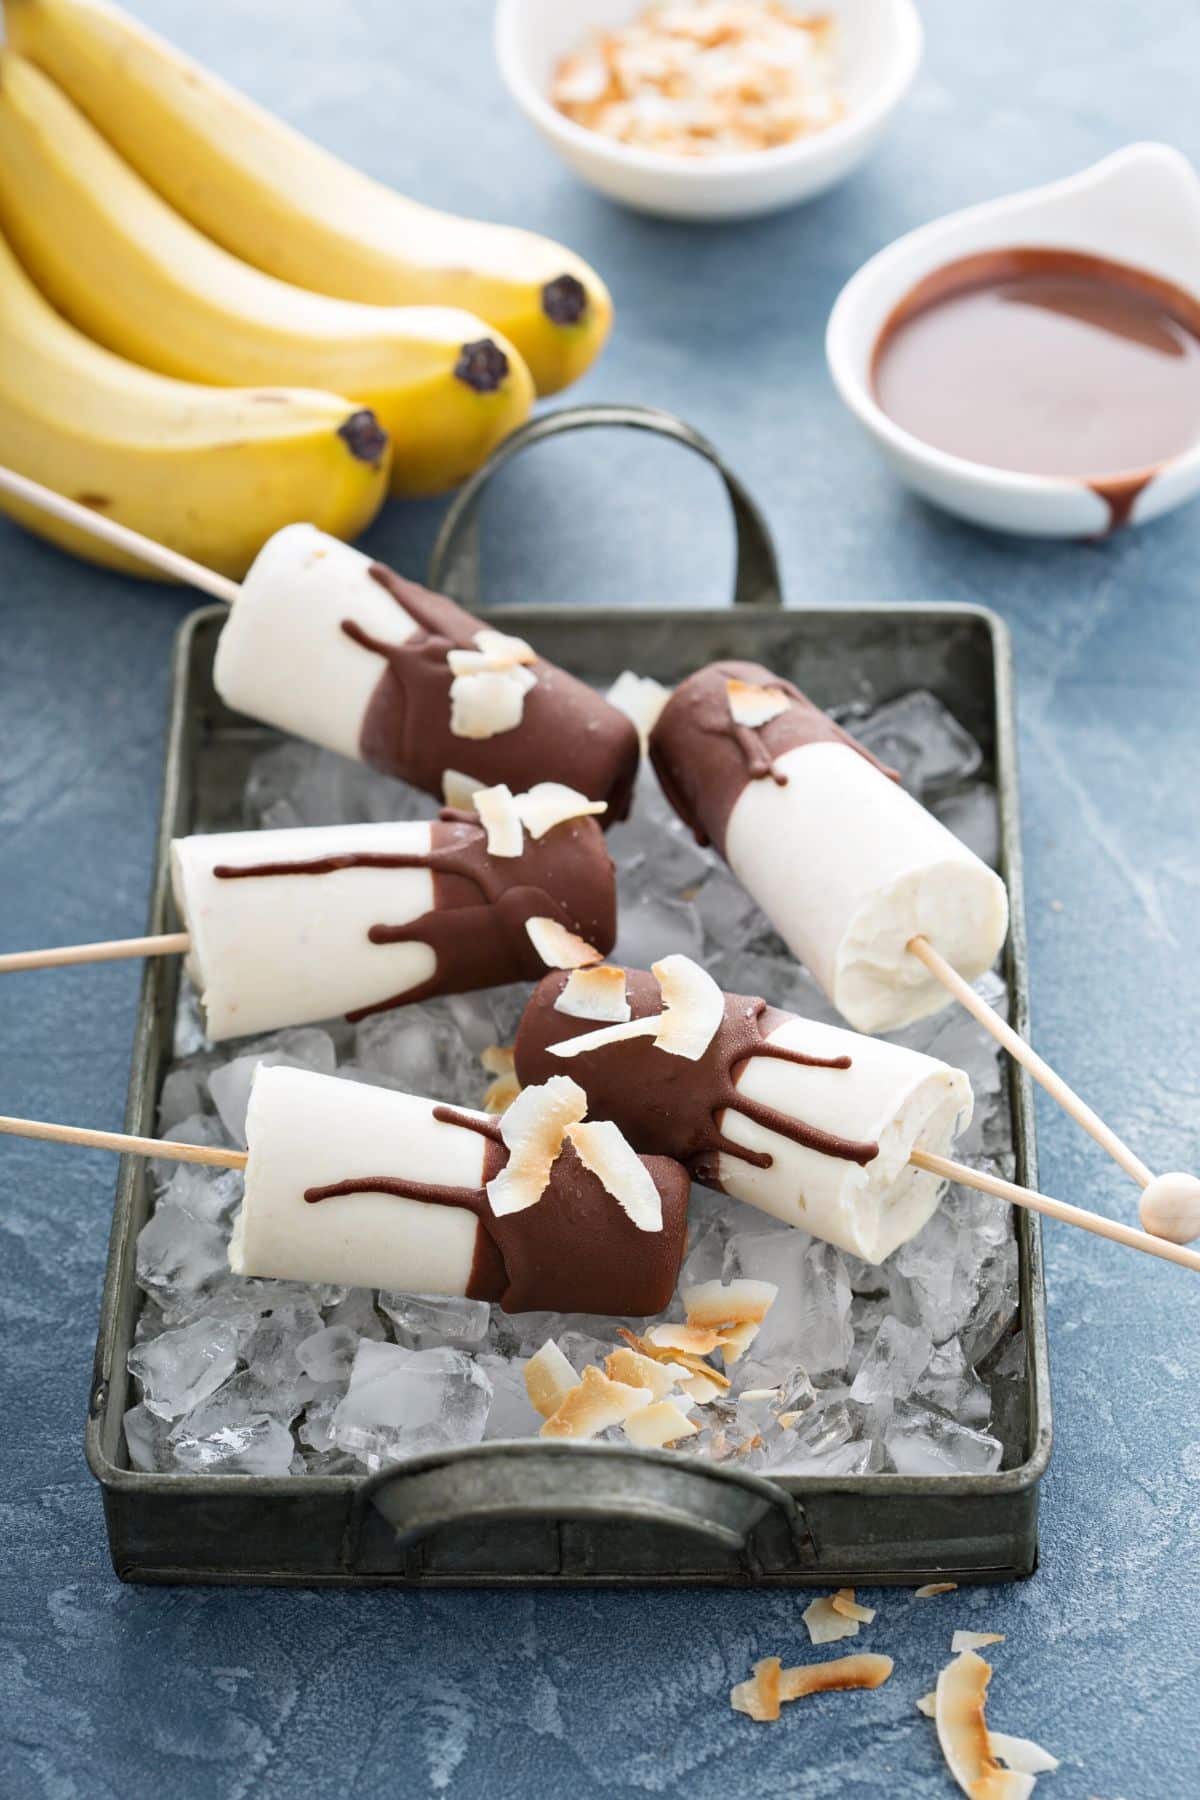
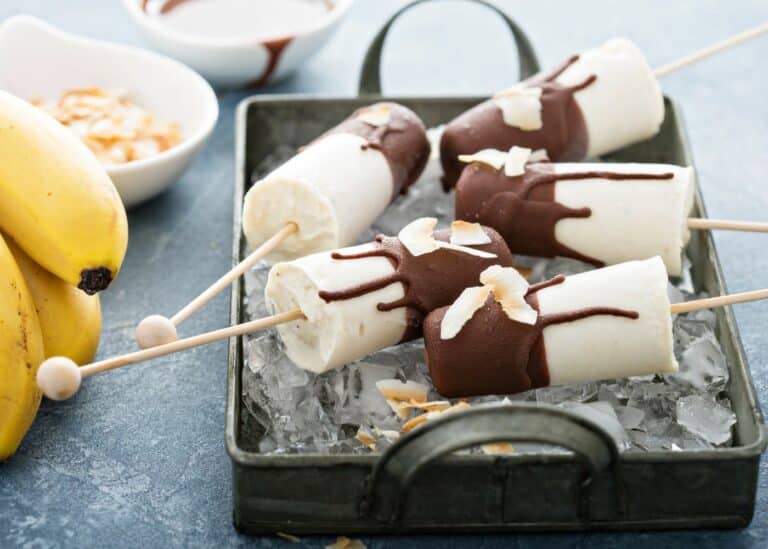
Serve your healthy frozen treats immediately, or dip them in the melted chocolate and freeze until the chocolate hardens. Chocolate banana popsicles are such a great treat and they tastes like a banana fudgesicle.
Enjoy! I hope your family agrees that these are the best homemade popsicles they’ve ever had!
Recipe FAQs
Yes, they can be considered a healthy treat! Although bananas contain more carbohydrates and natural sugars than most other fruits, they are healthy in moderation. Peanut butter is a healthy protein source, and coconut milk is an excellent alternative to dairy.
These popsicles are high in calories, but they will give you a healthy energy boost. See my other healthy snack ideas in this list of the best gluten-free and dairy-free snacks.
The more coconut cream the popsicles contain, the softer they’ll be. So, for the softest and creamiest popsicles, use coconut cream. Light coconut milk and other plant milk will give you a slightly harder popsicle. They’ll still be delicious, though.
Feel free to add sweeteners like maple syrup or honey if you have a sweet tooth. However, bananas are naturally sweet, so you’ll probably not need any additional sweetener. For the sweetest bananas, freeze them when they are overripe.
You can freeze bananas whole with or without the peel. If you freeze bananas without the peel, put them in a freezer-friendly bag. If you leave the peel on, remove it by submersing the banana in hot water for a few seconds to defrost the peel. Cut the banana carefully; it will be frozen!
Another option is to freeze the bananas already sliced. Slice the bananas into 1/2-inch rounds, spread the pieces across a baking sheet lined with wax paper, and freeze them for around four hours. Remove from the freezer and store the frozen pieces in an airtight container. See my guide for how to freeze bananas.
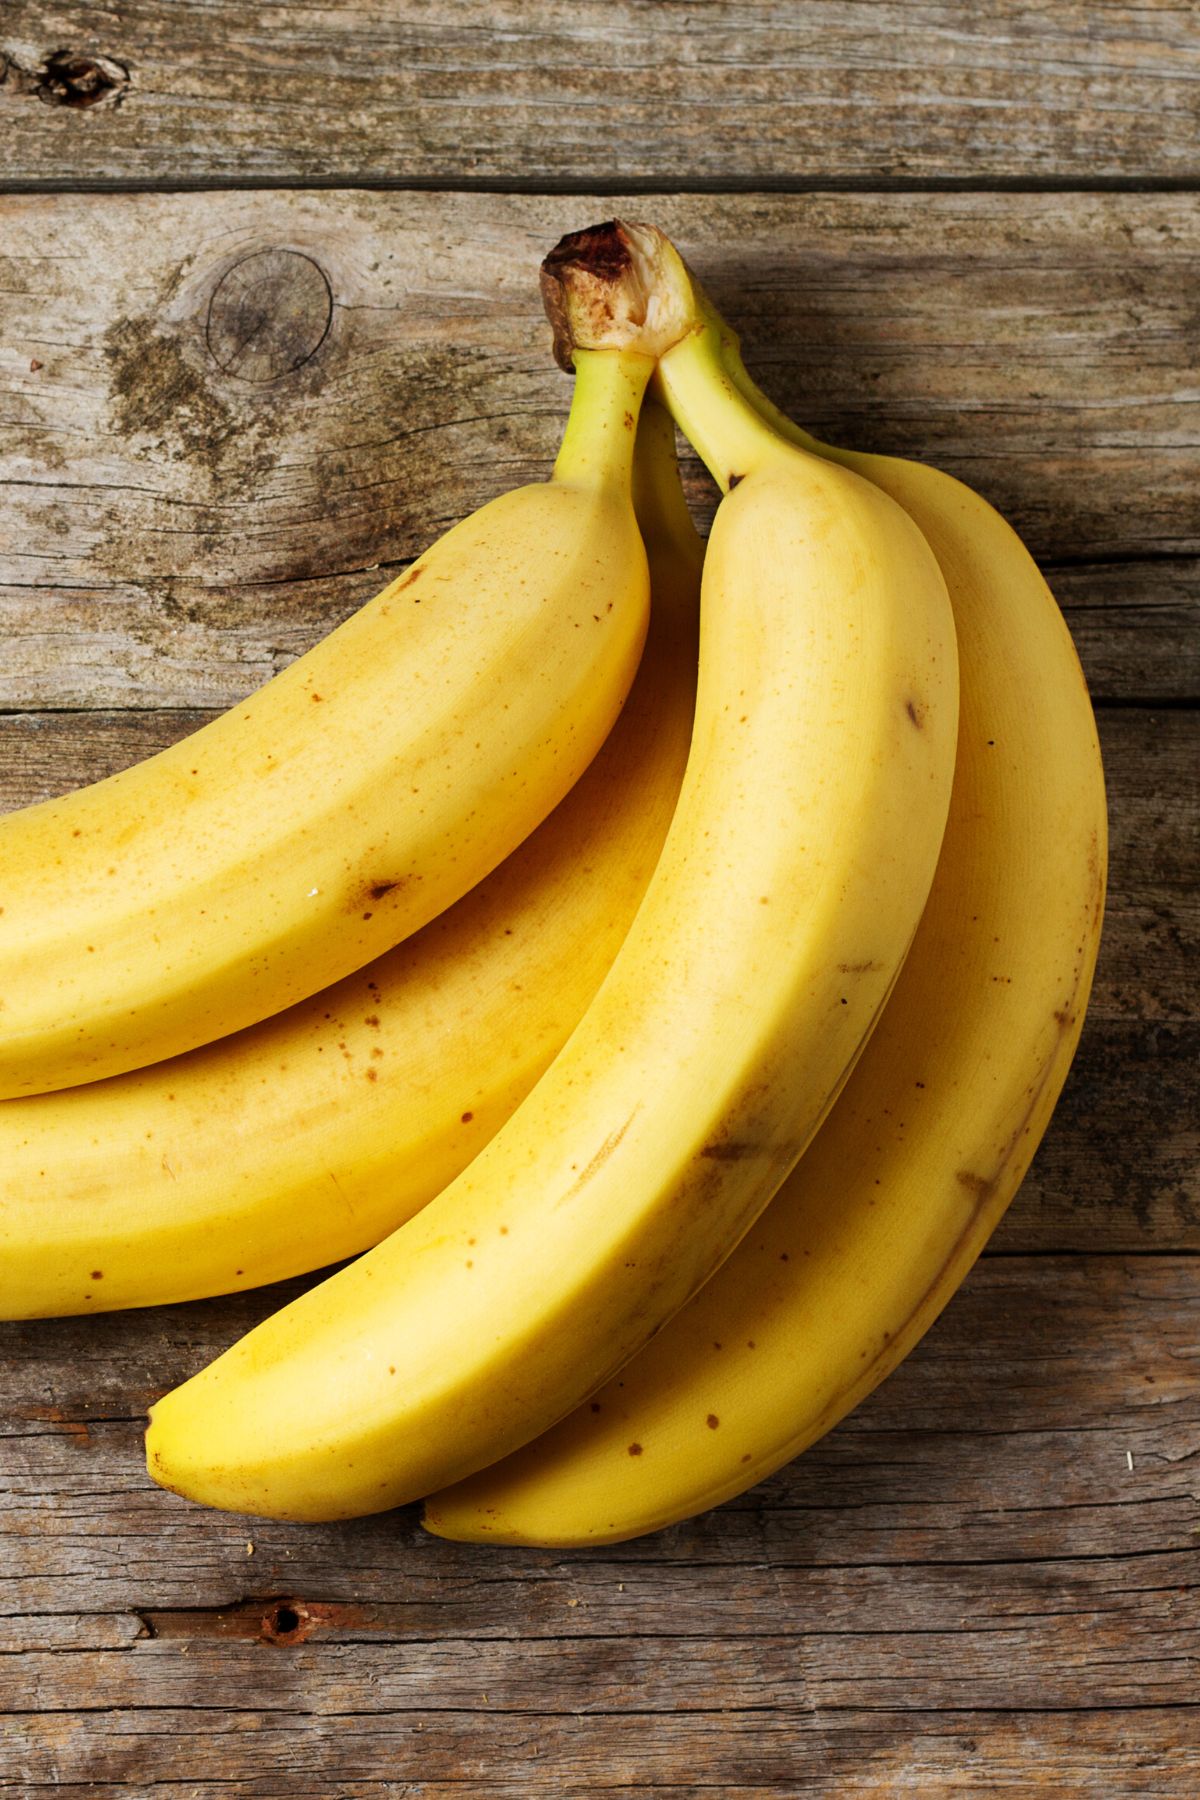
No, it’s best to use ripe yellow bananas with brown spots for this recipe, as the ripe bananas will have more natural sugar and sweetness to them. You can even use overripe bananas for this banana popsicle recipe.
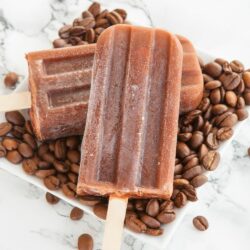
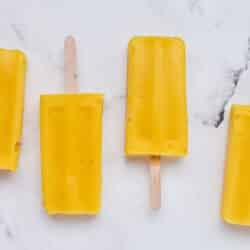
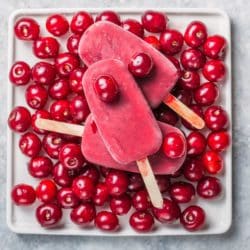
More Popsicle Recipes You Might Like!

Banana Popsicles (Dairy-Free)
These Banana Popsicles are made with no dairy and are a delicious frozen treat! Both kids and adults love this budget-friendly dessert that tastes like a banana milkshake on a stick.
- Total Time: 5 hours 5 minutes
- Yield: 6 1x
Ingredients
- 2 medium-sized frozen bananas
- 1 cup of full-fat coconut milk
- 2 tbsp of peanut butter or almond butter
- 2 ounces dark chocolate (optional, for topping)
Instructions
- Carefully cut the frozen bananas into smaller pieces.
- Put the bananas, coconut milk, and peanut butter in a large food processor.
- Blend everything until the mixture is completely smooth. You may need to stop the food processor to scrape the sides down if the mixture is sticking.
- Pour the mixture into your popsicle molds.
- Freeze for at least five hours.
- Remove the popsicles from the molds and serve immediately. Or, if you want to add a chocolate topping, melt your chocolate in a double boiler or in a small bowl in the microwave. Dip each popsicle in the chocolate until you’ve used up all the chocolate. Alternatively, you can use a spoon to drizzle the melted chocolate over the popsicles.
- Lay the popsicles on a parchment-paper lined baking tray or plate and freeze for 15-20 minutes or until the chocolate coating has hardened.
- Prep Time: 5 minutes
- Cook Time: 5 hours
- Category: Dessert
- Method: Freezer
- Cuisine: Healthy
- Diet: Vegan
Nutrition
- Serving Size: 1 popsicle
- Calories: 141
- Sugar: 5.4 g
- Sodium: 28 mg
- Fat: 10.9 g
- Saturated Fat: 7.7 g
- Carbohydrates: 11.2 g
- Fiber: 1.3 g
- Protein: 2.4 g
- Cholesterol: 0 mg
Don’t forget to join my newsletter list to get exclusive clean eating recipes and tips. The newsletter is 100% free with no spam; unsubscribe anytime.
About the Author: Carrie Forrest has a master’s degree in public health with a specialty in nutrition. She is a top wellness and food blogger with over 5 million annual visitors to her site. Carrie has an incredible story of recovery from chronic illness and is passionate about helping other women transform their health. Send Carrie a message through her contact form.


I found this recipe when I had a few “just” ripe bananas that I needed to use up quickly and haven’t turned back since! Now I add a few extra bananas to my cart every grocery trip just to be able to make these for me & the kids! A much healthier alternative to a traditional popsicle, I even add a little extra peanut butter if I want a little more protein!
These are sooooo good!