Kale Microgreens 101: Benefits and How to Grow

Kale Microgreens are a superfood that you can grow right in your own kitchen. They are full of health benefits and taste great too. Learn everything you need to know about growing and eating kale microgreens.
Kale Microgreens Overview
What they are
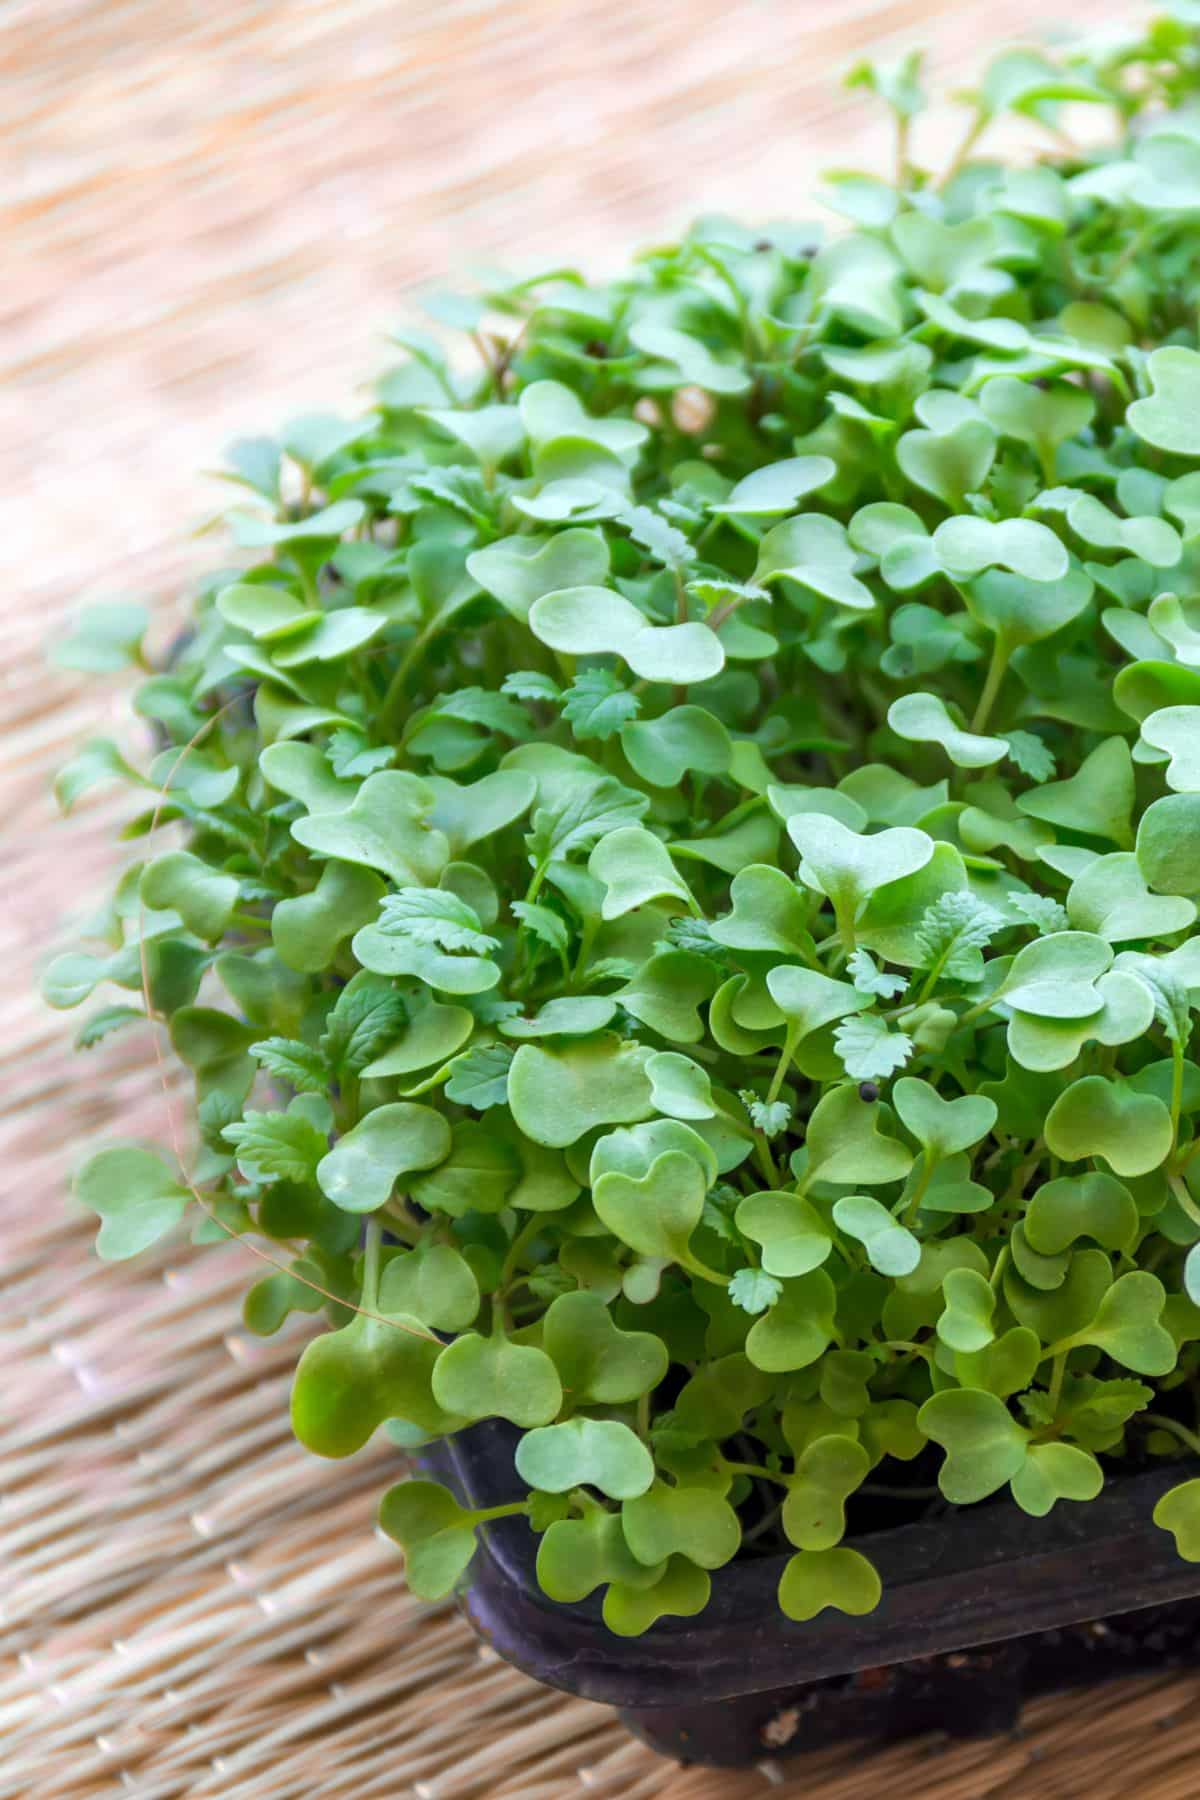
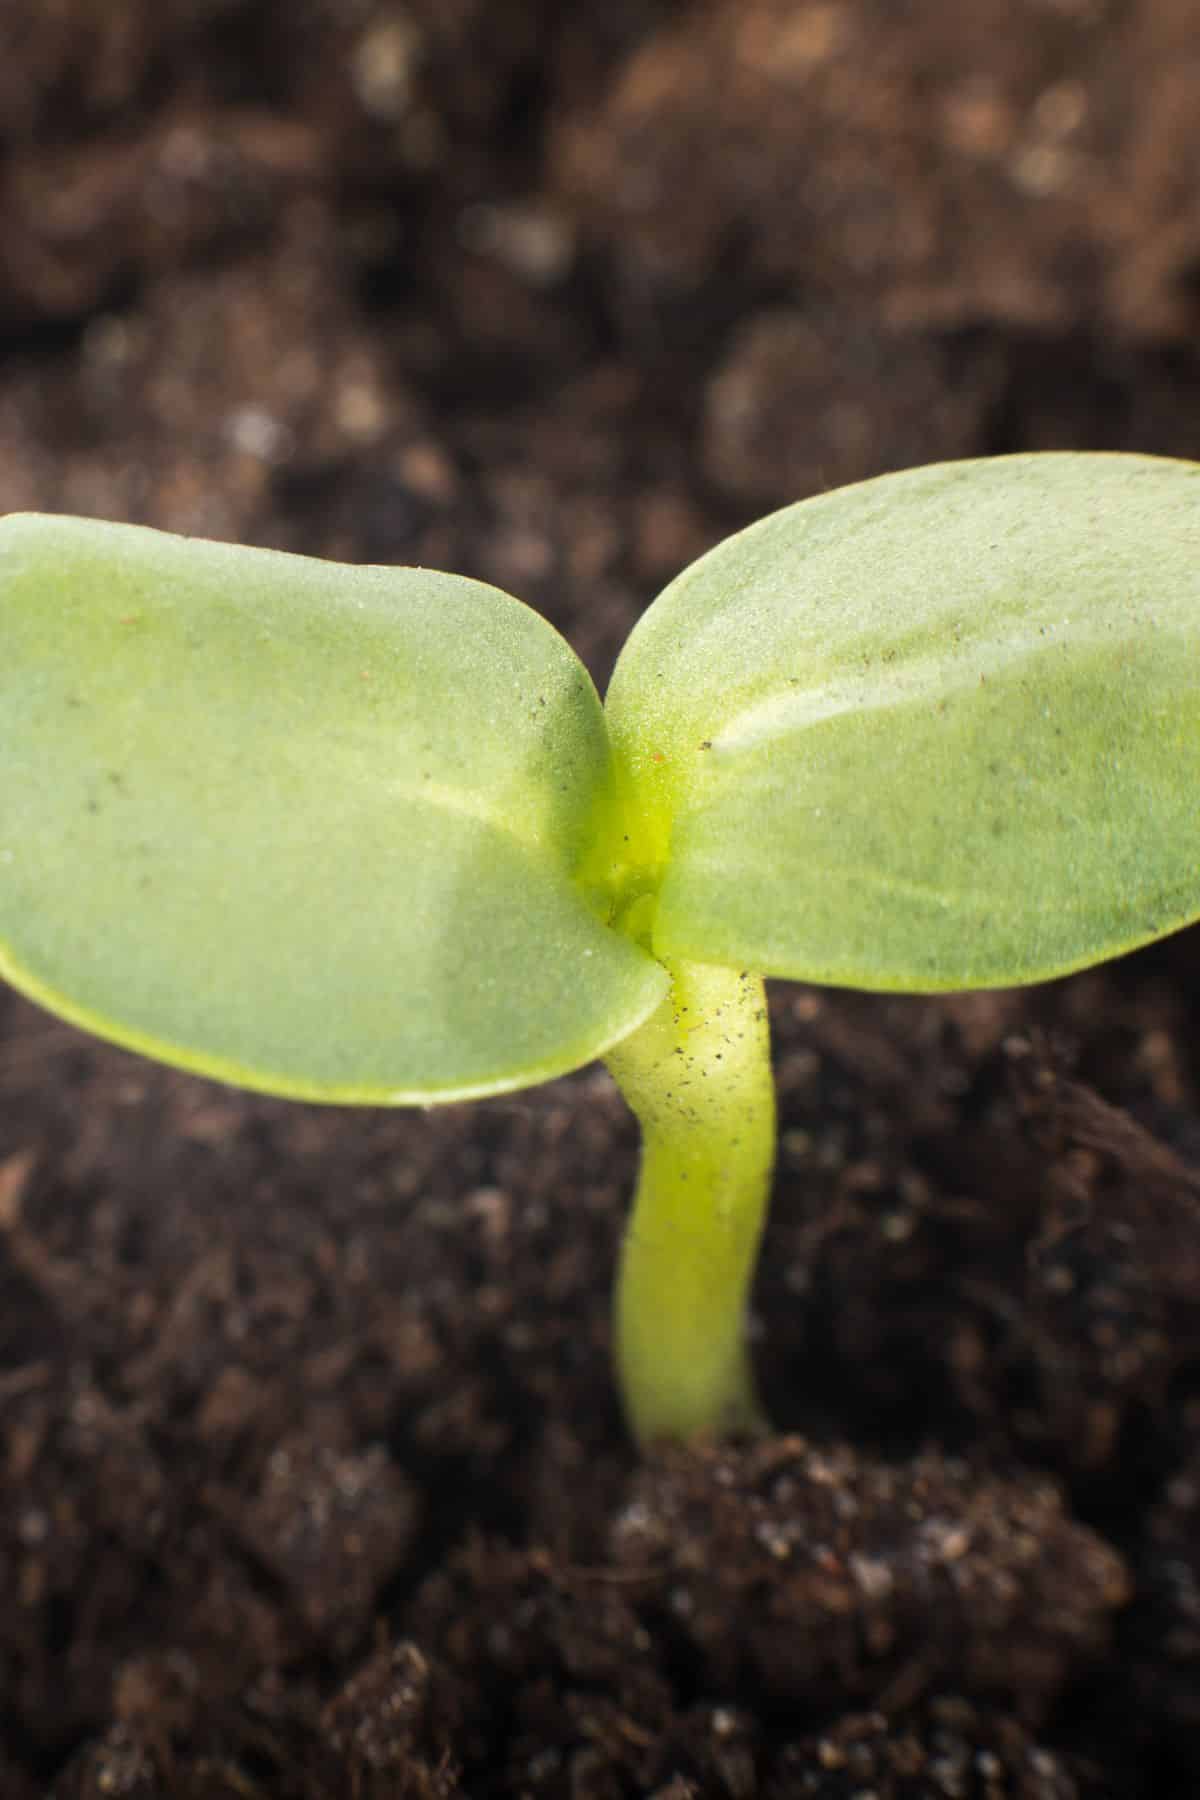
Kale microgreens are very young kale plants, harvested soon after germination and usually before their true leaves have grown in.
Just like their mature counterparts, kale microgreens are part of the cabbage family, related to other healthy vegetables like cauliflower, bok choy, Brussels sprouts, and broccoli.
Nutritional benefits
Kale has long been revered across the world for its amazing health benefits, although not everyone enjoys its strong and earthy flavor.
Kale microgreens, on the other hand, are packed with many times more nutrients than fully-grown kale. They also have a milder flavor and a much more palatable texture when eaten raw.
Culinary uses
Whereas mature kale leaves can be quite tough – particularly the central stem – kale microgreens are tender and easy to incorporate into lots of different dishes.
You can sometimes find kale microgreens in the produce section of your local store. A far cheaper option, however, is to grow your own. Homegrown kale microgreens are also better for you since you get to consume them soon after harvesting when their nutritional value is at its peak!
In this guide, you’ll learn how to successfully produce a consistent supply of kale microgreens at home. Growing them is lots of fun because it’s incredibly easy to do. What’s more, it can take less than 10 days from planting to harvesting your first batch of homemade kale microgreens!
Health benefits
Like other microgreens, kale microgreens are considered functional foods – foods that offer significant health benefits in addition to the nutrients and energy they provide.
They are packed with vitamins A, B6, vitamin C, and K1, along with minerals like calcium, iron, copper, magnesium, and potassium.
In addition to fiber, they are also a rich source of phenolic compounds and carotenoid antioxidants. These act like antioxidants and boost the immune system, helping protect against disease.
Like mature kale, kale micro greens are a particularly good source of glucosinolate. This contains important secondary metabolites (substances needed for metabolism) that can help eliminate carcinogens from the body and protect against cancer.
But what sets fresh microgreens apart from mature kale is that their nutrient content is far more concentrated. Studies have demonstrated that microgreens offer anywhere from 4 to 40 times the nutrient levels of mature plants.
This is because they are harvested so soon after germination – and it’s great news for kids or anyone who struggles to eat large amounts of vegetables.
Consuming kale microgreens makes it possible to get all the health benefits of fresh kale in far smaller quantities – and with a flavor that many find more enjoyable.
How to Grow Kale Microgreens
You’d be forgiven for thinking that producing such a nutritionally rich food at home would be a technical process, requiring lots of specialist equipment and expertise.
The good news is that the opposite is true! Kale microgreens (also called micro kale) are simple to grow, don’t take up much space, and you probably have most of the equipment you’ll need in your home already.
Seeds, soil, light, and water are pretty much all it takes to get started, and you can look forward to adding your first batch of microgreens to a salad within as little as 9-10 days.
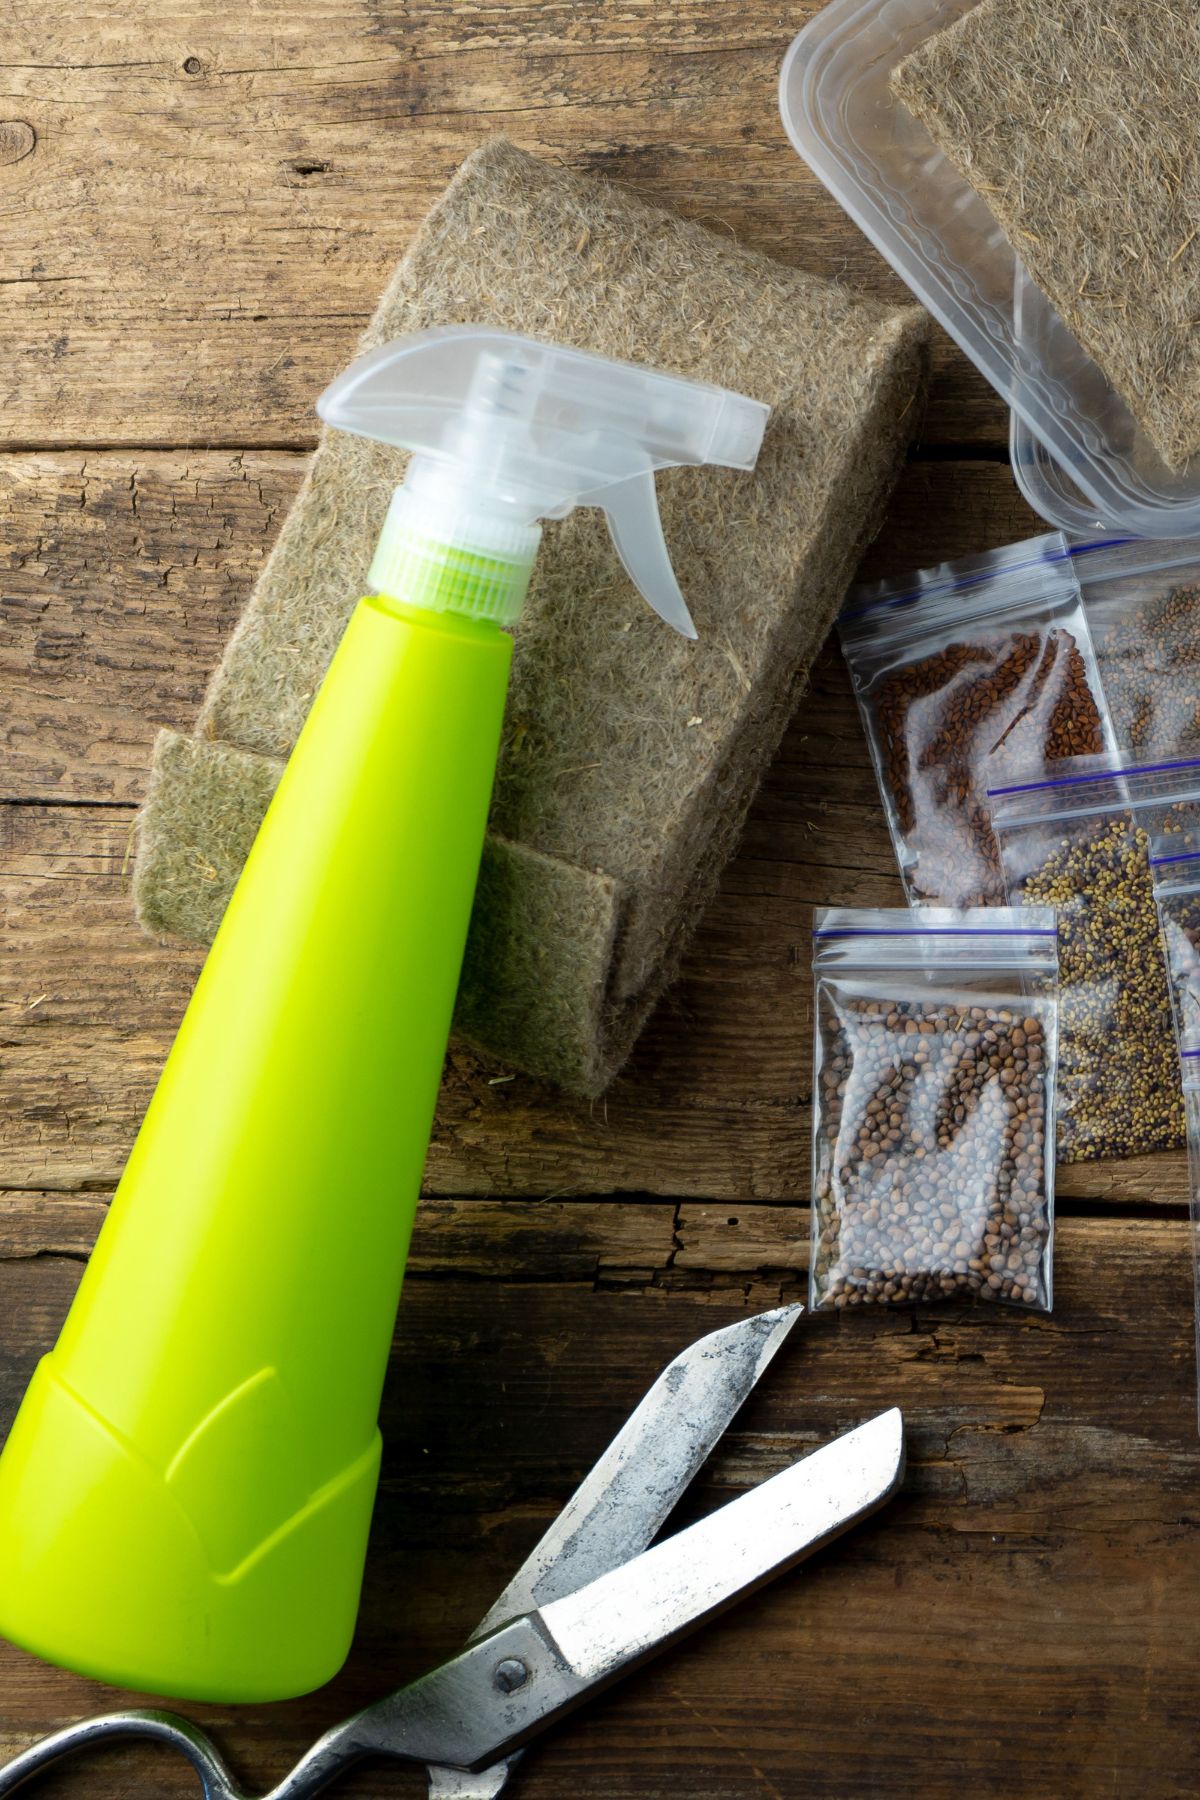
Supplies you’ll need
Here’s a list of the supplies you’ll need to start producing crops of healthy kale microgreens at home.
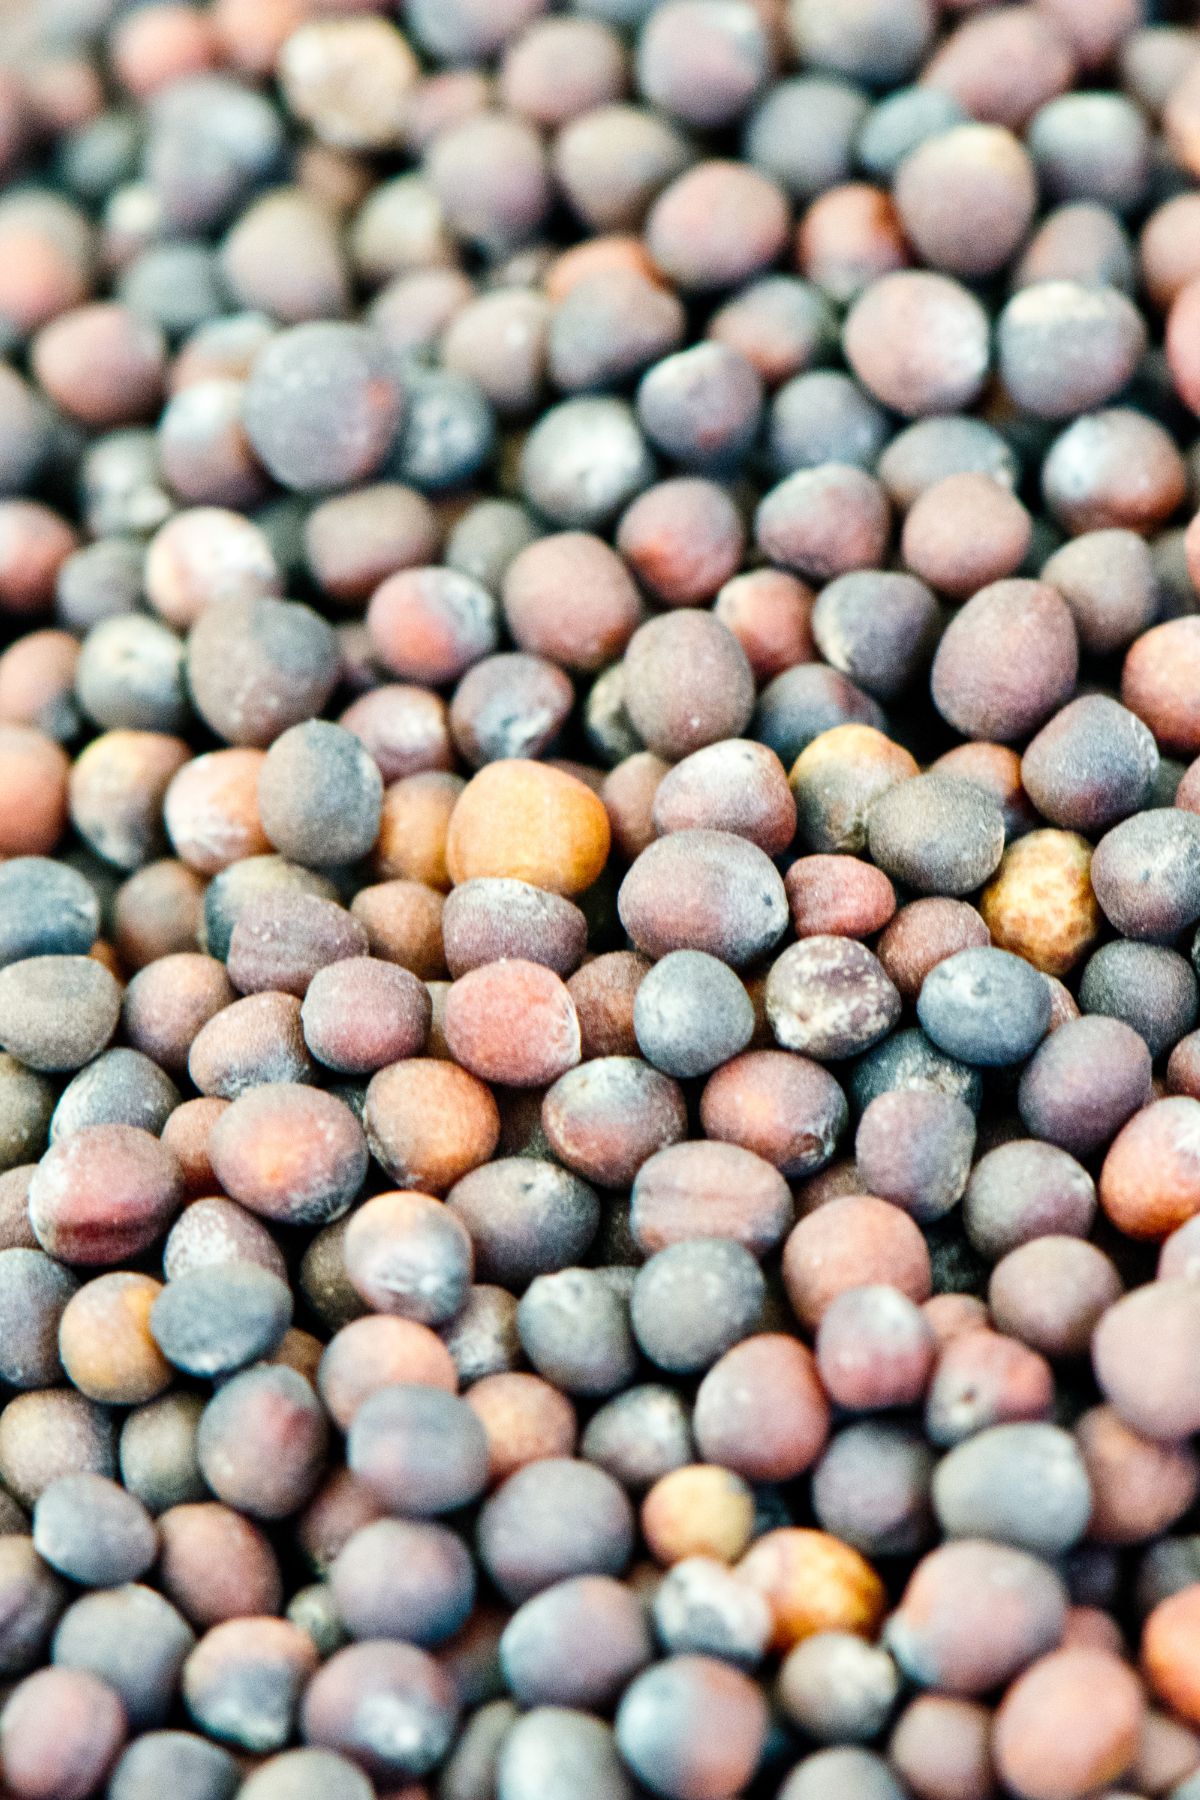
Kale Seeds
You don’t need special kale seeds to grow kale microgreens at home – regular kale seeds (the kind you’d use in the garden) will work just fine.
There are quite a few varieties to choose from. Some you might come across include dwarf Serbian, blue Scotch curled, lacinato, and white Russian kale. All these cultivars have dark green leaves and pale stems. Or, try this heirloom kale seed mix.
But the variety popular with most growers is Red Russian kale. It can sometimes be a little more expensive, but it has lovely pinky-red stems that look wonderful and add lots of aesthetic appeal to a salad or when used as a garnish.
Some people like to let these grow slightly past the true microgreen stage and allow the true leaves to come in. These have a frilly appearance that also helps enhance the overall look of a dish.
Another advantage of Red Russian kale is that it is more tender than the other varieties. It also has a slightly sweeter flavor – other cultivars may still carry a touch of bitterness.
That being said, once you’ve got used to kale microgreens at home, you could try producing several varieties to create nutritious and tasty salad mixes! Always look for organic brands, so you can be confident they don’t contain any pesticide residues or harmful additives.
Growing medium
Kale microgreens tend to do best in soil. You can use potting soil or seed soil, which has a fine-grained, lightweight texture that makes it easy for the roots to venture out and become established.
If you are worried that soil might be messy for use in the home, then you have a few other options.
Grow mats can work quite well, as can coconut coir. Just remember that these tend to need more careful watering than soil. Also, many people who grow kale microgreens feel that soil gives them a better flavor.
Containers
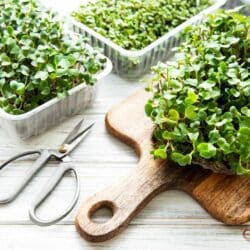
To make it easy to harvest your kale microgreens, you’ll need shallow trays (1 to 2 inches deep).
If you’re just testing the waters, you could use the eco-friendly option of recycled fruit containers or pie plates. However, these will likely become too small should you decide to grow kale microgreens on a regular basis!
The tray in which you plan to grow the microgreens will need holes for drainage. This will prevent the growing medium from becoming waterlogged, which – in turn – could lead to mold and rot.
You will also need a second tray, larger than the growing tray. You will place this beneath the growing tray and use it for watering the seeds. Watering seeds from the bottom keeps their leaves and white stems dry – another good way to prevent mold.
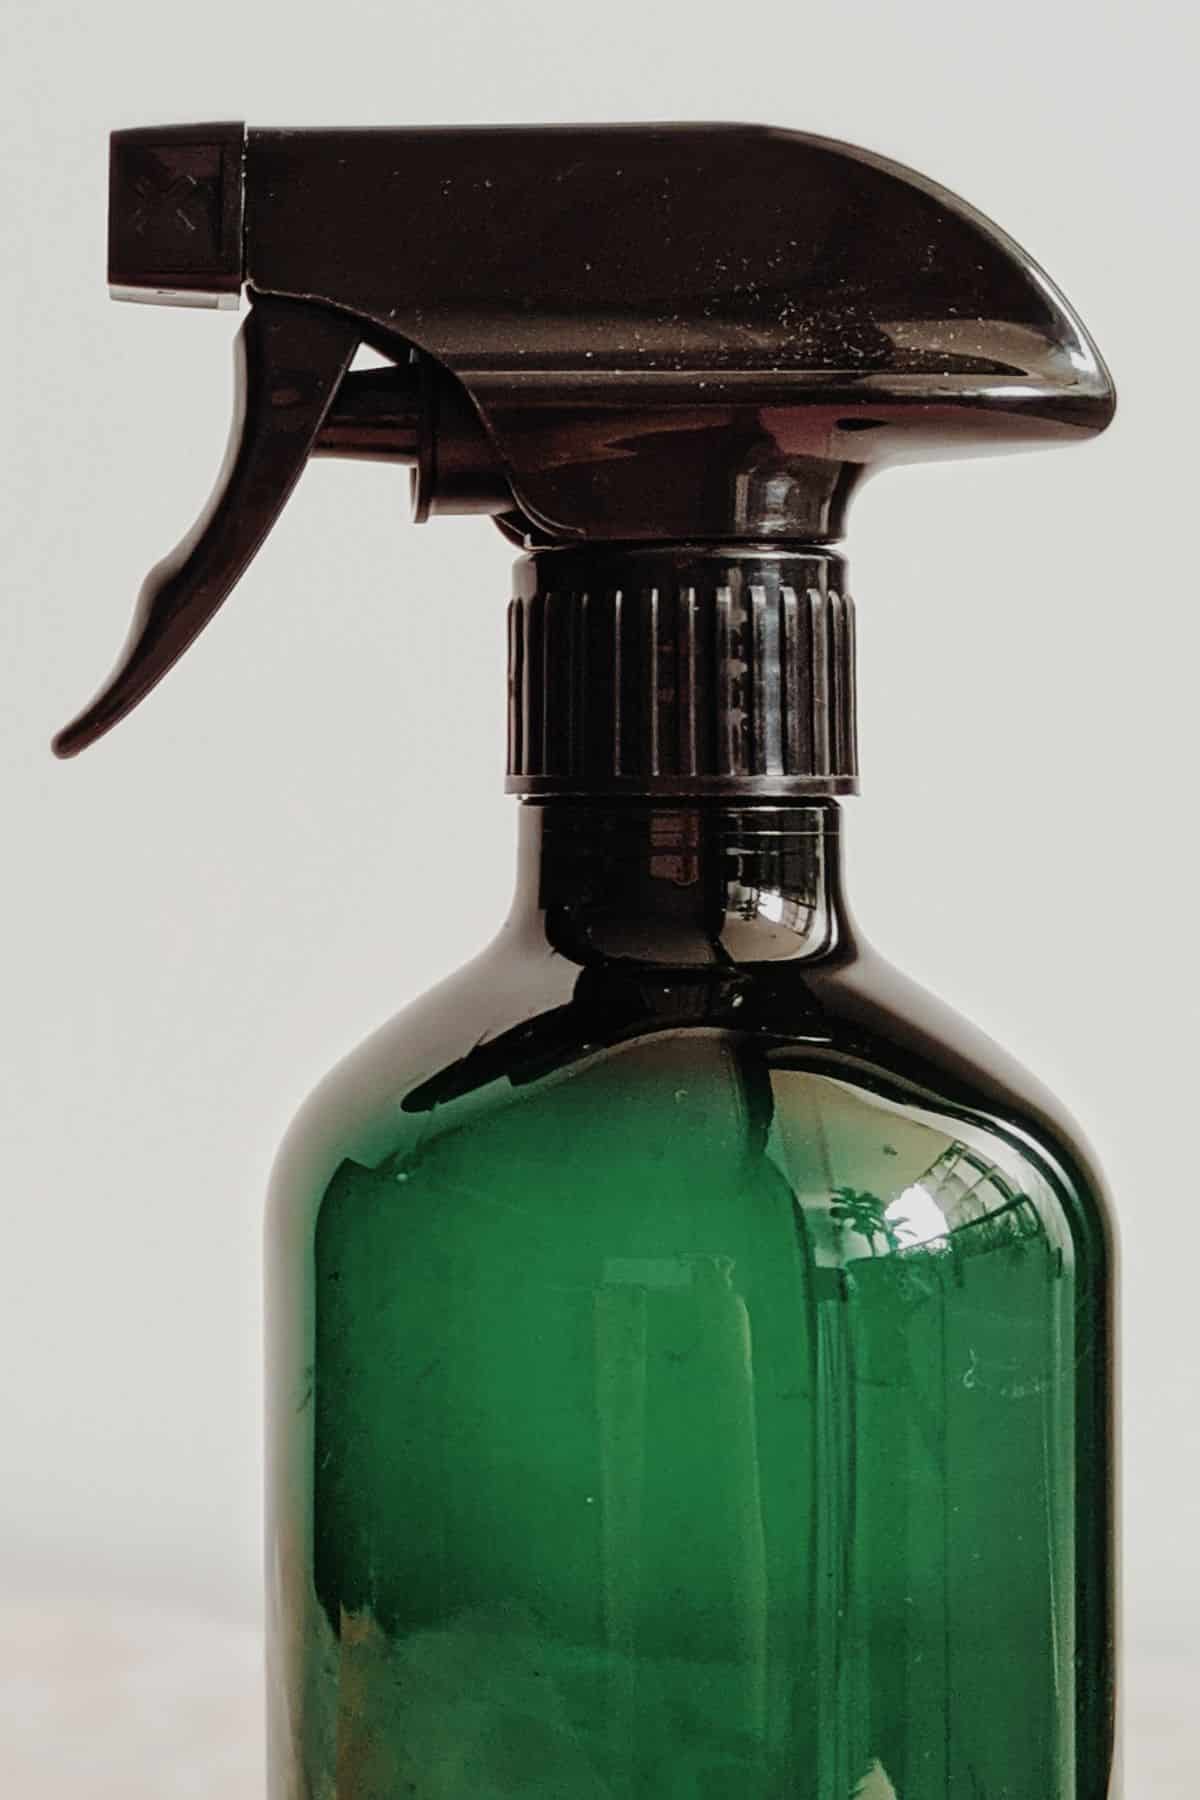
Spray bottle
You’ll need this for watering the seeds immediately after you’ve sown them.
Light source
Once the kale seeds have germinated, they will require a good supply of natural light or artificial light. This is to facilitate the process of photosynthesis that will eventually give the leaves their rich, green color.
The natural light provided on a sunny windowsill starting in late spring through early fall in most locations can be sufficient. For better control over just how much light your microgreens receive, however, you might want to consider using a grow light on the side of the tray instead.
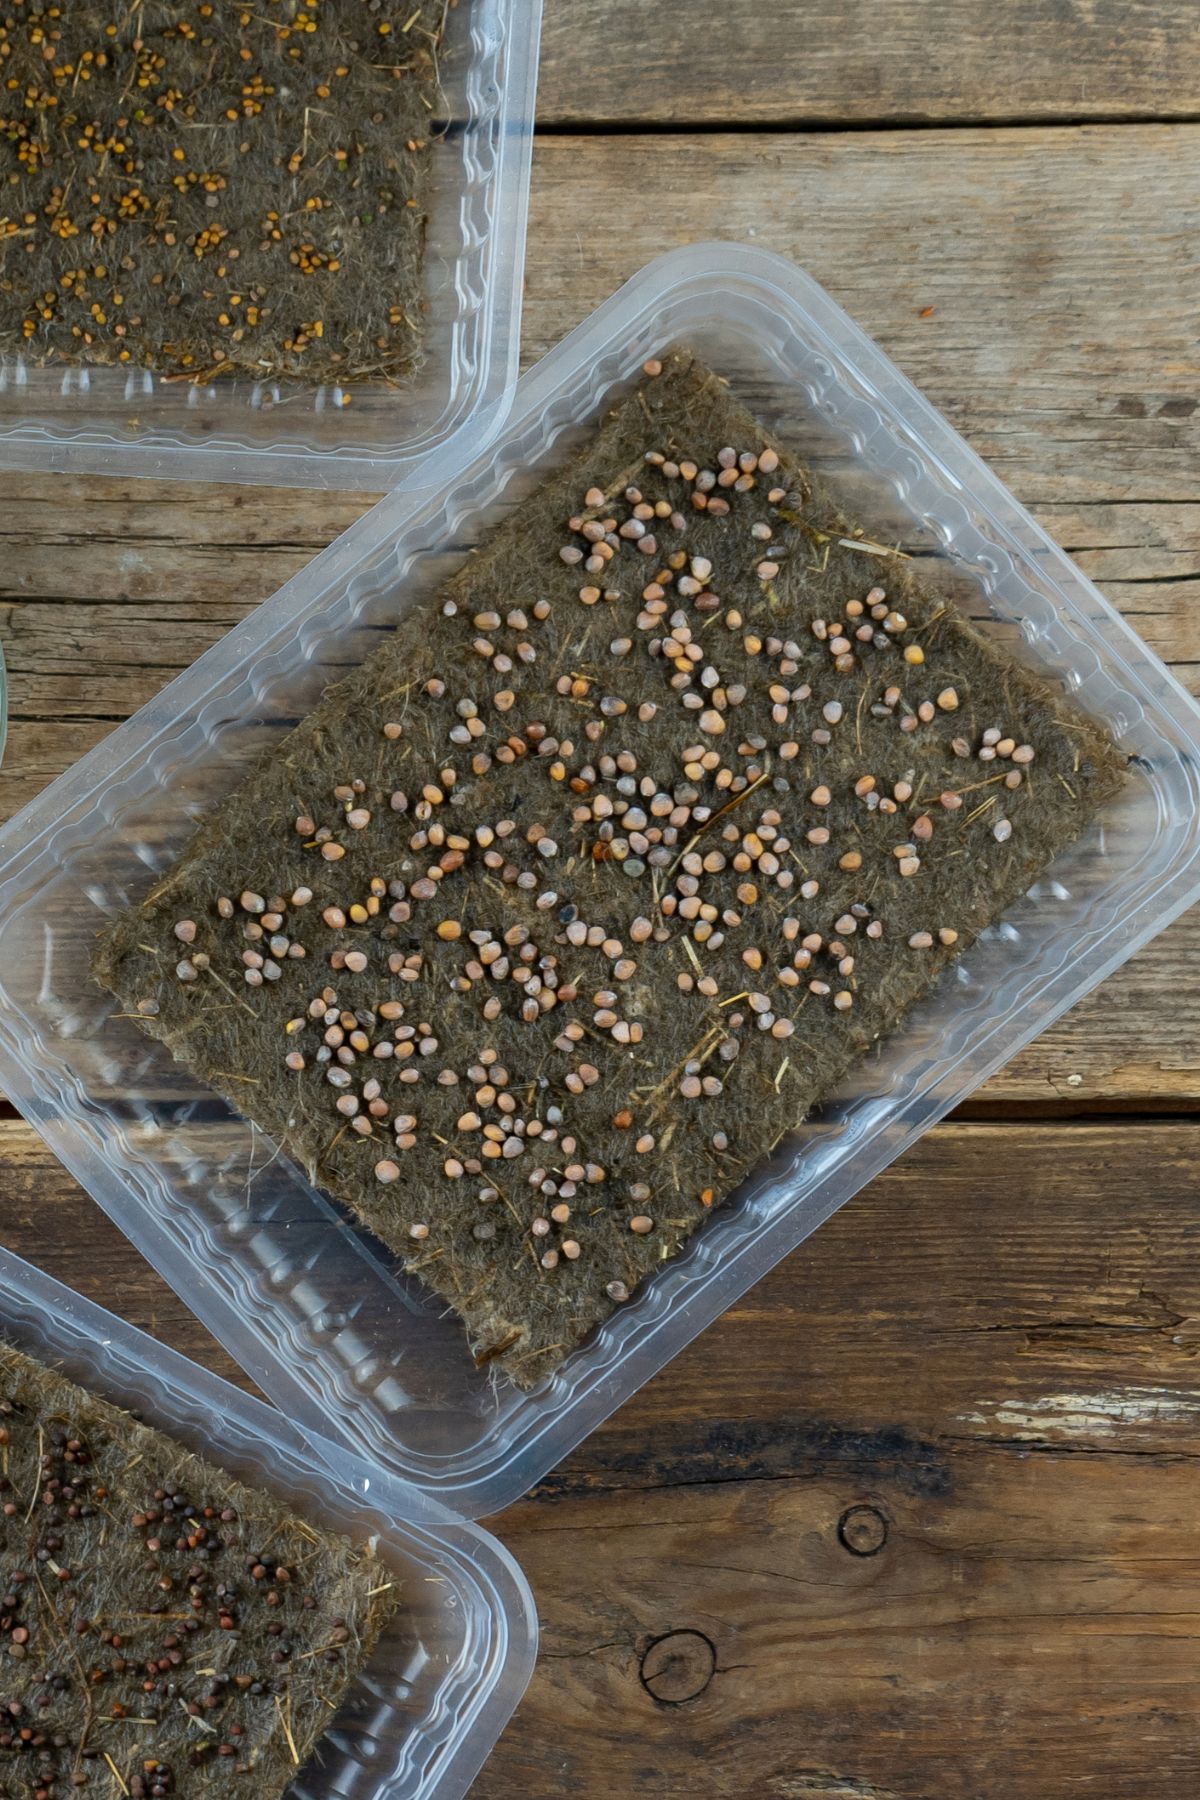
How to sow your kale microgreen seeds
First, place your growing medium inside your container until it just comes up to the rim. Using your hand, ensure the surface is level and pat it down very gently. (Do not pat it down if you’re using coconut coir, as it can become too compact).
Gently spray the soil with water from your bottle and allow it to soak in. Then lightly spray the surface again.
It’s now time to sow your seeds. Kale seeds are very tiny so you won’t need to soak them first. They will break open very easily on their own.
Spread them out in an even layer over the surface. Because they are so small, you might want to use a shaker bottle to make this part easier. Aim to spread around 1 ounce of seeds in a tray measuring 10 × 20 inches.
Be sure to separate any clumps of seeds with your fingers as it is important they are in a dense – but single – layer. If the seeds are piled on top of each other any airflow will be restricted and they are likely to rot.
How to germinate the seeds
After carefully misting the seeds with water so that they don’t blow around, you will need to cover the tray. This serves two purposes – it holds in moisture and blocks out the light. This creates the perfect environment for the seeds to germinate.
The easiest way to do this is to use your second, larger tray as a cover. Once it’s in place, put a weight on top (around 5 pounds should do). This will stop the cover from becoming dislodged but will also push the seeds more deeply into the soil. This will enable the roots to reach further down and will give you stronger, more well-established plants.
Leave the seeds to germinate in a warm spot for 2 days.
After 2 days, lift the cover to see if most have the seeds have sprouted. They will look quite yellow at this point – that is normal, and they will turn green once they’ve been exposed to light.
But if many of the seeds look relatively undeveloped, replace the cover and weight. Leave them to germinate for one to two days longer.
Expose the kale microgreens to light and watch them grow!
As soon as most of the seeds have sprouted it’s time to remove the cover and expose them to plenty of light.
Kale microgreens do not need quite as much light as other microgreens in order to grow successfully. This means that they will grow better in the natural light on a windowsill than other varieties.
That being said, tinted varieties like Red Russian kale don’t look quite as vivid if they haven’t received enough light. For that reason, many people prefer to use a grow light for them. This also saves you from having to keep rotating the tray.
Whichever light source you use, try to ensure your microgreens are receiving it for at least 8 hours per day.
Place the growing tray on top of the second, larger tray and water the seeds well. The soil will absorb the water via the drainage holes in the growing tray. Once the soil is moist, remove the second tray to avoid overwatering the seeds. Too much water may cause them to rot.
From now on, you will be watering the seeds using the bottom tray. You’ll need to do this as often as it takes to keep the soil consistently moist.
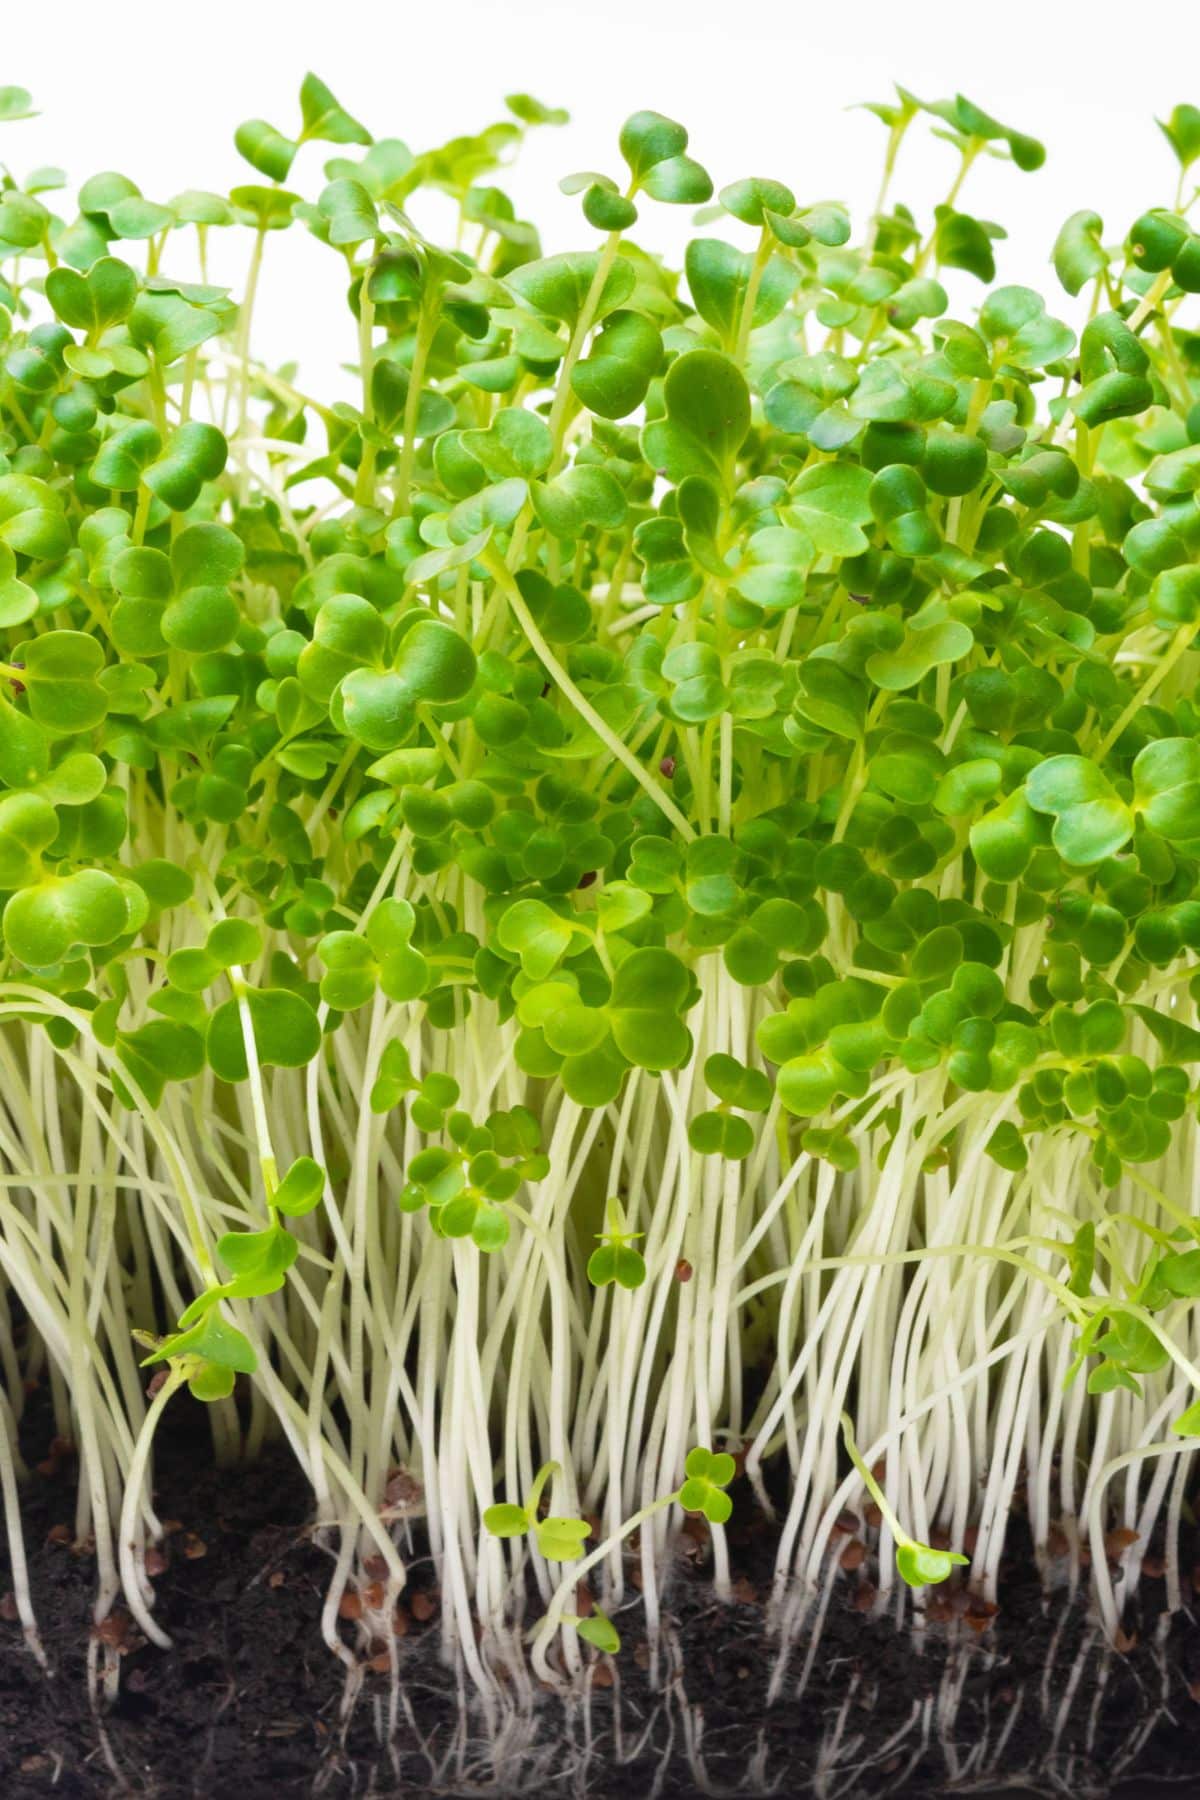
Note: In the early stages, it might look as if the seeds are covered in fuzzy white mold. However, these white fibers are actually root hairs – just what you want to see! You shouldn’t have any issues with mold as long as you stick to watering the seeds from the bottom.
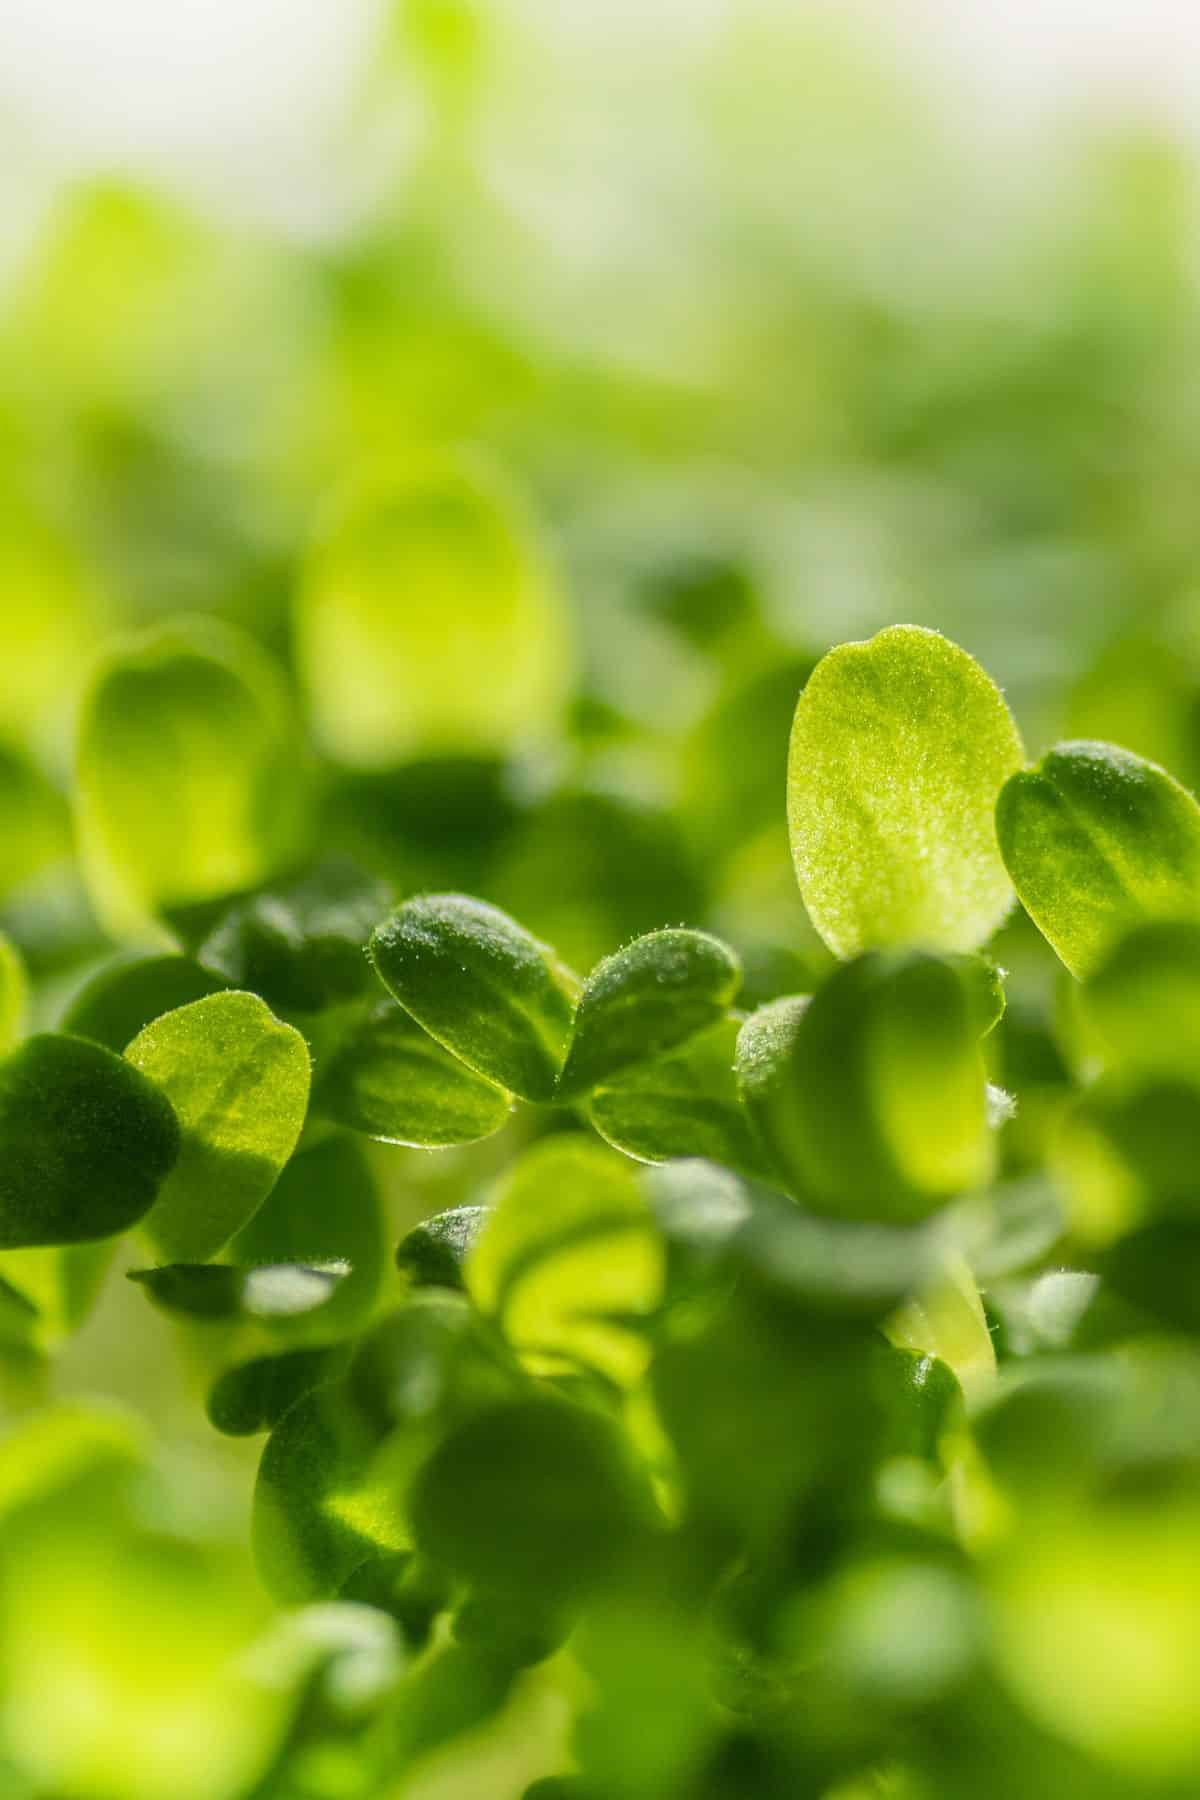
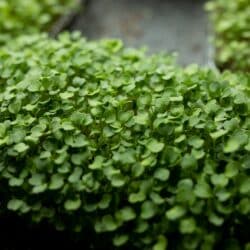
Within several days the seeds will begin to grow into microgreens.
They will look pale in color initially, but once they have received enough light they will start to turn green.
If they continue to look pale even as they grow taller, they may not be receiving enough light. It’s important to rectify this – using a grow light if necessary – as pale microgreens will be inferior in taste and less nutritious than those that are fully green.
Aim to keep your growing microgreens in a warm area – around 70℉ (21℃) is ideal. They also require good ventilation and a humidity level of around 50%. This also ensures an ideal soil temperature.
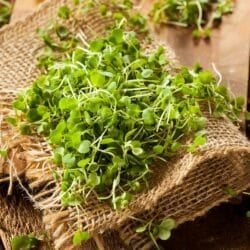
Harvesting your kale microgreens
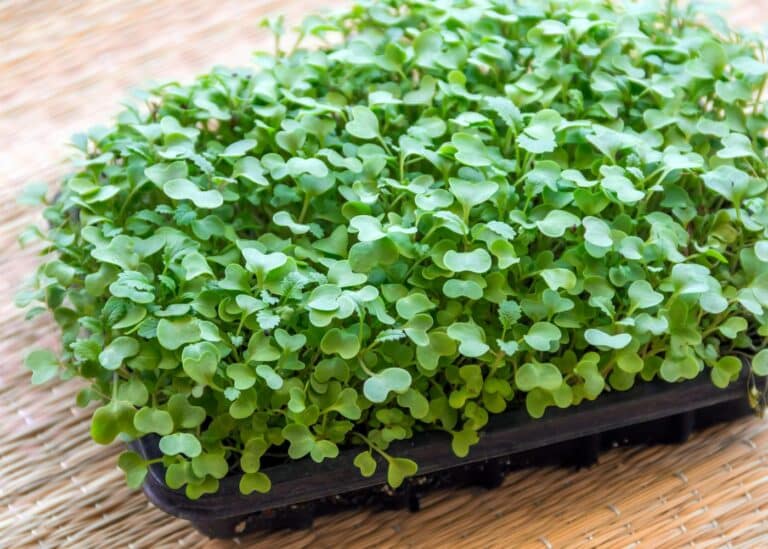
Kale microgreens are ready for harvesting when they are around 3 to 4 inches tall. At this point, they will have their oval seed leaves (cotyledons). You can expect to harvest around 5 ounces of greens for every ounce of seed you sowed.
But with kale you can wait a little longer if you choose, until the long, frilly true leaves have grown in. Whether or not you choose to do so is a matter of personal taste, as the formation of the true leaves affects the flavor. Some people prefer it and others don’t, so I recommend tasting your microgreens at both stages to see which you prefer.
Note: If you continue to grow your kale seeds past the true microgreen stage, remember that they will require more frequent watering. If you know from the outset that this is what you want to do, start off with deeper trays. That way you can use more soil which will then hold more water.
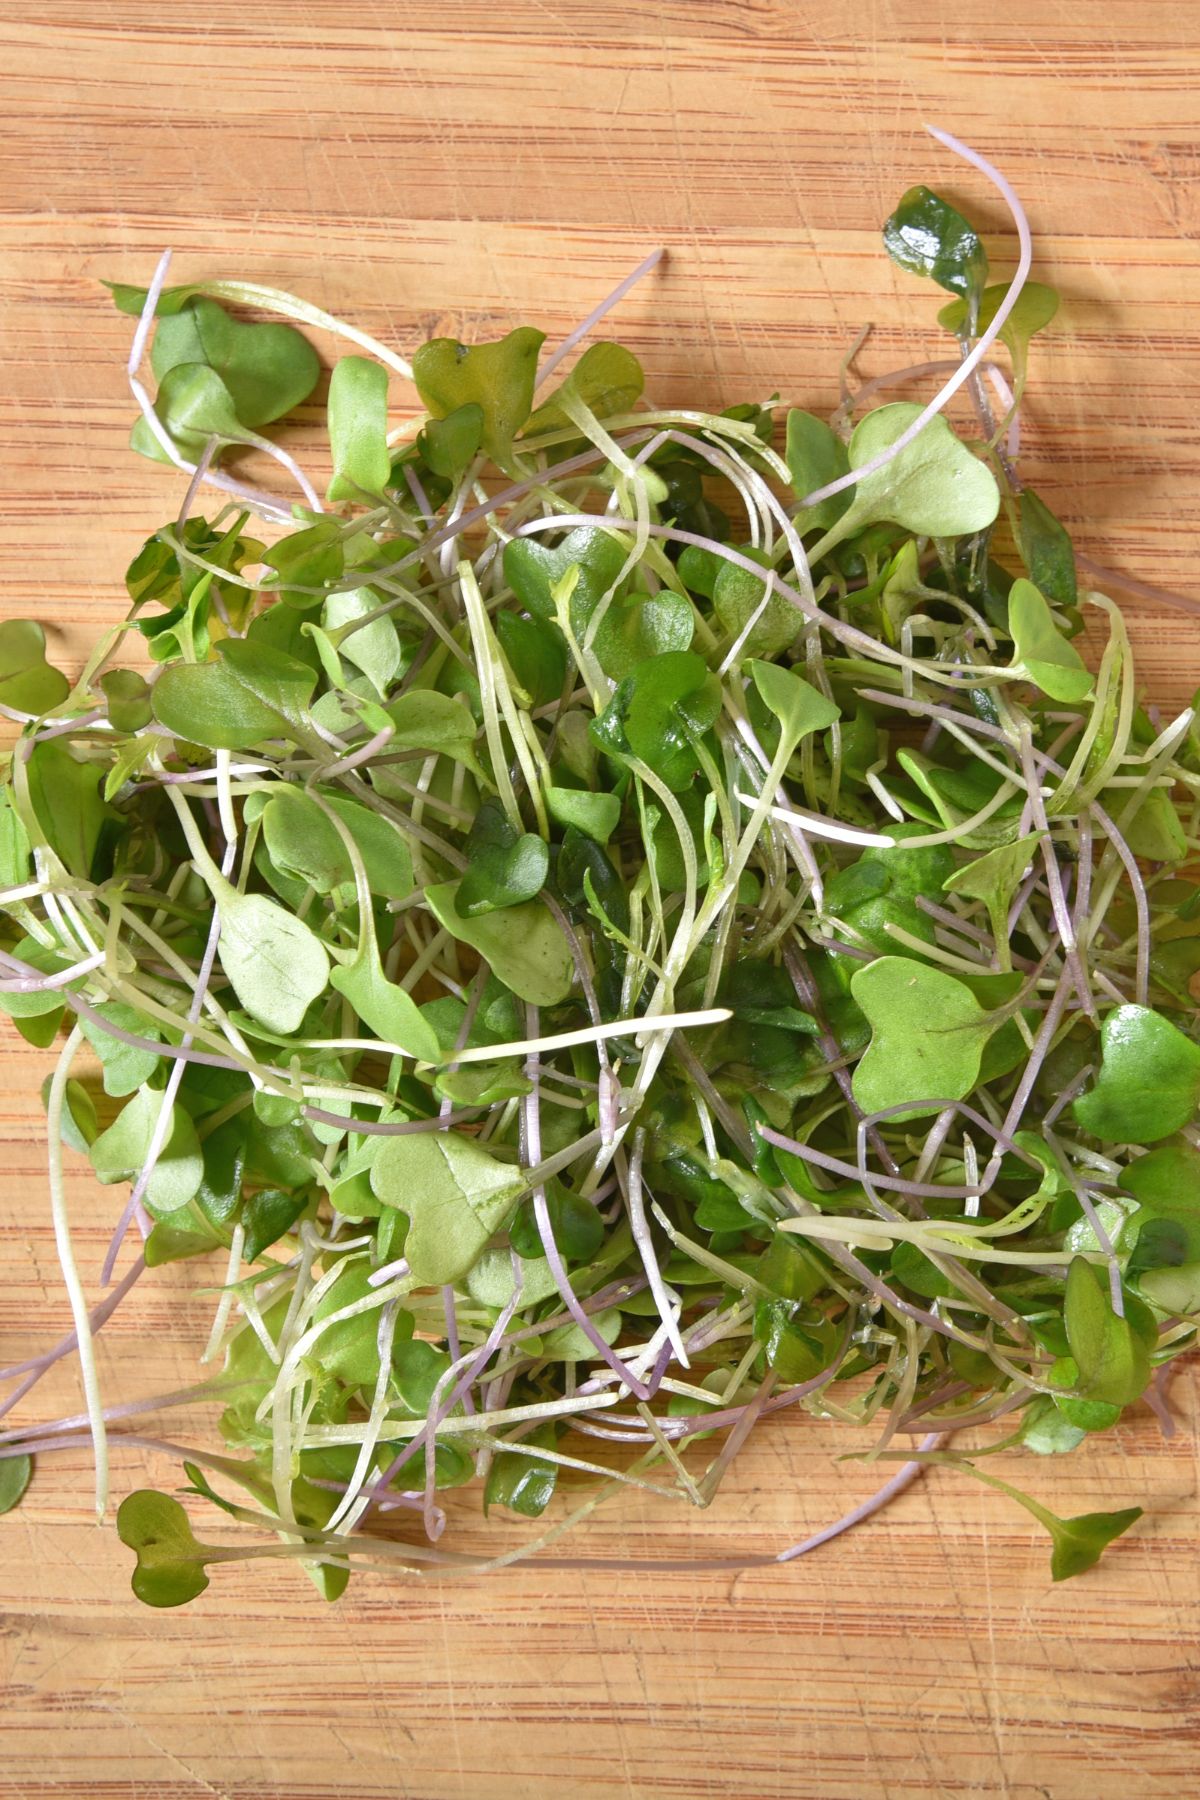
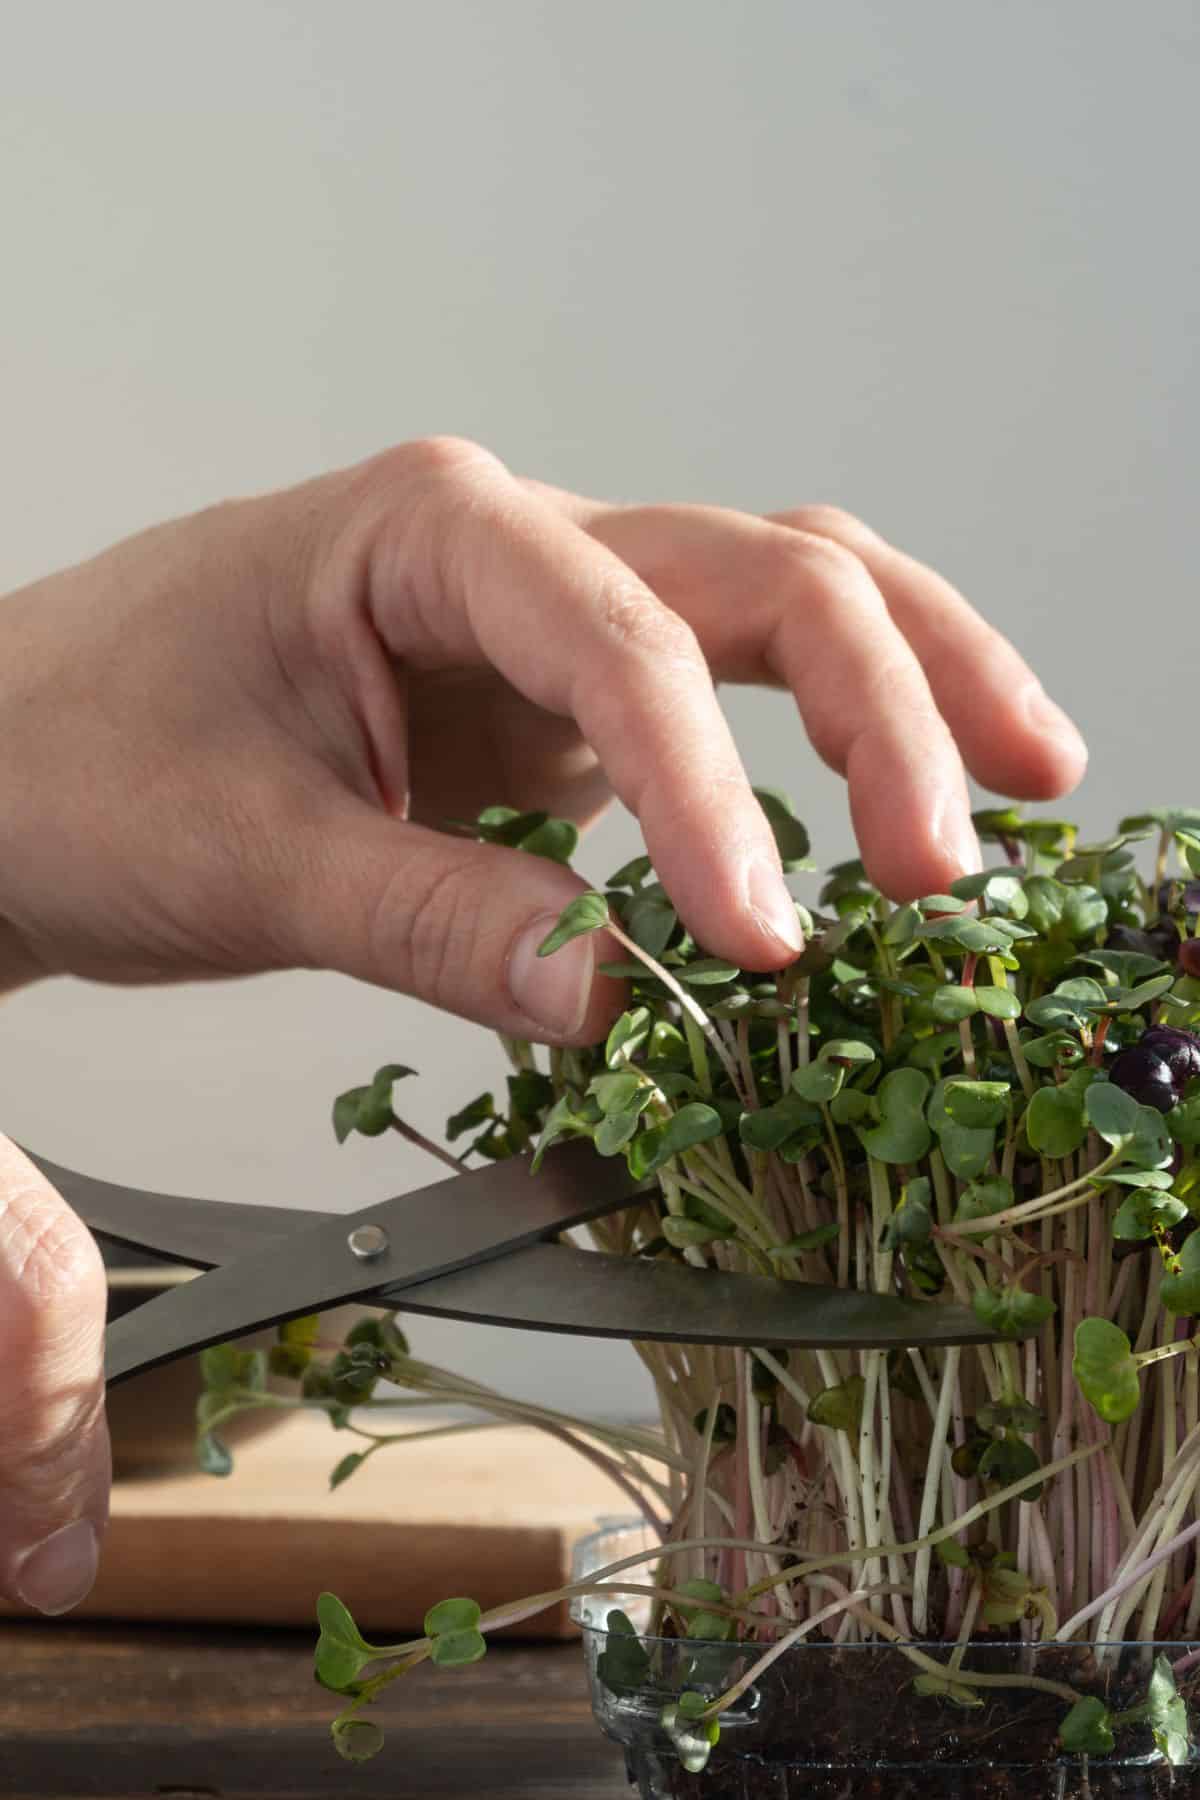
Stop watering the microgreens 12 hours before harvesting to make sure they are dry. This makes it easier to store them afterward. Using a sharp pair of scissors or a sharp knife, snip off the microgreens in bunches just above the surface of the soil.
You can harvest the entire batch in one go or cut what you need. Kale microgreens won’t regrow after harvesting so you will need to sow more seeds for a second batch.
Storing your kale microgreens
To maximize the shelf life of your harvested kale microgreens, wrap them in a piece of paper towel to absorb any moisture.
Next, place them in a bag or airtight container and place them in the fridge, where they should keep well for up to 5 days.
Kale Microgreen Growing Steps
Step One
Place your growing medium into a suitable container. You can use seed soil, potting soil, growing mats, paper towels, or coconut coir.
Step Two
Spray your growing medium lightly with water and allow it to sink in. Respray the surface once again.
Step Three
Sprinkle your kale seeds over the surface, ensuring they are fairly dense but in a single layer. Aim to spread around 1 ounce of seeds in a tray measuring 10 × 20 inches.
Step Four
Gently mist the seeds with a spray bottle, then cover them and place a weight on top to retain moisture and block out the light. Leave to germinate until all the seeds have sprouted.
Step Five
Remove the cover and expose the seeds to plenty of natural light, or use a grow lamp. Water regularly using the bottom water method.
Step Six
Harvest within 9 to 14 days of planting.
Microgreen Growing FAQs
The wonderful thing about growing any type of microgreen is that you can harvest your first crop very quickly!
Your kale microgreens will be ready to eat in as little as 9 days from sowing the seeds.
In the world of microgreens kale is one of the stronger-tasting varieties. But it is still far less strong than mature kale and without the bitterness that stops many people from enjoying it.
If you have already tried other types of microgreens, you may notice that kale microgreens have a slightly different texture. They are less fragile than other leaves, and feel plumper and more substantial.
Here are lots of different ways you can enjoy them:Combine them with other ingredients to make healthy green smoothies and juices.
Add them to soups and stews toward the end of the cooking time. This will provide some extra texture and still retain much of their goodness.
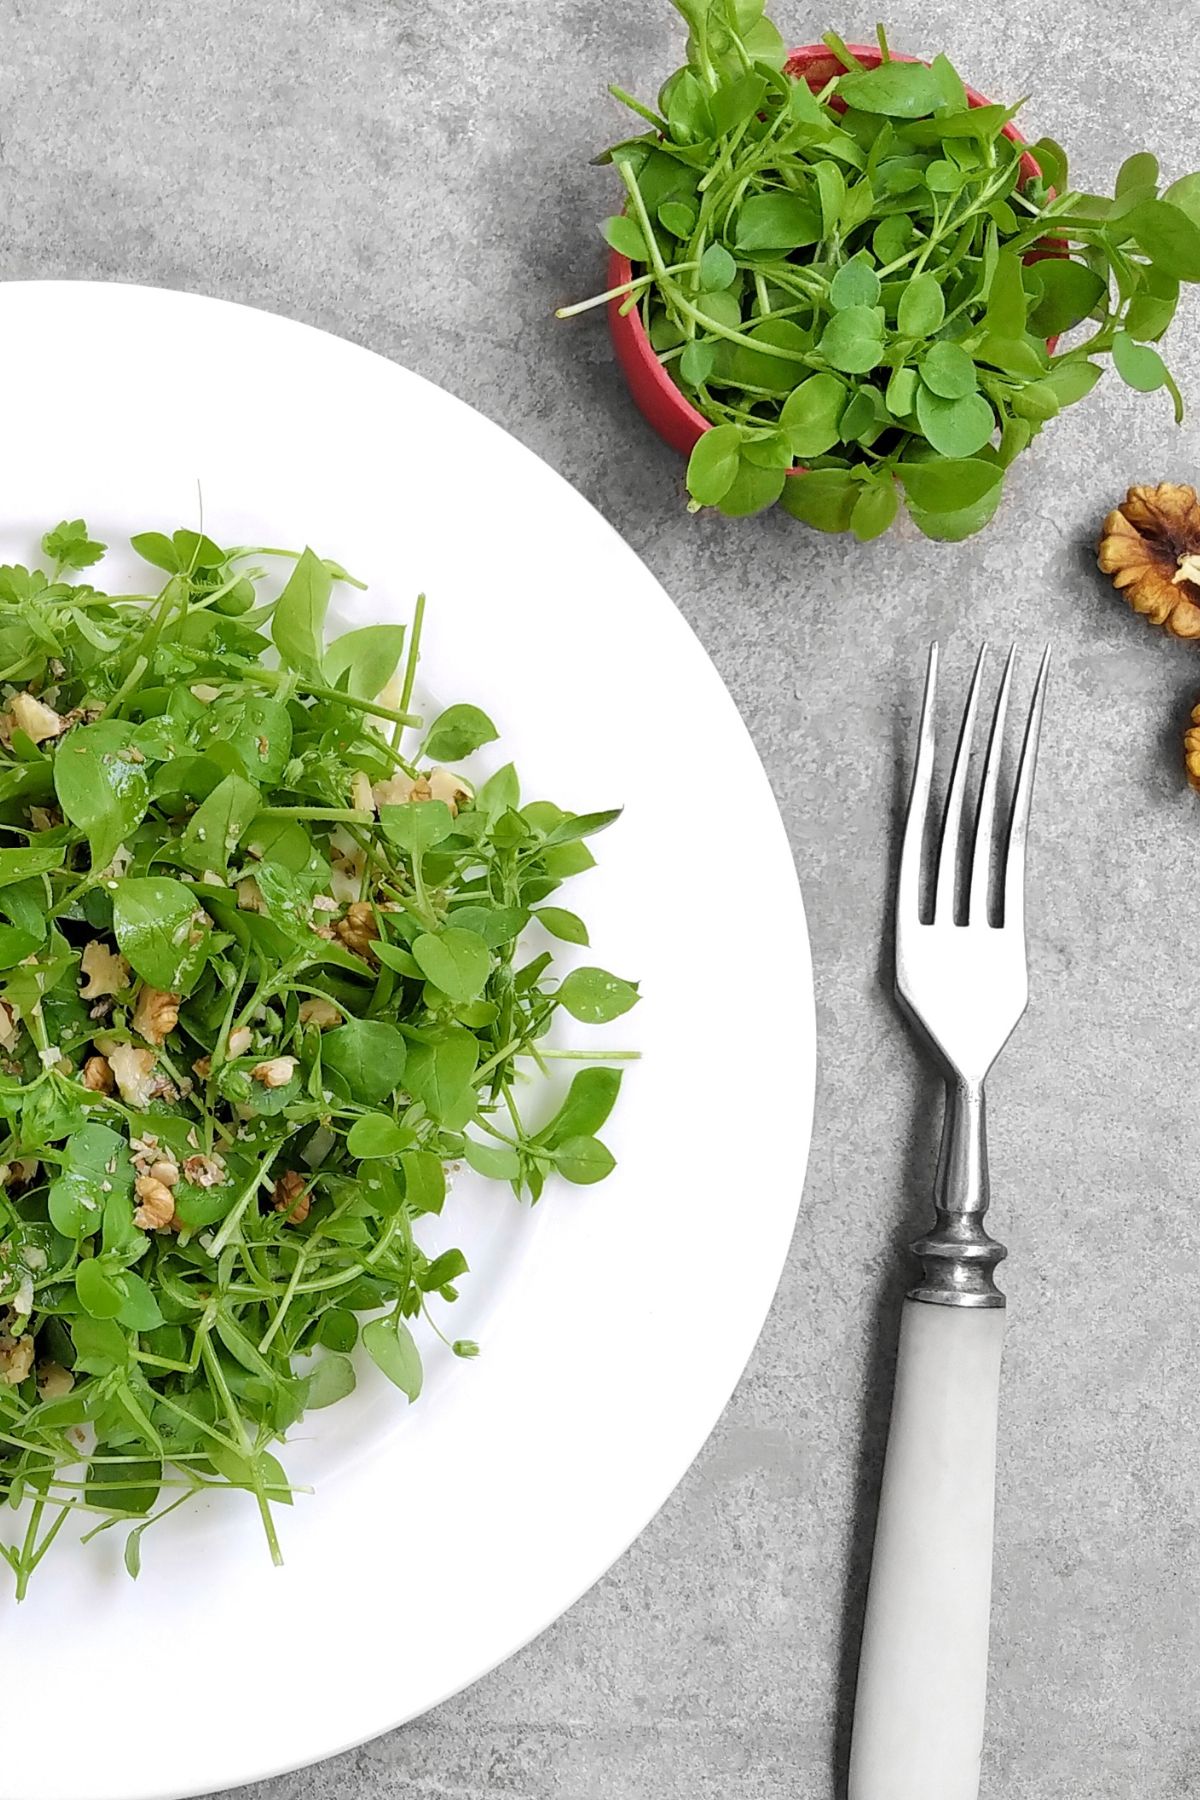
Throw them into a salad. They make a perfect addition to any leafy vegetables.
Use them to garnish omelets and other foods. This is particularly eye-catching if you use the Red Russian cultivar.
Use them instead of lettuce in sandwiches, tacos, and burgers.
Sprinkle them over flatbreads or pizzas.
Growing Tips
- Use organic kale seeds and pick the Russian Red variety for the brightest color.
- For ease of harvesting, make sure your growing container is no more than 1 to 2 inches deep.
- Instead of soil you can use grow mats, coconut coir, or paper towels.
- After germination, always water your seeds from the bottom using a second tray beneath your growing tray.
- Ensure your kale microgreens receive plenty of natural light as they grow, preferably on a sunny windowsill. If you use a grow lamp, place them under it for at least 4 to 8 hours daily.
- For best results, try to maintain a room temperature of around 70℉ (21℃), with 50% humidity and adequate ventilation.
- You can start harvesting your microgreens when they are at least 3 to 4 inches tall and have two cotyledon leaves.
- Store unused microgreens in the refrigerator for up to 5 days in a plastic bag or airtight container.
More Microgreen Resources You Might Like
I hope you make this recipe! If you do, please leave a comment and a starred review below.
And, consider following me on social media so we can stay connected. I’m on Facebook, Pinterest, Instagram, and YouTube!
How to Grow Kale Microgreens
Kale Microgreens are a superfood that you can grow right in your own kitchen. They are full of health benefits and taste great too. Learn everything you need to know about growing and eating kale microgreens.
- Total Time: 216 hours 30 minutes
- Yield: 4 Servings
Ingredients
- 2 tablespoons organic kale seeds
- Seed soil/potting soil
Instructions
- Place the soil into the growing container until it reaches the rim. Pat gently to level it out.
- Spray the soil with water. Wait until it is absorbed then spray again.
- Sprinkle the kale seeds evenly over the surface of the soil in a single, dense layer.
- Mist the seeds with water, then cover and place a weight on top. Leave to germinate for 2 to 4 days, until all the seeds have sprouted.
- Remove the cover and expose the seeds to plenty of natural sunlight.
- Water the growing microgreens from the bottom as often as necessary to keep the soil consistently moist.
- Harvest the microgreens when they are a rich green color and 3 to 4 inches tall, between 9 to 14 days after sowing.
Notes
- Use organic kale seeds and pick the Red Russian variety for the brightest color.
- For ease of harvesting, make sure your growing container is no more than 1 to 2 inches deep.
- Instead of soil you can use grow mats, coconut coir, or paper towels.
- After germination, always water your seeds from the bottom using a second tray beneath your growing tray.
- Ensure your kale microgreens receive plenty of natural light as they grow, preferably on a sunny windowsill. If you use a grow lamp, place them under it for at least 4 to 8 hours daily.
- For best results, try to maintain a room temperature of around 70℉ (21℃), with 50% humidity and adequate ventilation.
- You can start harvesting your microgreens when they are at least 3 to 4 inches tall and have two cotyledon leaves.
- Store unused microgreens in the refrigerator for up to 5 days in a plastic bag or airtight container.
- Prep Time: 30 minutes
- Cook Time: 9 days
- Category: Microgreens
- Method: Gardening
- Cuisine: Healthy
- Diet: Vegetarian
Nutrition
- Serving Size: 1 tablespoon
- Calories: 1
- Sugar:
- Sodium:
- Fat:
- Saturated Fat:
- Trans Fat:
- Carbohydrates: 0.1 g
- Fiber: 0.1 g
- Protein: 0.1 g
- Cholesterol:
Don’t forget to join my newsletter list to get exclusive clean eating recipes and tips. The newsletter is 100% free with no spam; unsubscribe anytime.
About the Author: Carrie Forrest has a master’s degree in public health with a specialty in nutrition and is a certified holistic nutritionist. She is a top wellness and food blogger with over 5 million annual visitors to her site. Carrie has an incredible story of recovery from chronic illness and is passionate about helping other women transform their health. Send her a message through her contact form.


It’s worth learning how to grow your own microgreens. It’s easy once you know what you are doing! And, you save so much money as opposed to buying them.