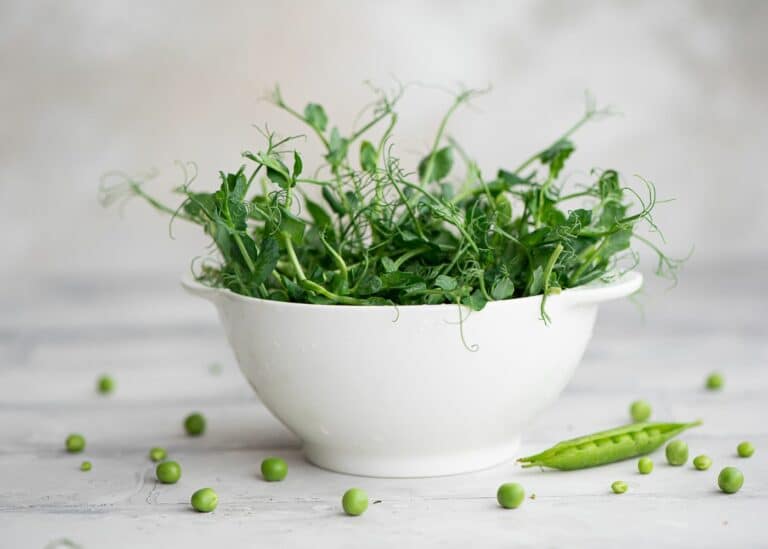
Pea Microgreens 101: Benefits and How to Grow
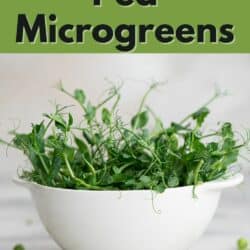
Pea Microgreens are a superfood that you can grow right in your own kitchen. They are full of health benefits and taste great too. Learn everything you need to know about how to grow pea microgreens.
What are Pea Microgreens?
Pea microgreens are young pea plants, grown in soil and harvested within just a couple of weeks of planting.
Pea microgreens vs. pea sprouts
Some people tend to confuse pea microgreens with pea sprouts, but there are a couple of big differences.
Pea sprouts are grown in water and they are harvested as soon as the root tip emerges from the seed, usually within just a couple of days. The whole seed and emerging root are consumed.
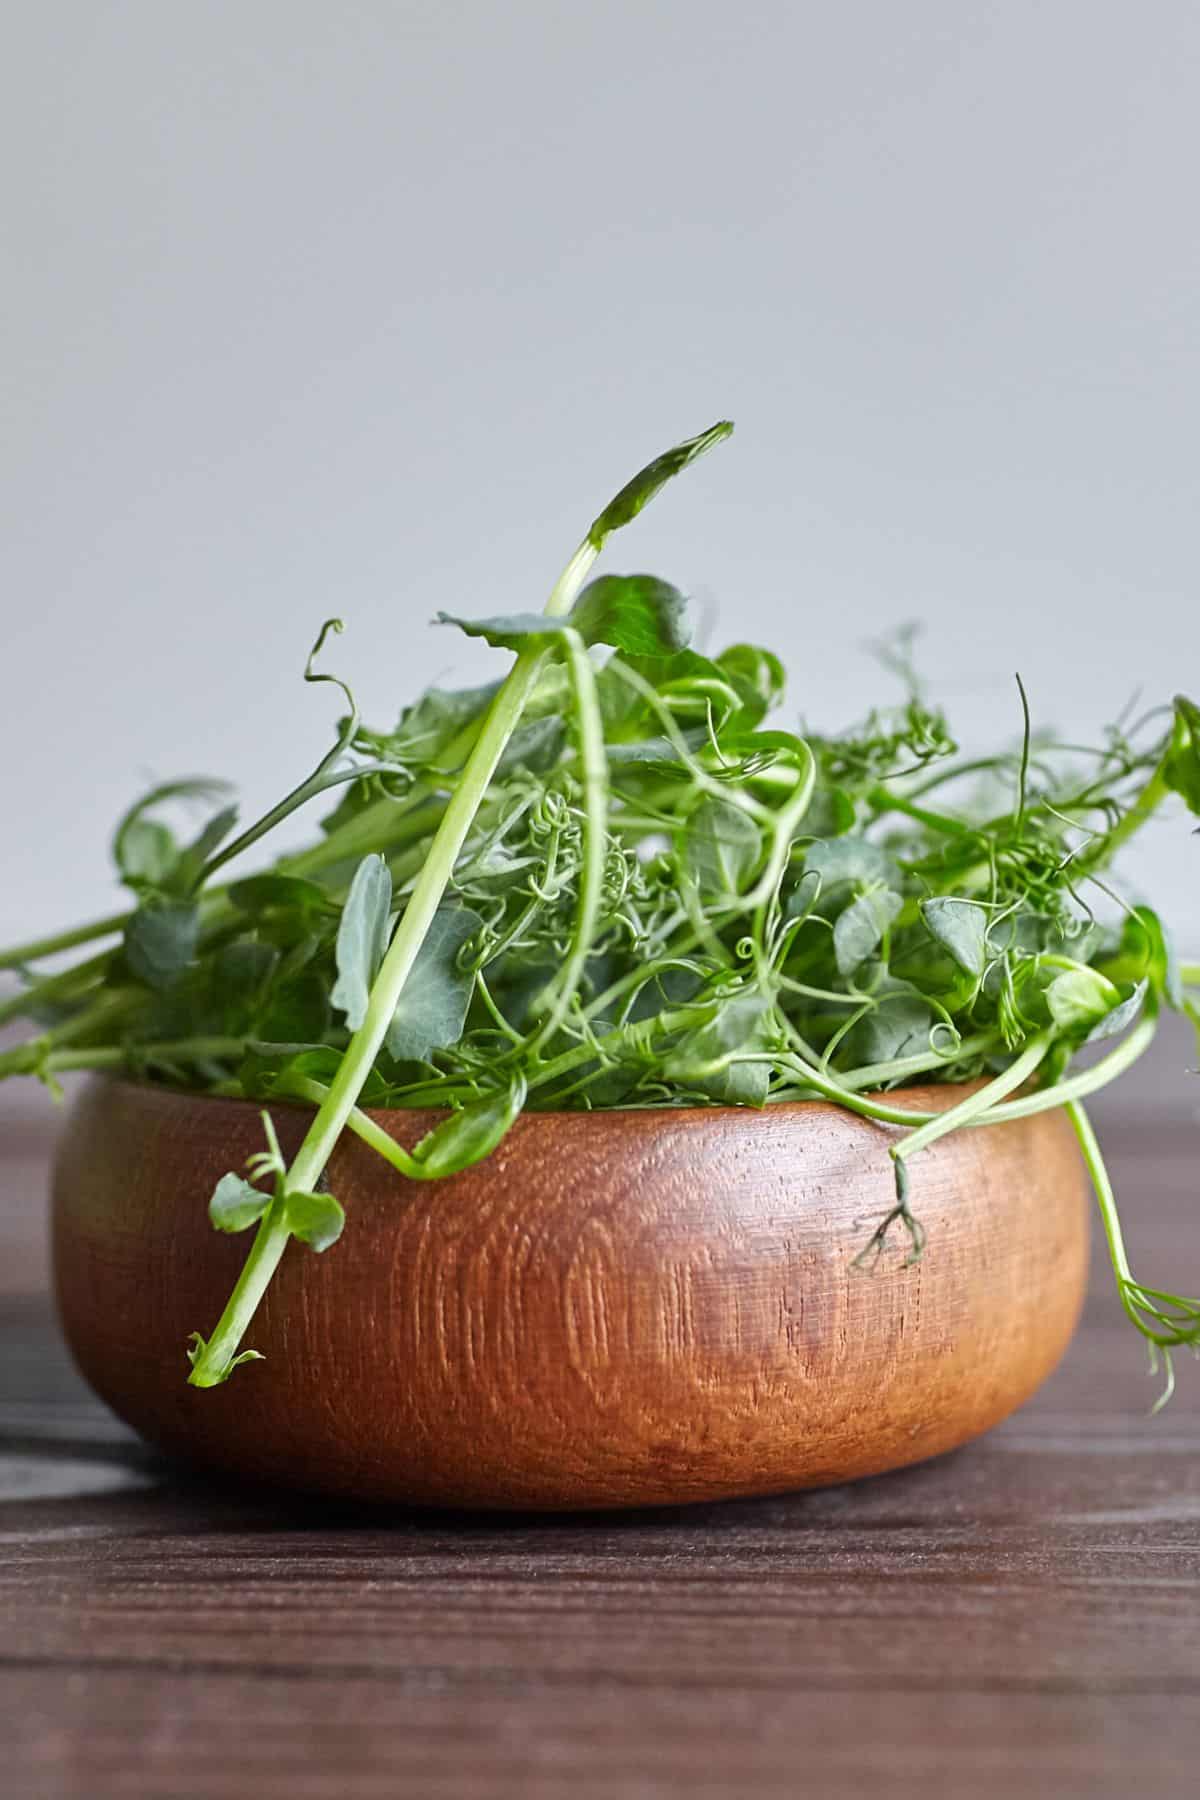
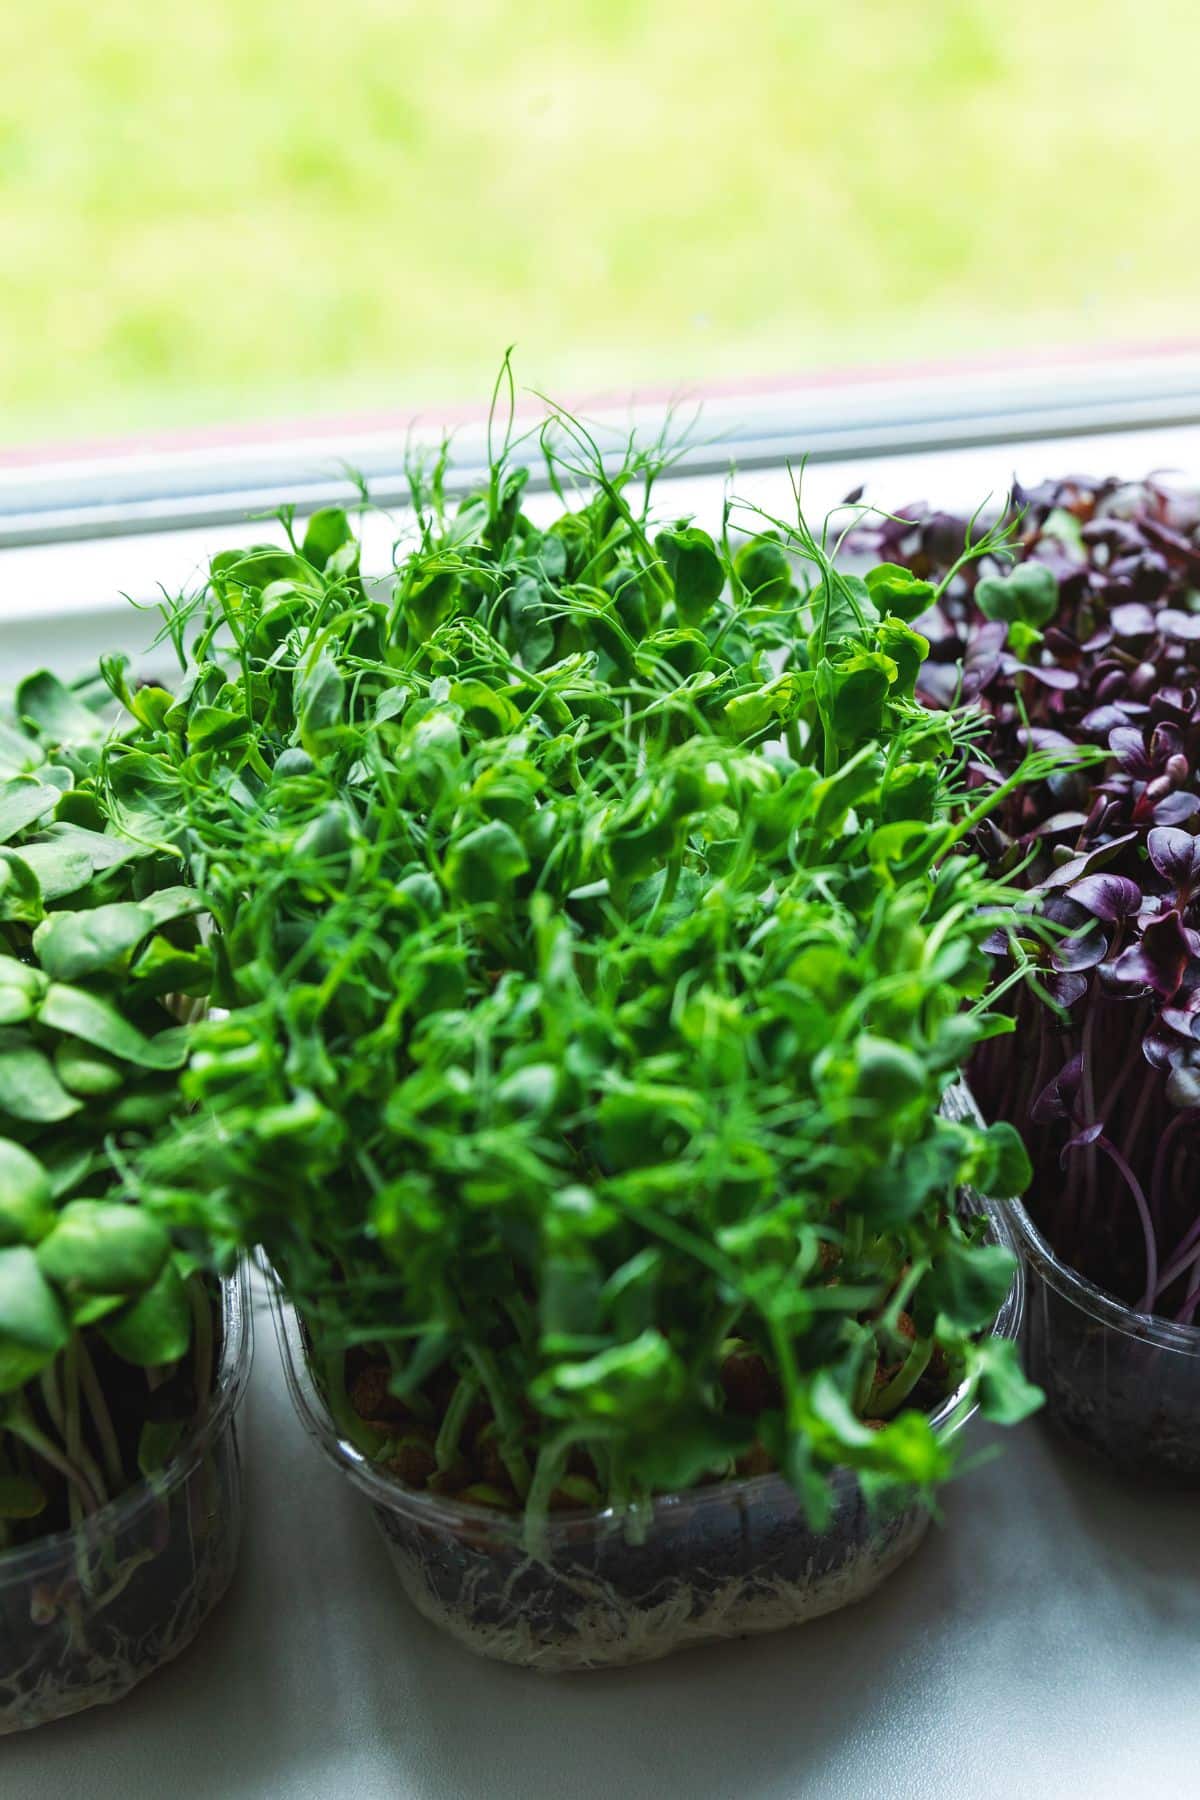
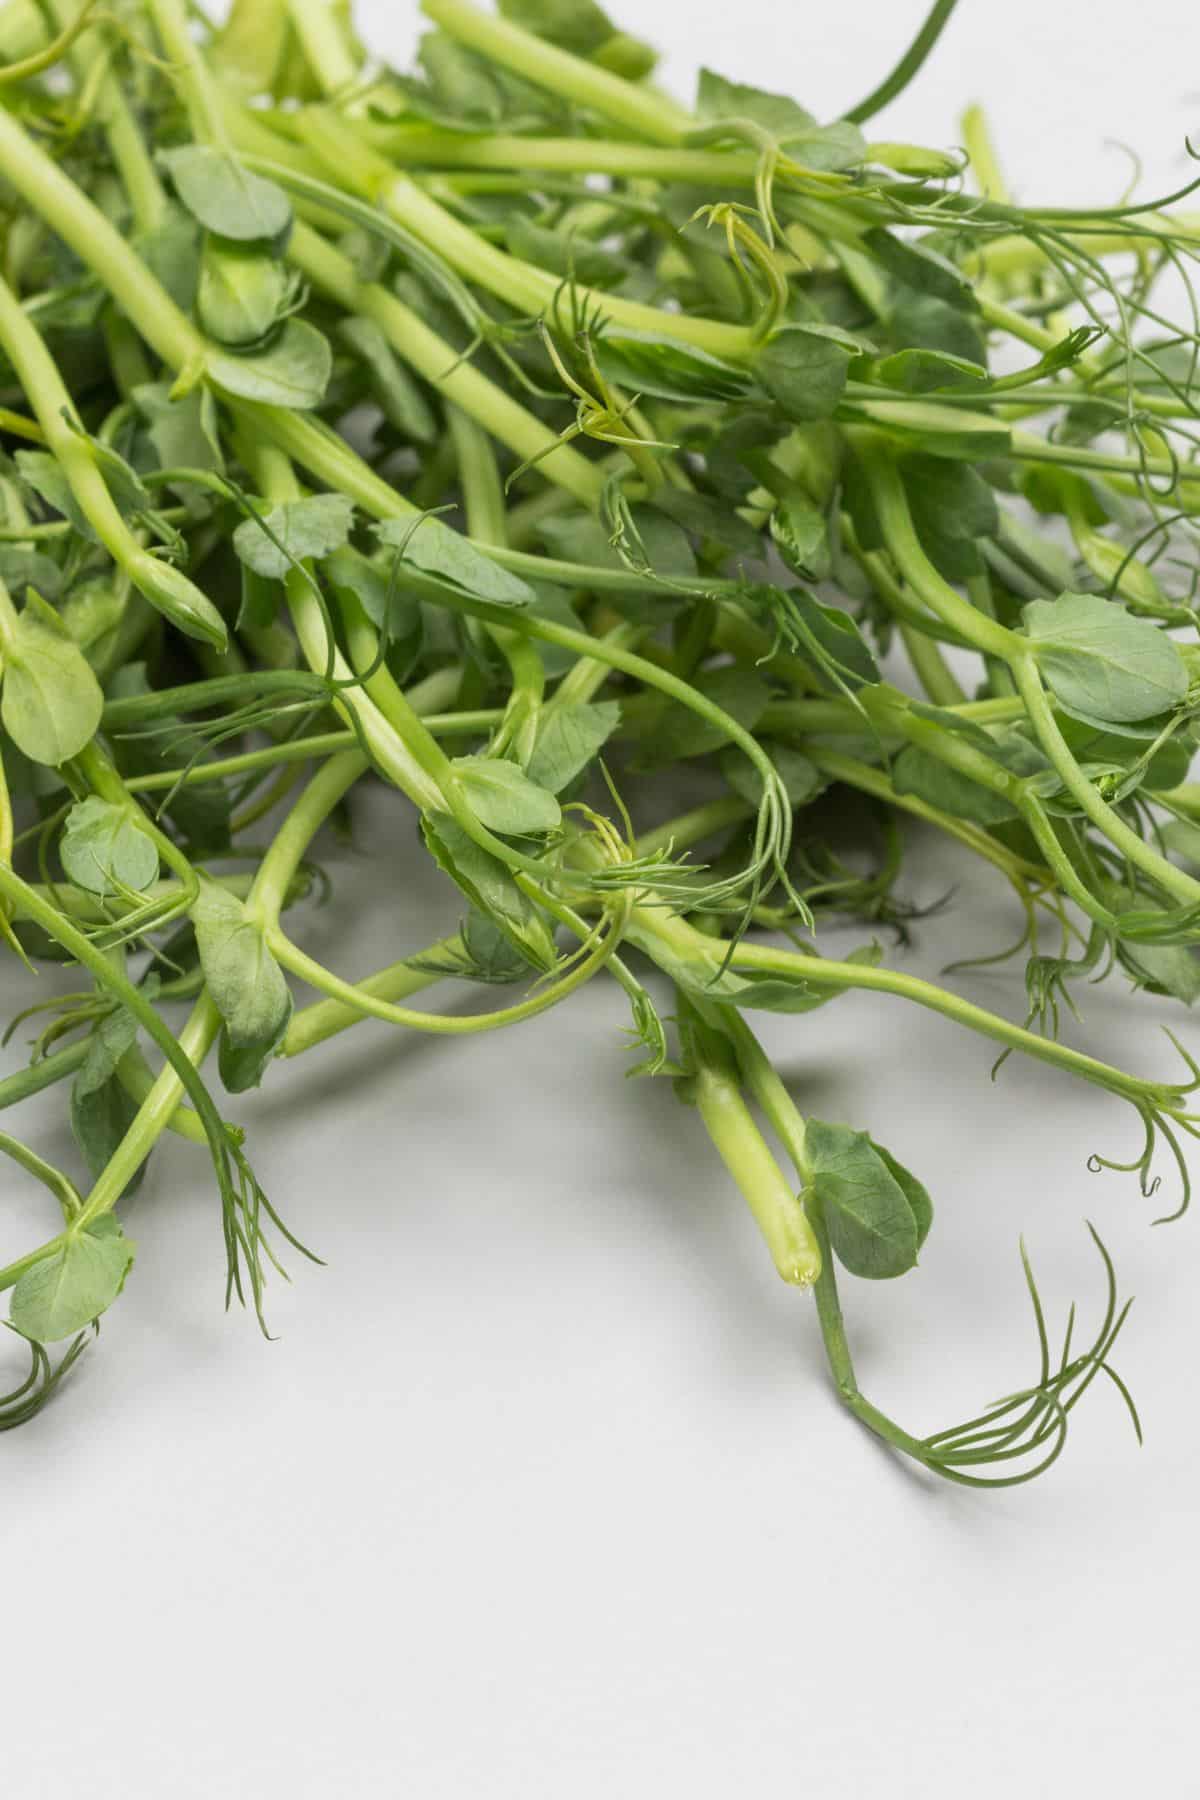
Pea microgreens, however, are grown in soil. These are usually harvested before – or just after – their true leaves have grown in, and their stems and leaves are eaten. Pea shoot microgreens picked at the later stages – when their tendrils have developed – are known as pea shoots.
If you enjoy the bright, sweet flavor of freshly podded peas, then you’ll love pea shoots or microgreens!
Nutrient-dense
And the good news is that they are a very concentrated form of nutrition, meaning a handful of pea shoots will contain lots more nutrients than a handful of peas.
If you struggle to eat vegetables in sufficient quantities – or want your child to get a real boost of vitamins and minerals in a small amount of food – consuming pea microgreens can be a great addition to your diet.
Pea Microgreen Health benefits
High in nutrition
Fresh pea microgreens are packed with nutrients! Just one cup can provide a whopping 50% of your recommended daily amount of vitamin C, along with iron, calcium, vitamin K, and vitamin A.
They also contain some protein and are a good source of fiber, supporting your digestive system and helping you feel full for longer. These micro greens may also benefit your immune system and cardiovascular health.
Phytonutrient content
Another important aspect of pea microgreens is their phytonutrient content. Studies have shown that they are a good source of beta-carotene and lutein. These nutrients are important for eye health and can also help protect against cancer and heart disease.
Not only has research shown that pea microgreens are richer in these nutrients than many other types of leafy green vegetables, but they are also more nutritionally dense. That means you can get all these benefits without eating them in large quantities or having to eat full-grown peas.
And, because microgreens are generally consumed raw, their nutrients won’t be depleted during preparation.
How to Grow Pea Microgreens: Complete Guide
Whilst it’s possible to buy pea microgreens at the grocery store, they’re not available everywhere and they can be expensive. Plus, of course, you have no idea of just how fresh they really are!
So it makes sense to grow your own pea microgreens at home. It’s easy to do, a fun project to share with kids, and immensely rewarding. It’s also very cost-effective – your set-up expenses are minimal and you’ll be producing wonderfully fresh microgreens at a fraction of the cost of buying them in stores.
If you’re familiar with growing microgreens, then you may assume that growing pea shoots will follow the same steps. This is true to a certain extent, but there are a few major differences as you’ll see in this guide.
The best difference of all is that you can usually get more than one harvest from one batch of seeds! Here are my very detailed instructions.
Supplies you’ll need
Here’s a look at everything you will need to start growing your own supply of pea microgreens.
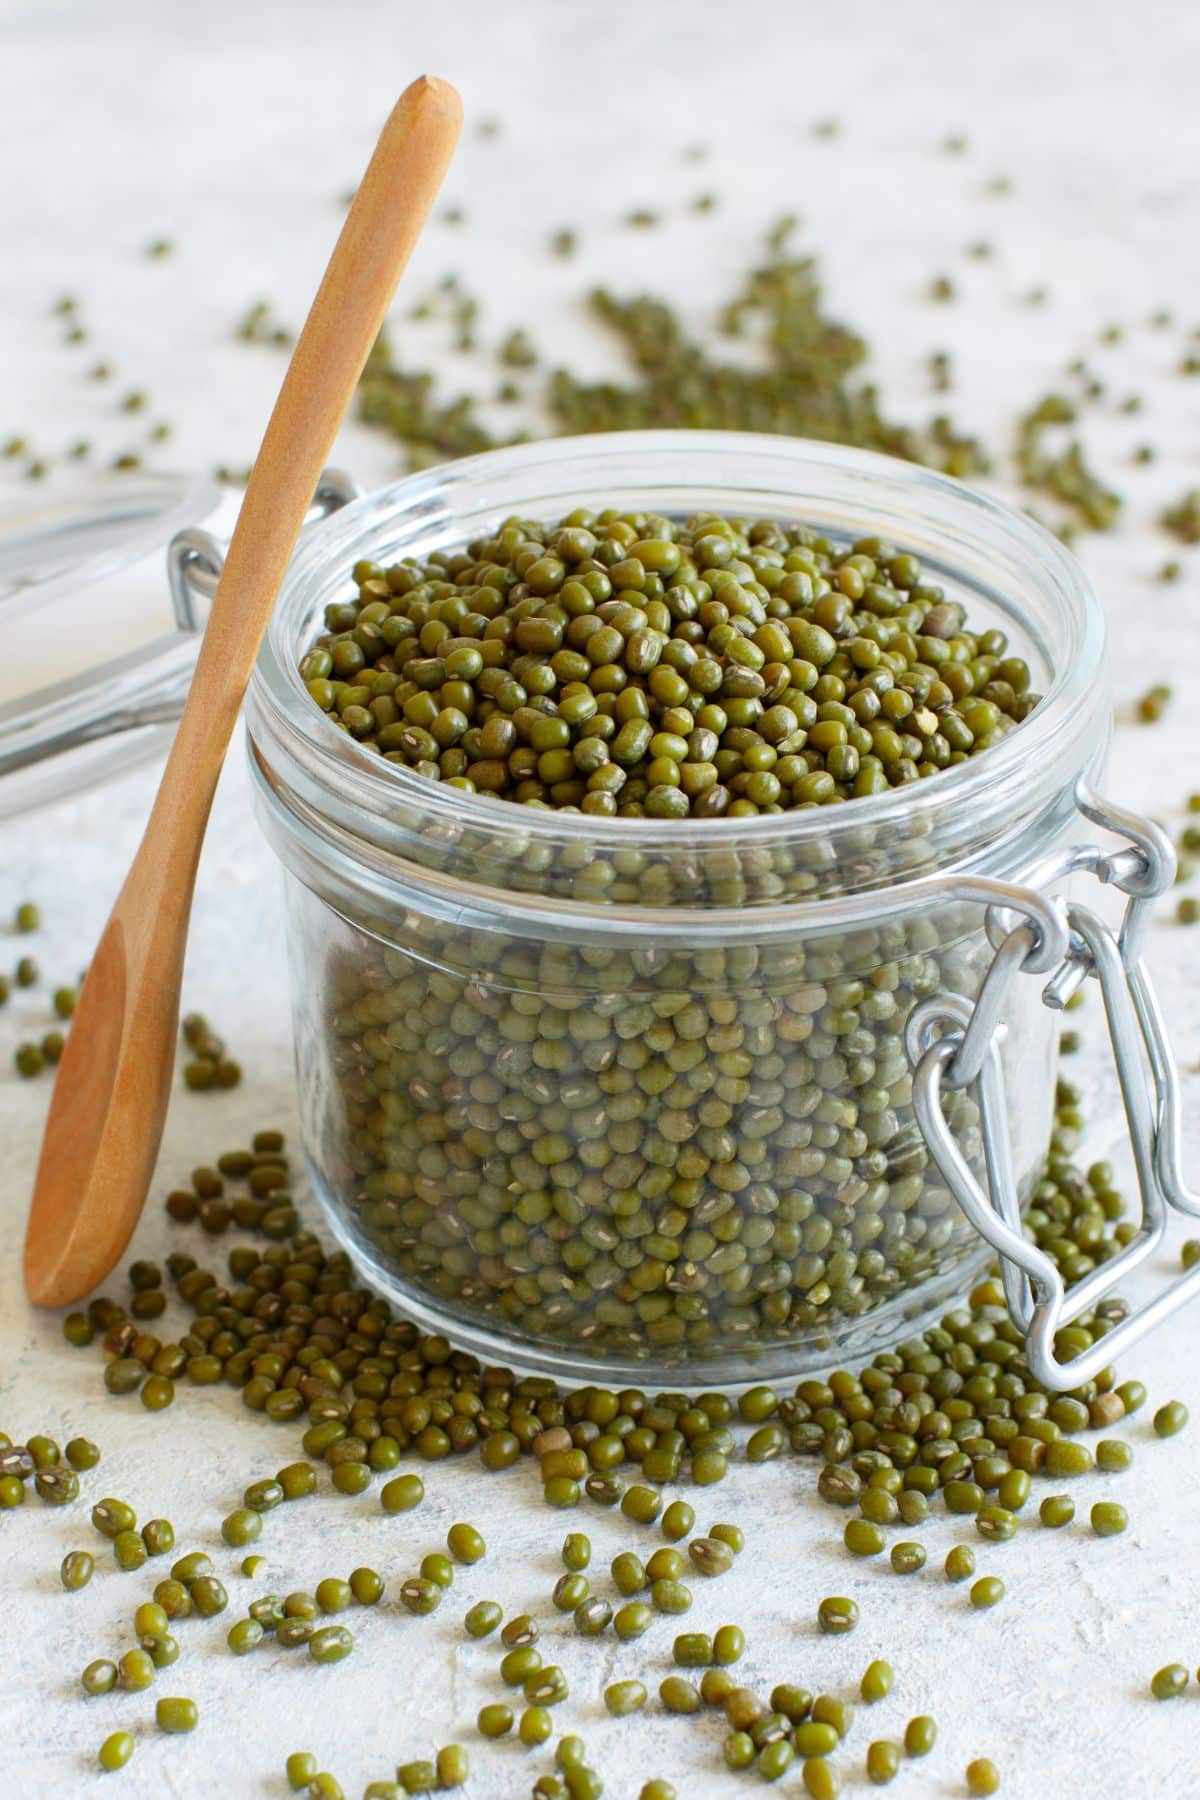
Pea seeds
You have plenty of choices here as there are lots of different varieties of pea seeds available. All produce fairly similar pea microgreens. That being said, sugar snap and snow peas tend to be the most popular varieties, as they are the sweetest in flavor.
To be sure that the seeds you choose are free from pesticides and other undesirable additives, choose an organic variety of sproutable pea seeds.
Growing medium
The best medium for growing pea microgreens is soil. Fine-grained, lightweight seed soil is ideal as it makes it very easy for the roots to become firmly established. Potting soil is another good choice.
While grow mats work well for most types of microgreens, they are not quite as good as soil for growing pea microgreens.
Containers
To make it easy to harvest your pea microgreens, you’ll need shallow trays (1 to 2 inches deep).
If you’re just testing the waters, you could use the eco-friendly option of recycled fruit containers or pie plates. However, these will likely become too small should you decide to grow pea microgreens on a regular basis!
The tray in which you plan to grow the microgreens will need holes for drainage. This will prevent the growing medium from becoming waterlogged, which – in turn – could lead to mold and rot.
You will also need a second tray, larger than the growing tray. You will place this beneath the grow tray and use it for watering the seeds. Watering seeds from the bottom keeps their leaves and stems dry – another good way to prevent mold.
Plastic containers are good for growing plants.
Spray bottle
You’ll need this for watering the seeds on the top of the soil immediately after you’ve sown them. To grow the pea microgreens seeds, you’ll need plenty of water.
Light source
Once they’ve germinated, pea seeds need plenty of light in order to develop their green leaves.
You can grow pea shoots in natural light. Placing the growing trays on a sunny windowsill may provide all the light you’ll need for a healthy crop!
But another option is to use a grow light. This might be a good idea if you live in an area with very little sunlight, or you simply don’t have space near a window.
Using a grow light makes it easy to bathe all the seeds in light at the same time so that the microgreens you produce are uniform in size.
How to soak pea microgreen seeds
Unlike other microgreen seeds, pea seeds need to be soaked.
Most microgreen seeds are very, very tiny whereas pea seeds are large. They will need to absorb water before they will begin to germinate, and soaking them helps this process along.
Place your pea seeds in a large bowl of cold water and leave them to soak. Ideally, this will be for between 6 and 12 hours, although you can leave them for a maximum of 24 hours.
You’ll notice that the seeds will begin to expand, doubling their size by the end of the soaking time. If you don’t start with enough water you may need to add more before the time is up.
At the end of the soaking time, the peas should look nice and plump. Drain them and rinse them well.
Note: Because the pea seeds swell so much, don’t soak more than you can sow. Look at the size of your container to see how many pea seeds would cover the bottom of it. Then soak just half as many!
How to sow your pea microgreen seeds
Place the soil into your growing container until it is around ¾ full. Pat it down gently and smooth it down with your hand.
Spread the pea seeds evenly over the surface of the soil and press them into it very gently. Ensure they are in a single layer and not piled up in clumps, which would cause them to rot.
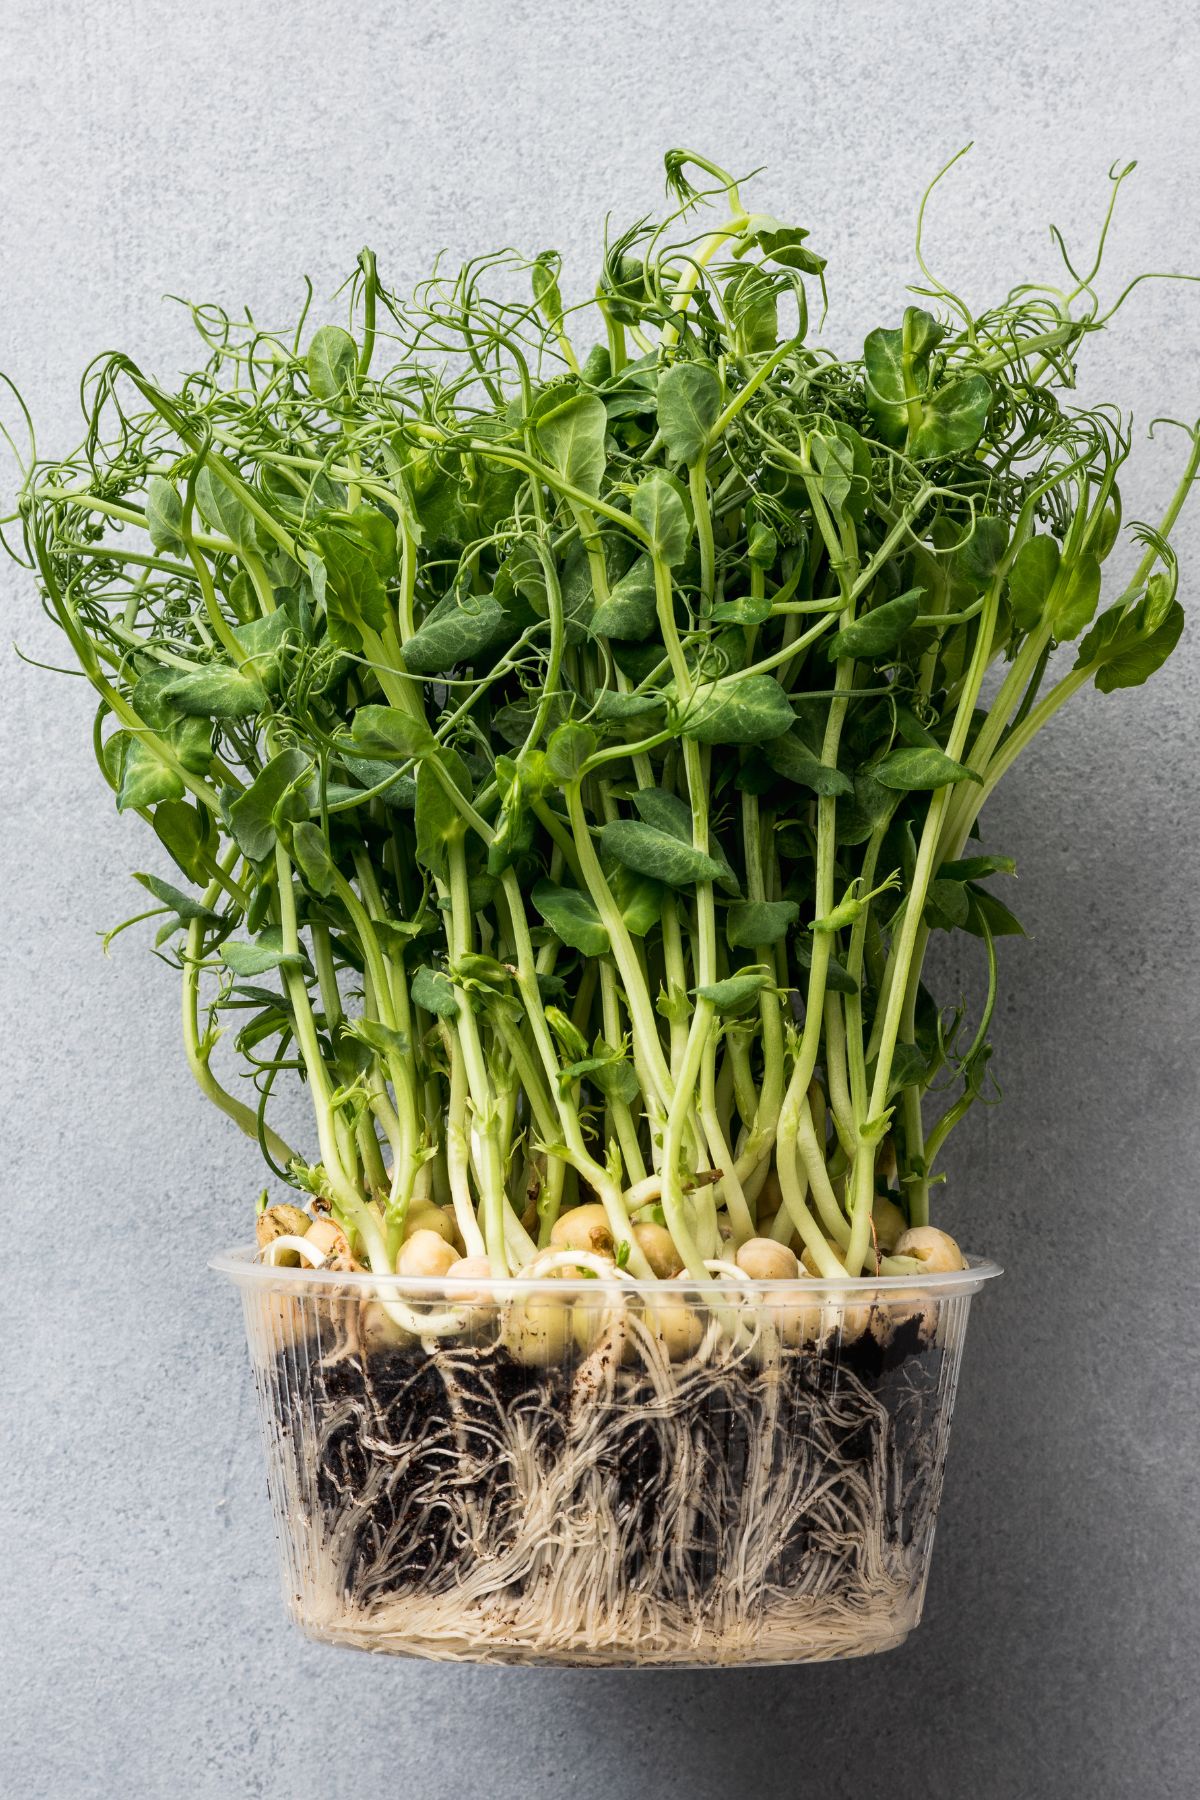
You then need to cover the seeds on the top of the soil with a thin layer of soil. Although this isn’t a step you’d usually take when growing microgreens, it is necessary with pea microgreens because they tend to push themselves out of the soil surface as they put down roots.
Spray the surface of the soil with water from the spray bottle. Wait for it to soak into the soil, then spray it gently again.
How to germinate the seeds
To germinate your pea seeds, they will need to be kept in moist, dark conditions.
To create the right environment, use your second, larger tray to cover the growing tray. Place a 5-pound weight on top of the cover.
Without it, your pea microgreens will lift the cover as the seeds start to germinate and put down roots. Keeping weight on the cover will also encourage the roots to drop deeply into the soil, spreading outwards instead of pushing the seed up and out.
Leave the seeds to germinate in a warm spot for 3 to 4 days, then take a look under the cover. Your seeds should now look like sprouts, around an inch in length. They won’t look green yet – that happens at the next stage.
If you think they’re not quite ready, mist them with water again and replace the cover. Leave them to germinate for a day or 2 longer.
Expose the pea microgreens to light and watch them grow!
Once the seeds are ready it’s time to remove the cover and expose them to plenty of light. If you opt for a grow lamp, ensure they are under it for at least 12 hours every day.
Place the growing tray on top of the second, larger tray and water the seeds well. The soil will absorb the water via the drainage holes in the growing tray. Once the soil is moist, remove the second tray to avoid overwatering the seeds. Too much water may cause them to rot.
Watch the soil carefully and whenever it seems dry, water them from the bottom using your watering tray.
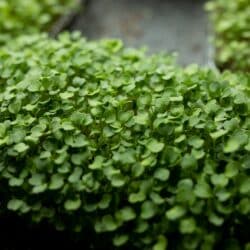
Over the next few days, your sprouted seeds will develop into pea microgreens. The light they receive will trigger the process of photosynthesis, giving them a rich, green color. If they look too pale, they are not receiving enough light. It is important to rectify this, as pale microgreens won’t taste as good, nor will their nutritional value be quite as high.
Aim to keep your growing microgreens in a warm area – around 70℉ (21℃) is ideal. They also require good ventilation and a humidity level of around 50%.
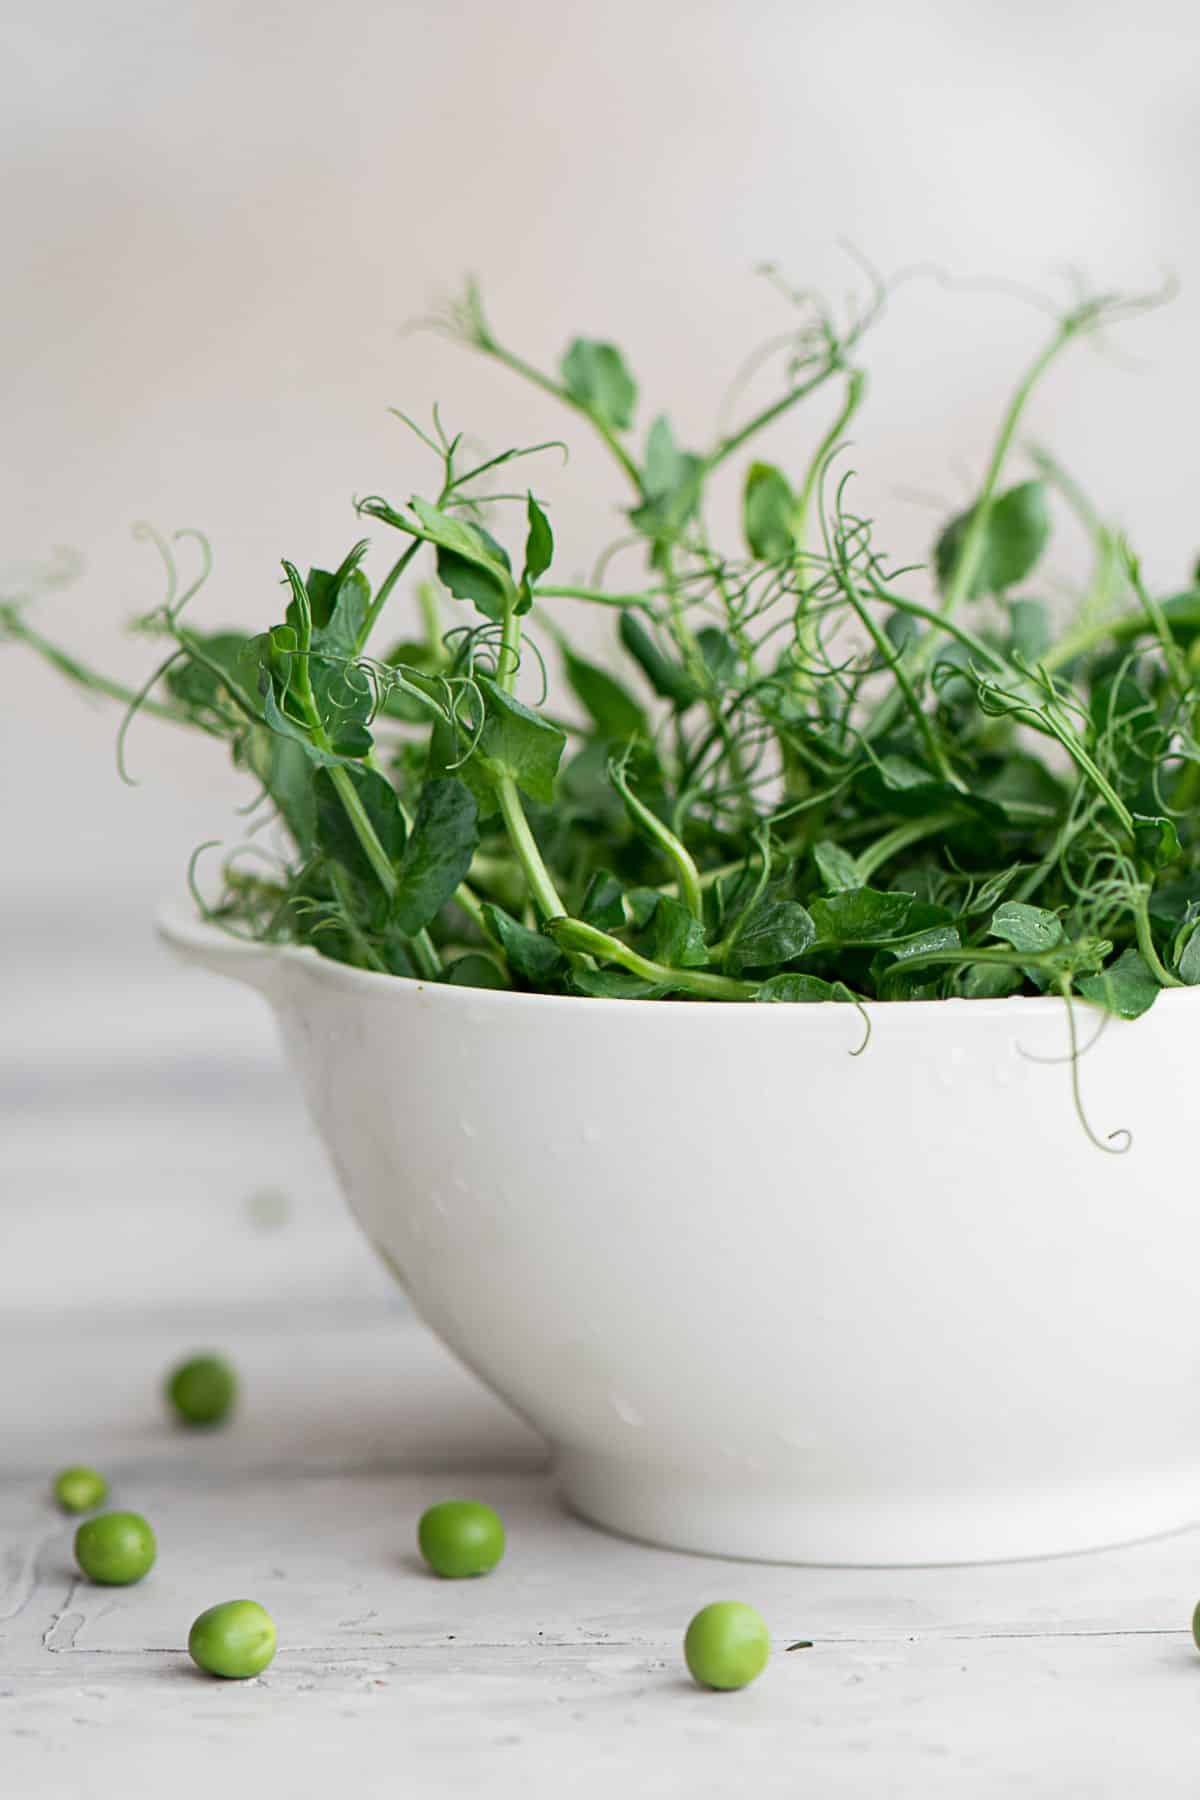
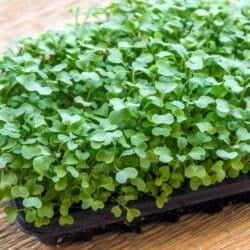
Harvesting your pea microgreens
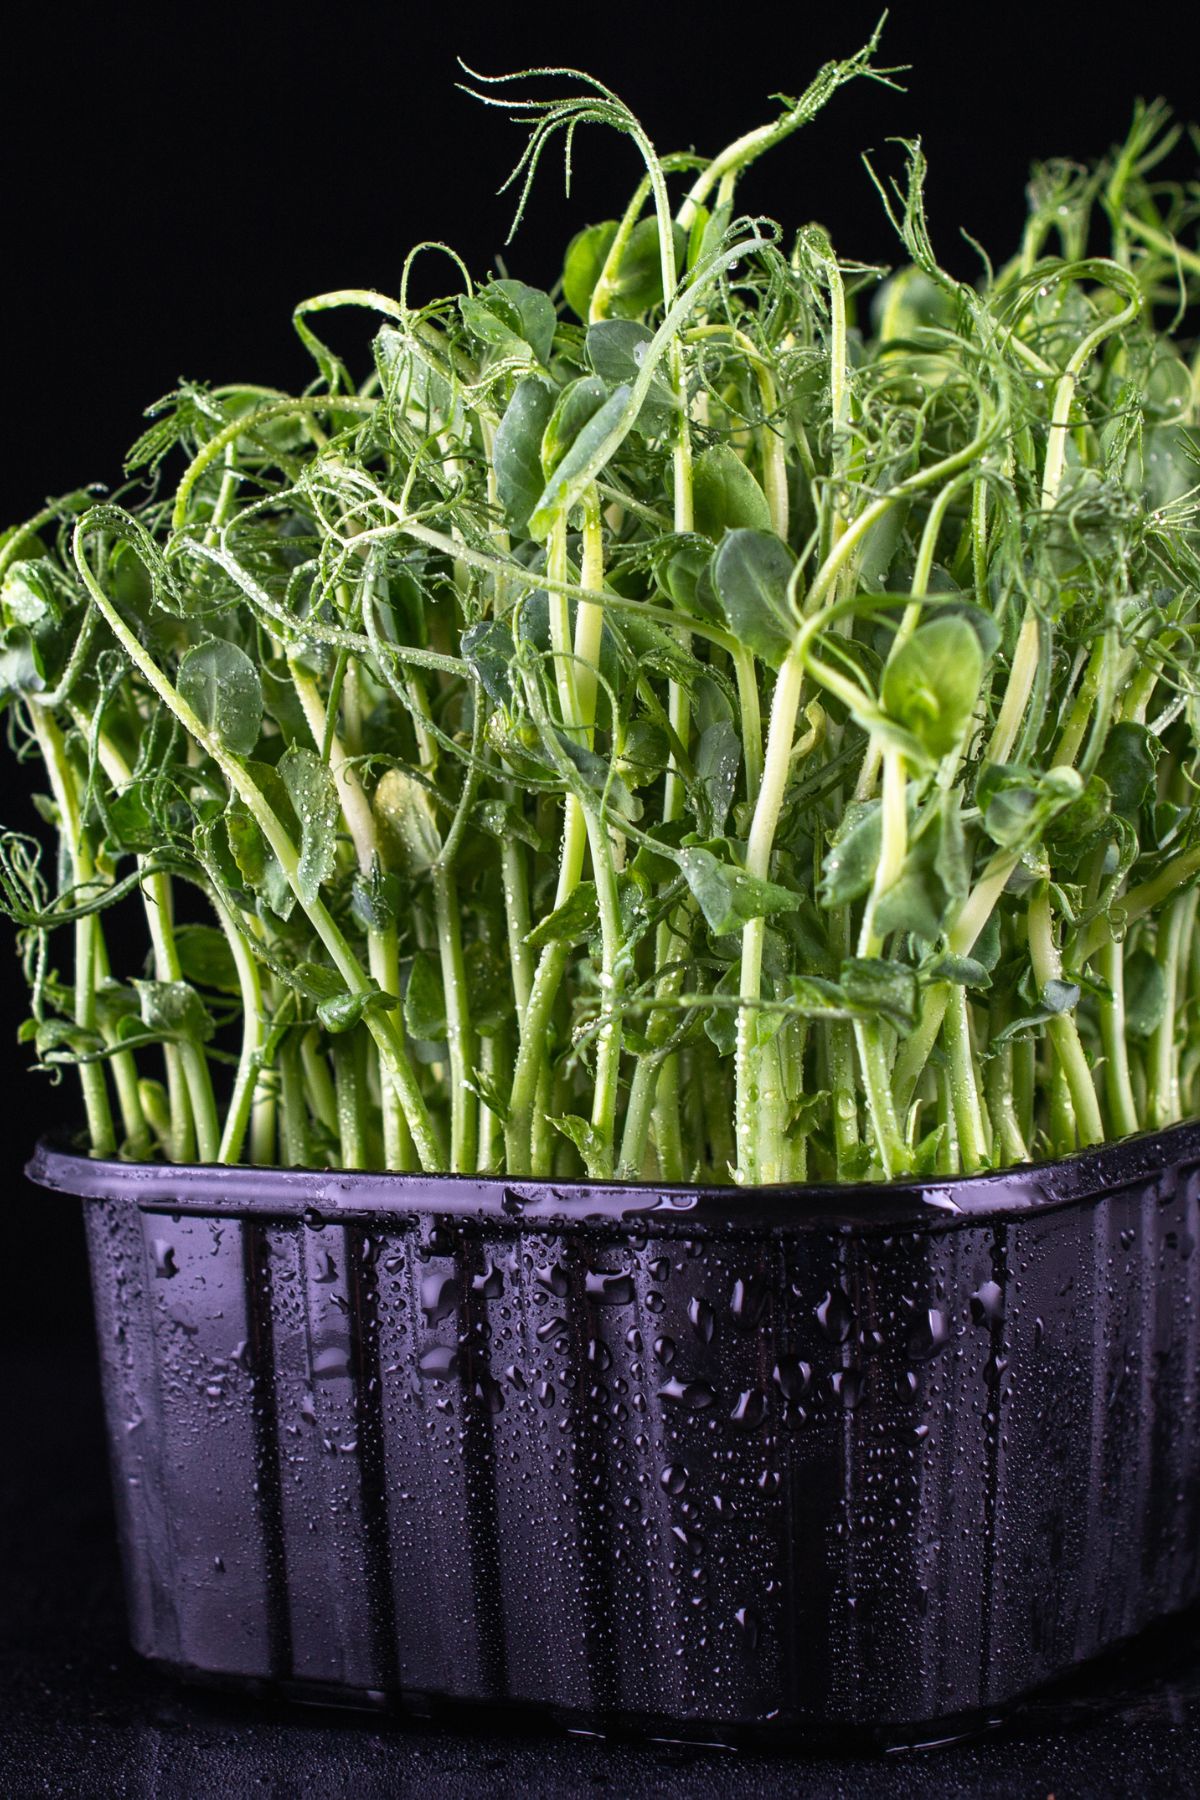
Within around 3 to 5 days, your microgreens should be around 3 to 4 inches tall and will have developed their cotyledons (the very first leaves to appear). You can choose to harvest them at this point if you prefer.
Alternatively, you can wait another few days until they become pea shoots, with tendrils and their first true leaves. At this point, they will be somewhere between 3 to 5 inches tall. I recommend tasting them at the earlier stage, then again a few days later to see which you prefer.
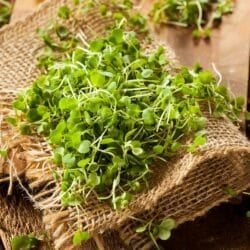
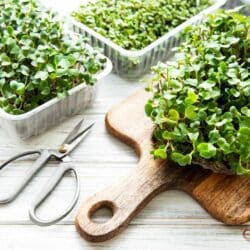
Stop watering the microgreens 12 hours before harvesting to make sure they are dry. This makes it easier to store them afterward. Using a sharp pair of scissors, snip off the microgreens in bunches just above the surface of the soil. Try to leave a few leaves behind, as this will help you get a second (or maybe even a third) harvest from the same batch of seeds.
Once you’ve finished harvesting the microgreens, place your growing tray back under the light and continue to water when needed.
Storing your pea microgreens
If you have harvested more pea microgreens than you can use in one batch, you will need to store them in the fridge.
First, wrap them in a paper towel to absorb any moisture. This will help them last longer.
Then place them in an airtight container or plastic bag and keep them refrigerated. They have a longer shelf life than other types of microgreens, lasting for 7 days and possibly longer.
Microgreen Steps
Step One
Soak your pea seeds in a large bowl of water for between 6 and 24 hours, until doubled in size. Add more water if necessary.
Step Two
Place your growing medium into a suitable container. Seed soil or potting soil are the best choices, but you can also use growing mats, paper towels, or coconut coir.
Step Three
Spread your pea seeds over the surface, ensuring they are fairly dense but in a single layer. Press them down gently then cover them with a thin layer of soil.
Step Four
Spray the soil lightly with water and allow it to sink in. Respray the surface once again.
Step Five
Cover the growing tray to retain moisture and block out the light. Place a weight on top to keep the cover in place. Leave to germinate until all the seeds have sprouted.
Step Six
Remove the cover and expose the seeds to plenty of natural light, or use grow lights. Water regularly.
Step Seven
Harvest within 8 to 14 days of planting.
Microgreen Growing FAQs
Pea microgreens grow very quickly and are ready within 8 to 14 days after sowing, depending on at which stage of their growth cycle you prefer to harvest them.
This is because they are ready to eat very shortly after germination when they are rich in nutrients.
Pea microgreens are particularly popular for their sweet flavor, especially when you compare them to slightly more bitter microgreens like kale or radish. They have a fresh pea taste that is pleasant.
Here are some different ways to enjoy them:
Mix them with your salads.
Serve them instead of lettuce in sandwiches, burgers, and tacos.
Use them as a garnish for scrambled eggs, omelets, and more.
Add them to your daily smoothie or juice.
Use them in soups, stir-fries, or stews, adding them within the last few minutes of cooking time to preserve their nutrients.
Growing Tips
- Use organic pea seeds, preferably sugar snaps or snow peas.
- For ease of harvesting, make sure your growing container is no more than 1 to 2 inches deep.
- After germination, always water your seeds from the bottom using a second tray beneath your growing tray.
- Ensure your pea microgreens receive plenty of natural light as they grow, preferably on a sunny windowsill. If you use a grow lamp, place them under it for at least 12 hours daily.
- For best results, try to maintain a room temperature of around 70℉ (21℃), with 50% humidity and adequate ventilation.
- Harvest your microgreens once they are 3 to 4 inches tall and have their cotyledon leaves. Alternatively, wait a few more days and allow them to develop their tendrils and true leaves.
- Try to leave a few leaves after harvesting, to encourage the growth of a second or third batch.
- Store unused microgreens in the refrigerator for up to 7 days in a plastic bag or airtight container.
Don’t Miss These Microgreens Resources
I hope you make this recipe! If you do, please leave a comment and a starred review below.
And, consider following me on social media so we can stay connected. I’m on Facebook, Pinterest, Instagram, and YouTube!
How to Grow Pea Microgreens
Pea Microgreens are a superfood that you can grow right in your own kitchen. They are full of health benefits and taste great too. Learn everything you need to know about pea microgreens.
- Total Time: 336 hours 30 minutes
- Yield: 4 Servings
Ingredients
- 2 tablespoons organic pea seeds
- seed soil/potting soil
Instructions
- Soak the pea seeds.
- Place the soil into the growing container until it reaches the rim. Pat gently to level it out.
- Sprinkle the pea seeds evenly over the surface of the soil in a single, dense layer. Cover with a thin layer of soil.
- Spray the soil with water. Wait until it is absorbed then spray again.
- Cover and place a weight on top. Leave to germinate for 3 to 4 days, until all the seeds have sprouted.
- Remove the cover and expose the seeds to plenty of natural sunlight, or use a grow lamp. Water the growing microgreens from the bottom as often as necessary to keep the soil consistently moist.
- Harvest the microgreens when they are a rich green color and at least 3 to 4 inches tall, between 8 to 14 days after sowing.
Notes
- Use organic pea seeds, preferably sugar snaps or snow peas.
- For ease of harvesting, make sure your growing container is no more than 1 to 2 inches deep.
- After germination, always water your seeds from the bottom using a second tray beneath your growing tray.
- Ensure your pea microgreens receive plenty of natural light as they grow, preferably on a sunny windowsill. If you use a grow lamp, place them under it for at least 12 hours daily.
- For best results, try to maintain a room temperature of around 70℉ (21℃), with 50% humidity and adequate ventilation.
- Harvest your microgreens once they are 3 to 4 inches tall and have their cotyledon leaves. Alternatively, wait a few more days and allow them to develop their tendrils and true leaves.
- Try to leave a few leaves after harvesting, to encourage the growth of a second or third batch.
- Store unused microgreens in the refrigerator for up to 7 days in a plastic bag or airtight container.
- Prep Time: 30 minutes
- Cook Time: 14 days
- Category: Microgreens
- Method: Gardening
- Cuisine: Healthy
- Diet: Vegetarian
Nutrition
- Serving Size: 1 tablespoon
- Calories: 1
- Sugar:
- Sodium:
- Fat:
- Saturated Fat:
- Trans Fat:
- Carbohydrates: 0.1 g
- Fiber: 0.1 g
- Protein: 0.1 g
- Cholesterol:
Don’t forget to join my newsletter list to get exclusive clean eating recipes and tips. The newsletter is 100% free with no spam; unsubscribe anytime.
About the Author: Carrie Forrest has a master’s degree in public health with a specialty in nutrition and is a certified holistic nutritionist. She is a top wellness and food blogger with over 5 million annual visitors to her site. Carrie has an incredible story of recovery from chronic illness and is passionate about helping other women transform their health. Send her a message through her contact form.
Note: this post is for informational purposes only and is not intended as medical advice. Please consult your healthcare provider for recommendations related to your individual situation.


Pea microgreens are one of my favorites! So easy and tasty!