Radish Microgreens 101: Benefits and How to Grow

Radish Microgreens are a superfood that you can grow right in your own kitchen. They are full of health benefits and taste great too. Learn everything you need to know about how to radish microgreens.
Radish Microgreens Overview
Most of us are familiar with radishes. They are pinky-red, peppery little vegetables that add such a delicious crunch to salads.
What are radish microgreens?
Radish microgreens, however, are not so well known. Yet these amazing plants deliver all the benefits of mature radishes many times over – and in much smaller quantities!
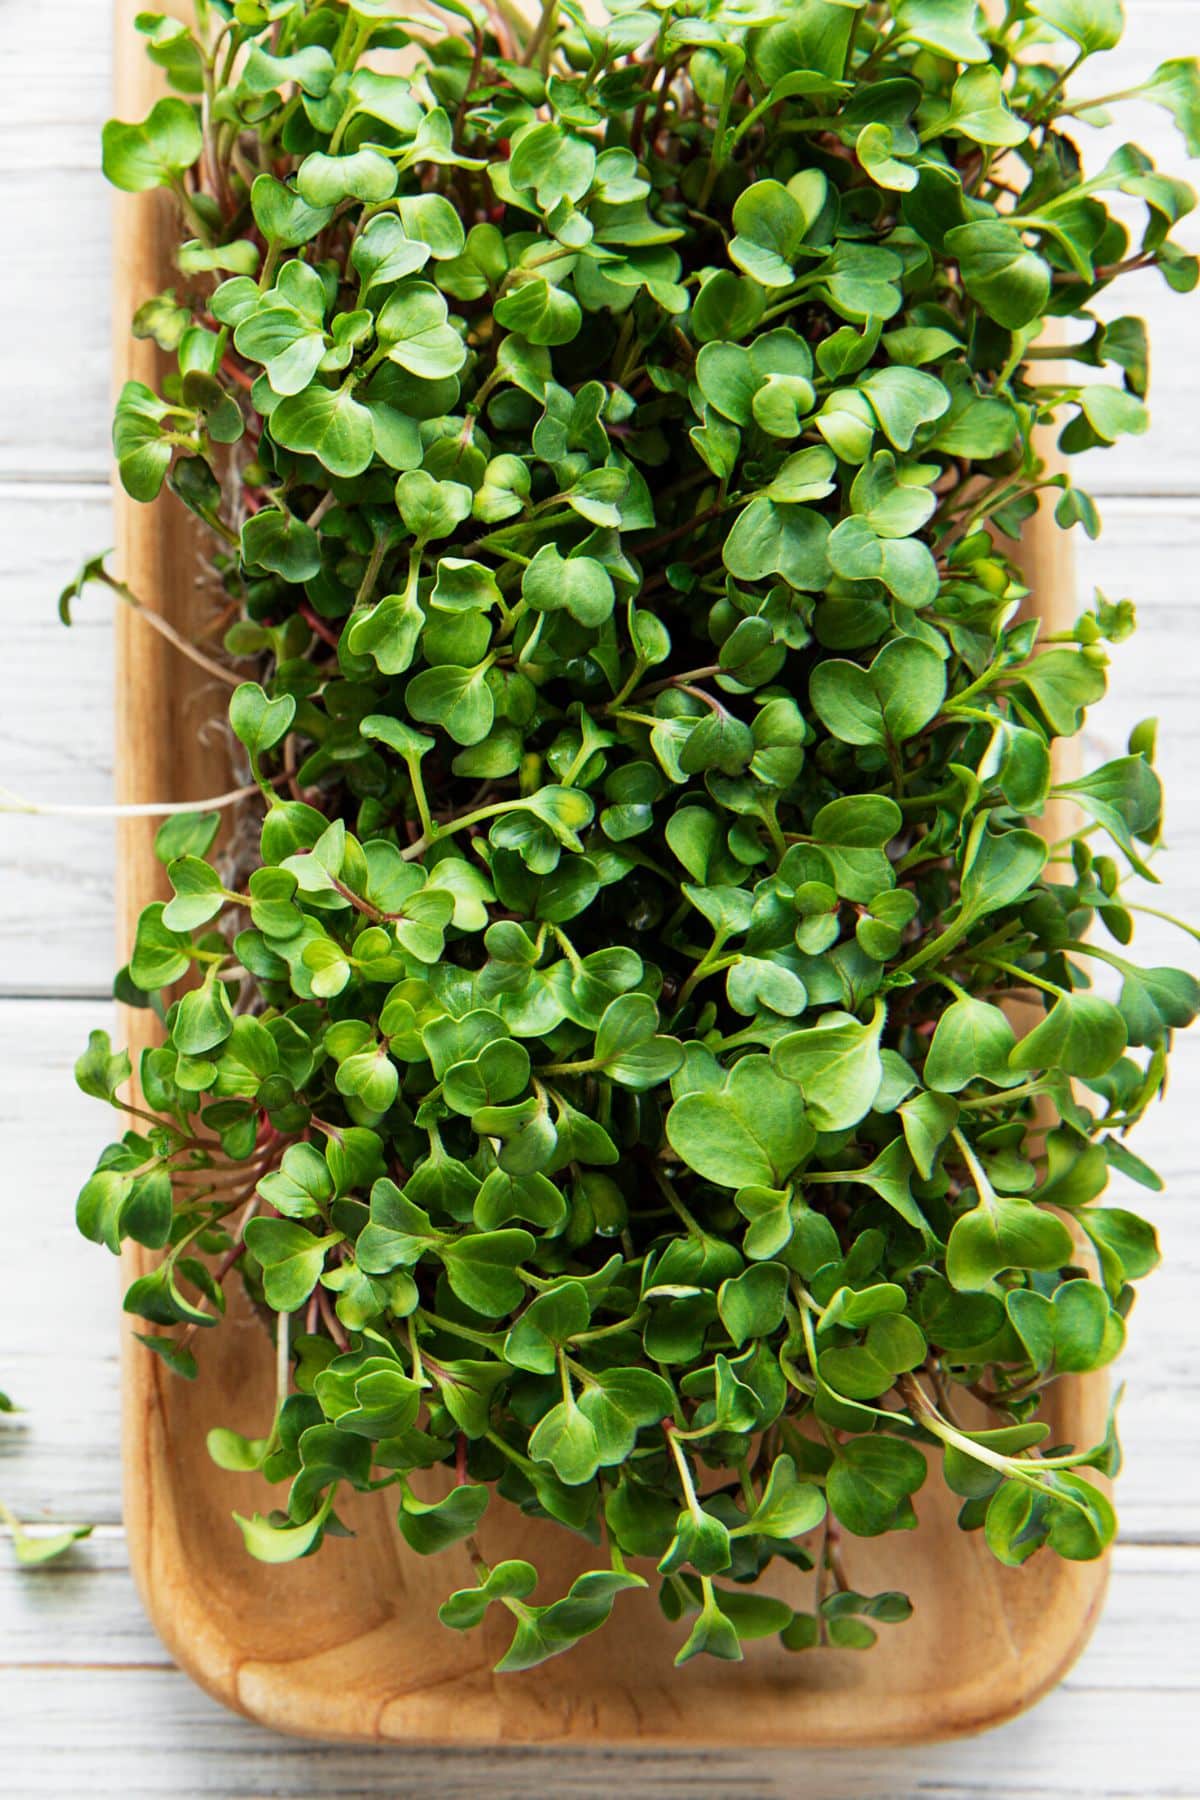
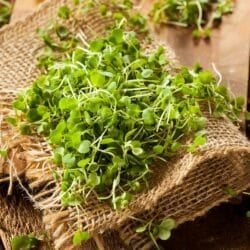
Radish microgreens are tiny radish plants, harvested when they are just a couple of inches tall. Part of the Brassica family, they taste like a milder version of regular radishes – but because they are picked so early they are simply brimming with nutrients.
Benefits of growing your own
They may not be widely available in stores, but you can create a regular supply of radish microgreens by growing your own at home. Not only is this easy to do, but it’s also fun – even if you’re an impatient gardener.
From start to finish, the entire process from planting your seeds to consuming your radish microgreens takes around just 10 days.
Are radish microgreens the same as radish sprouts?
No. Whereas radish microgreens grow in soil, sprouts are germinated in water.
And while you eat the seed and green shoots of radish sprouts, you eat the stems and leaves of microgreens (but not the seed, as this stays in the soil).
Potential Health Benefits
Not only are radish microgreens even richer in nutrients than the fully grown variety, but they are so small that it’s easy to consume a lot of them in one sitting and reap the benefits.
Some people – especially children – might find it challenging to consume lots of radishes in one meal. But a handful of crunchy little radish microgreens stirred into a salad or concealed in a sandwich is much easier to eat!
Nutrient-dense
Packed with antioxidants, radish microgreens contain an array of vitamins and minerals, including iron, calcium, and fiber.
All microgreens are good for you. But researchers looking at 25 different varieties found that there are four types of microgreens in particular that have very high levels of carotenoids, along with vitamin C, vitamin E, and vitamin K.
The good news is that radish microgreens (specifically the green daikon variety) were one of those four! The nutrients in radish microgreens support the body in all sorts of ways.
Disease-protective
Their high vitamin C nutrient content can help boost your immune system, and assist with the production of collagen to aid healing. Meanwhile, the vitamin A they contain helps promote good vision.
Radish microgreens may also offer protection against cancer.
They contain compounds that are broken down into molecules called isothiocyanates when combined with water. Isothiocyanates can help prevent the formation of tumors and aid the body in ridding itself of cancer-causing substances.
Good for digestion
Radish microgreens are great for your digestion, too. They contain plenty of fiber, with studies showing improved digestive function in rats given powder made from radish greens after being fed a high-cholesterol diet.
Just one caveat to consider – radish microgreens may not be suitable for you if you have thyroid problems. This is because they interfere with the production of the thyroid hormone (see my article with the worst foods for Hashimoto’s). The same goes for spinach microgreens.
If you have concerns, please speak with your healthcare provider.
How to Grow Radish Microgreens: Complete Guide
Radish microgreens are easy to grow indoors, with very basic equipment. Once you have the seeds, soil, water, and light, you’re pretty much ready to go!
You won’t need very much space, either. A bright and sunny windowsill is usually the best spot and gives you just enough room to keep a consistent supply for your family’s needs.
Don’t worry if you don’t consider yourself a keen gardener. Radish microgreens are among the easiest to grow and the method from sowing to harvesting is virtually foolproof.
Supplies you’ll need
Here’s a look at everything you will need to start growing your own supply of radish microgreens.
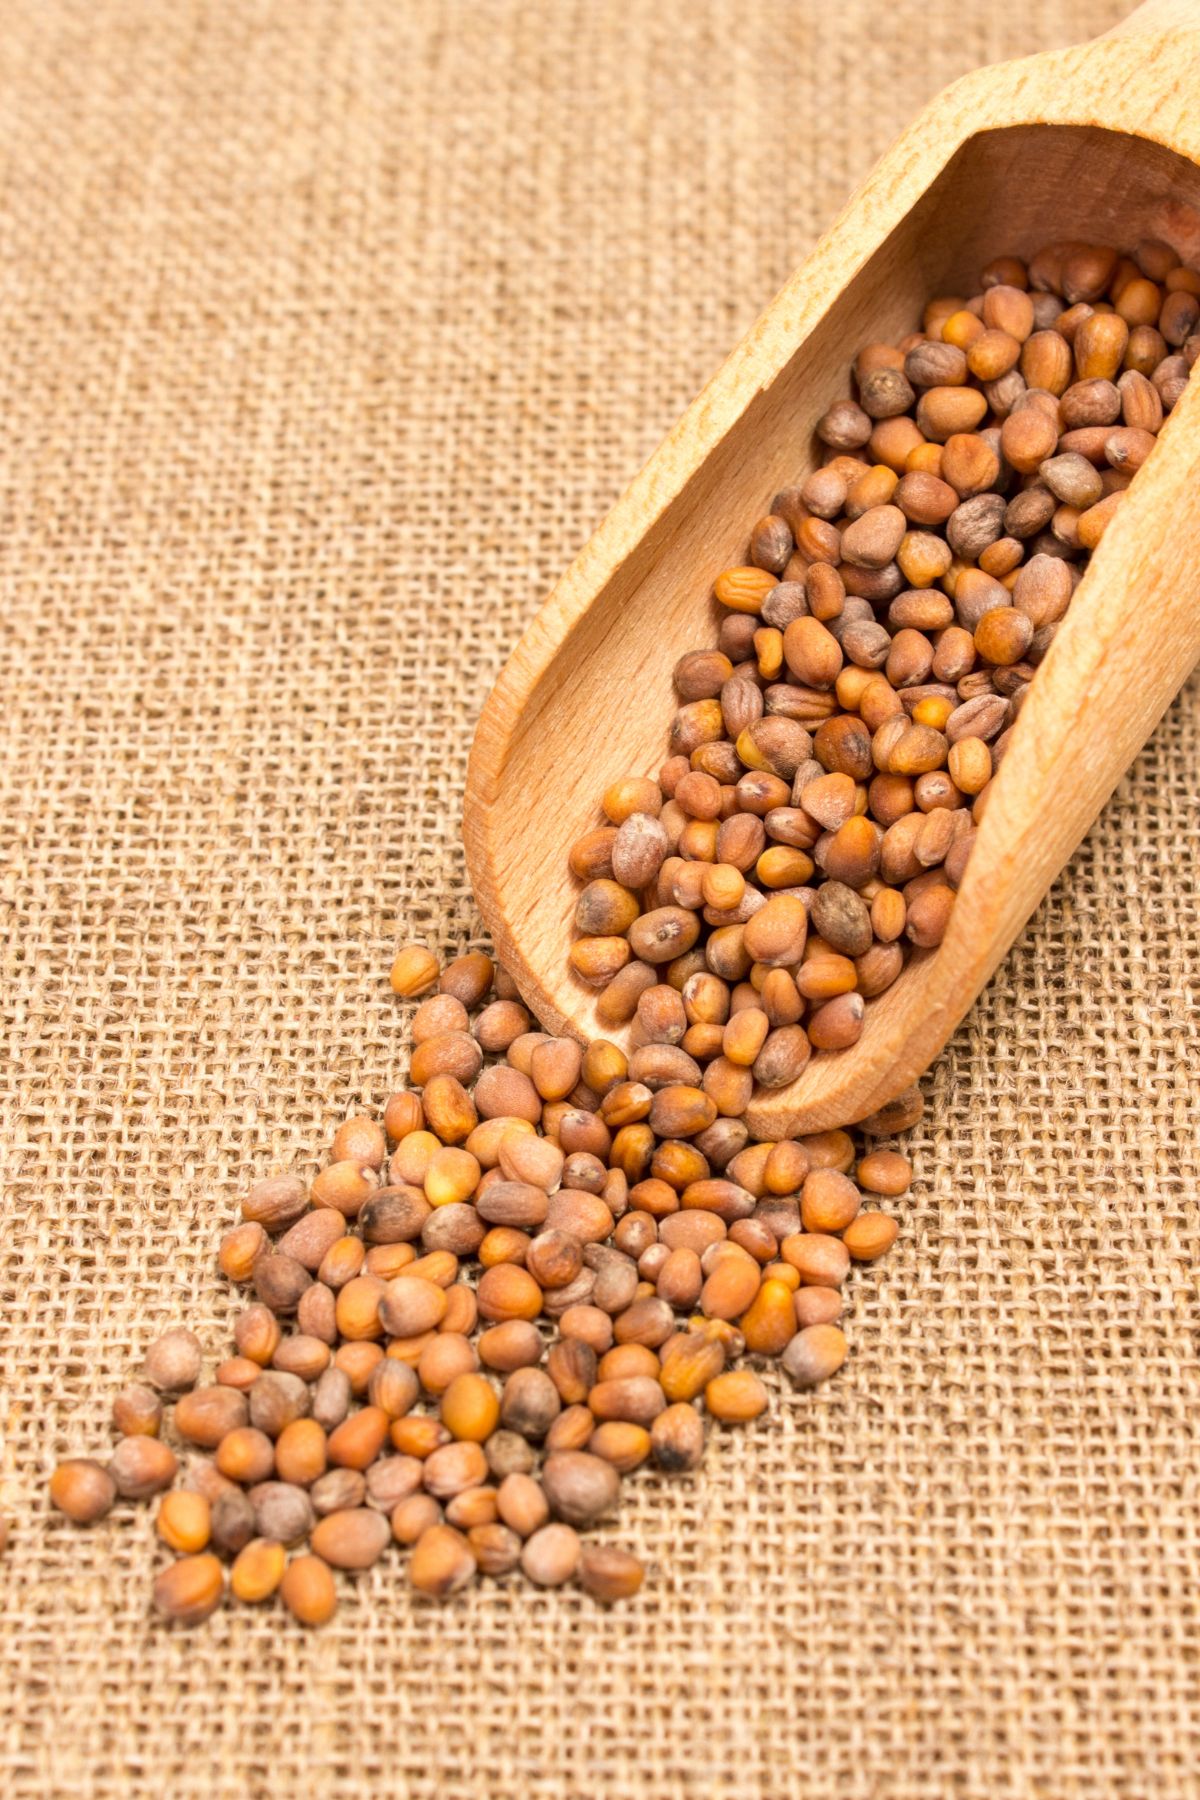
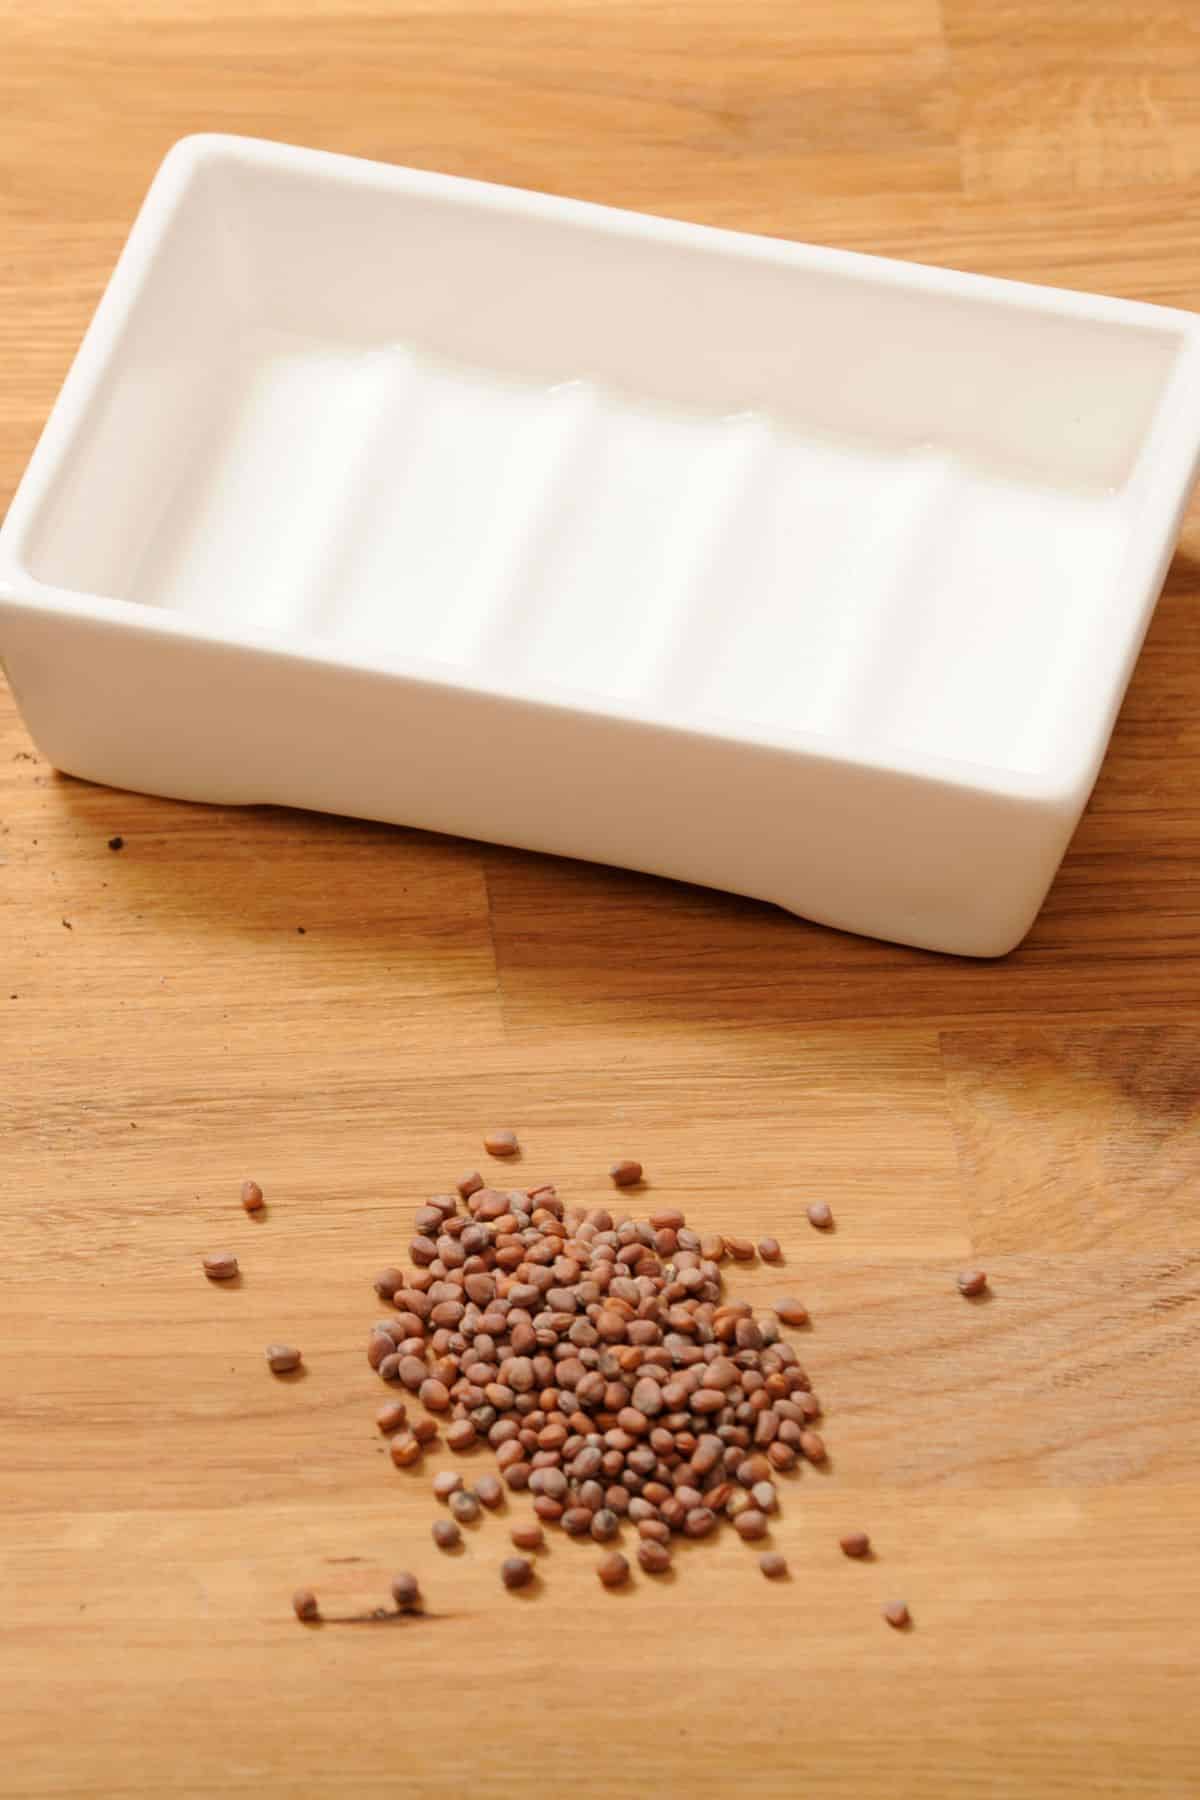
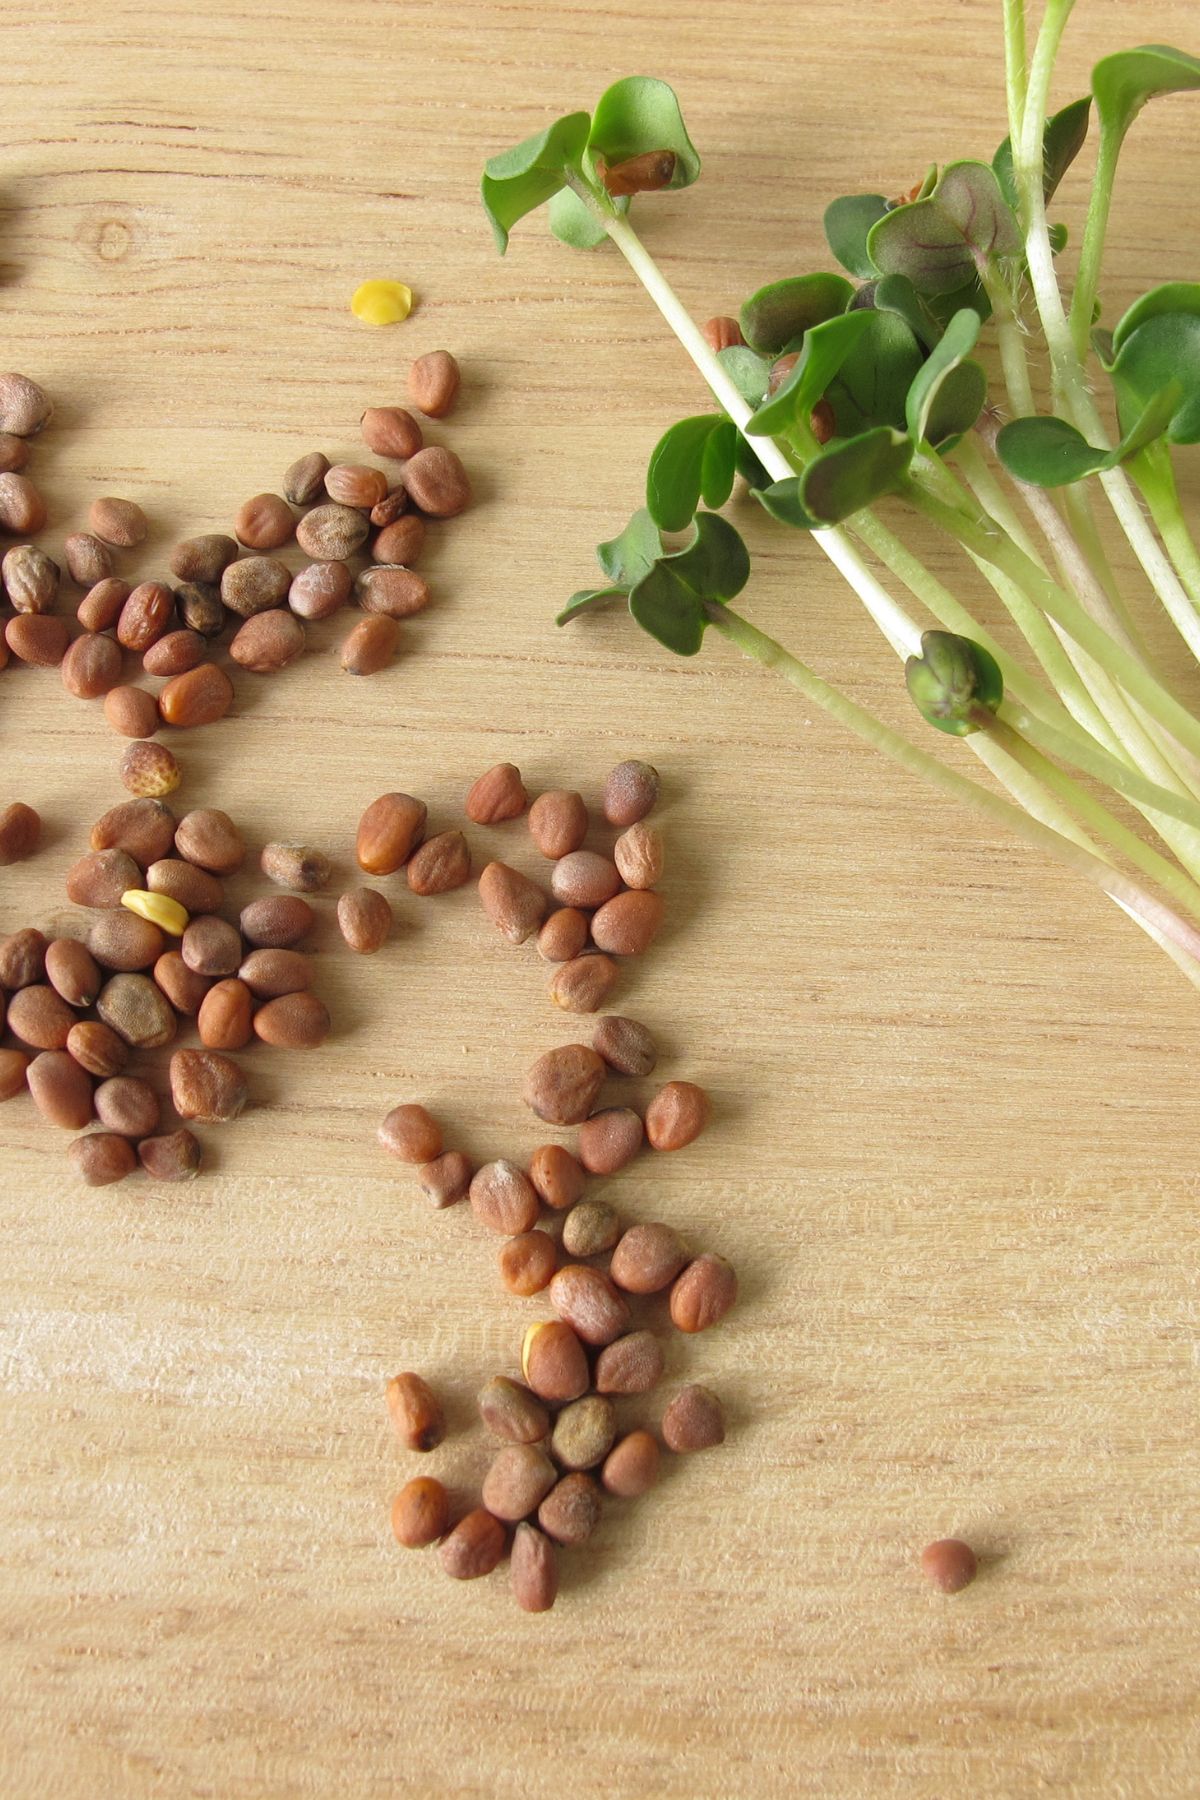
Radish seeds
You can use any high-quality radish seeds to grow radish microgreens, and there are lots of different varieties to choose from.
These all vary a little in terms of color and flavor, with some slightly spicy and some even a little sweet.
This means it’s a good idea to try lots of different kinds so you can identify your favorite!
No matter which type of seeds you buy, make sure that they are organic. This will ensure they don’t contain any pesticides or other harmful additives.
Buy now: organic Daikon radish microgreens seeds.
Growing medium
Most people tend to use potting soil or seed soil to grow microgreens. Seed soil is particularly good as it is fine-grained and lightweight, making it easier for the fragile root hairs to become established.
If you are worried that using soil inside your home may be messy, you can use grow mats, paper towels, or coconut coir instead. Just remember that these will need a lot more attention in terms of watering. Soil is more forgiving as it retains water far better.
Containers
To make it easy to harvest your radish microgreens, you’ll need shallow trays (1 to 2 inches deep).
If you’re just testing the waters, you could use the eco-friendly option of recycled fruit containers or pie plates. However, these will likely become too small should you decide to grow radish microgreens on a regular basis!
The tray in which you plan to grow the microgreens will need holes for drainage. This will prevent the growing medium from becoming waterlogged, which – in turn – could lead to mold and rot.
You will also need a second tray, larger than the growing tray. You will place this beneath the growing tray and use it for watering the seeds. Watering seeds from the bottom keeps their leaves and stems dry – another good way to prevent mold.
Spray bottle
You’ll need this for watering the seeds immediately after you’ve sown them. Radish seeds are very tiny and using a spray bottle will ensure they are watered with a fine mist.
Light source
For healthy, green microgreens you will need a good supply of light. This is because light is essential in the process of photosynthesis that develops their color.
Natural sunlight is perfect for the job, but some people like to use a grow light. This can be a better option if you don’t have much room in a sunny spot. It makes it easy to ensure that all of the microgreens receive the same amount of light at all times.
How to sow your radish microgreen seeds
First, place your growing medium inside your container until it just comes up to the rim. Using your hand, ensure the surface is level and pat it down very gently. (Do not pat it down if you’re using coconut coir, as it can become too compact).
Gently spray the soil with water from your bottle and allow it to soak in. Then lightly spray the surface again.
It’s now time to sow (plant) your seeds.
Unlike some other microgreens, radish seeds don’t need soaking to soften the seed hull. They are so tiny that they break open easily (to give you some perspective, there are around 2,500 radish seeds in an ounce!).
The easiest way to spread these tiny seeds on the soil evenly is to put them in a shaker bottle first. Sprinkle them over the surface of the soil, aiming to sow around 10 seeds in every square inch.
If any of the seeds come out in clumps, spread them gently over the surface with your fingers.
How to germinate the seeds
Don’t cover the seeds with soil – simply give them a light misting with the spray bottle. Take care here, as they are so small they can be accidentally blown around!
Two things are now required to encourage the seeds to germinate – darkness and moisture.
To achieve this, cover the seeds. Not only will this block out the light, but it will also retain humidity and keep the seeds moist. You can use the second, larger tray to cover the growing tray.
It’s also a good idea to put something heavy (around 5 pounds or so) on top of the cover. It will help the cover stay in place and will also press the seeds into the soil.
This encourages the roots to become well-established, helping them reach deeper and support the growing plants more effectively.
Now it’s time to take a break and leave the seeds to do their thing for a few days. You won’t need to worry about watering them – the combination of the cover and the weight will make sure no moisture escapes.
Three days after sowing the seeds, take off the cover. By now they should have sprouted and are ready for the next step. But if lots of them have yet to sprout, mist the germinating seeds with water again and replace the cover.
Leave them to germinate for up to 2 days longer.
Expose the radish microgreens to light and watch them grow!
Once most of the seeds have sprouted, take off the cover and expose them to as much natural light as possible. If you opt to use a grow light, they will need to be underneath it for between 4 and 8 hours every day.
Place the growing tray on top of the second, larger tray and water the seeds well. The soil will absorb the water via the drainage holes in the growing tray. Once the soil is moist, remove the second tray to avoid overwatering the seeds. Too much water may cause them to rot.
From now on, you will be watering the seeds using the bottom tray. You’ll need to do this as often as it takes to keep the soil consistently moist.
Note: In the early stages, it might look as if the seeds are covered in fuzzy white mold. However, these white fibers are actually root hairs – just what you want to see! You shouldn’t have any issues with mold as long as you stick to watering the seeds from the bottom.
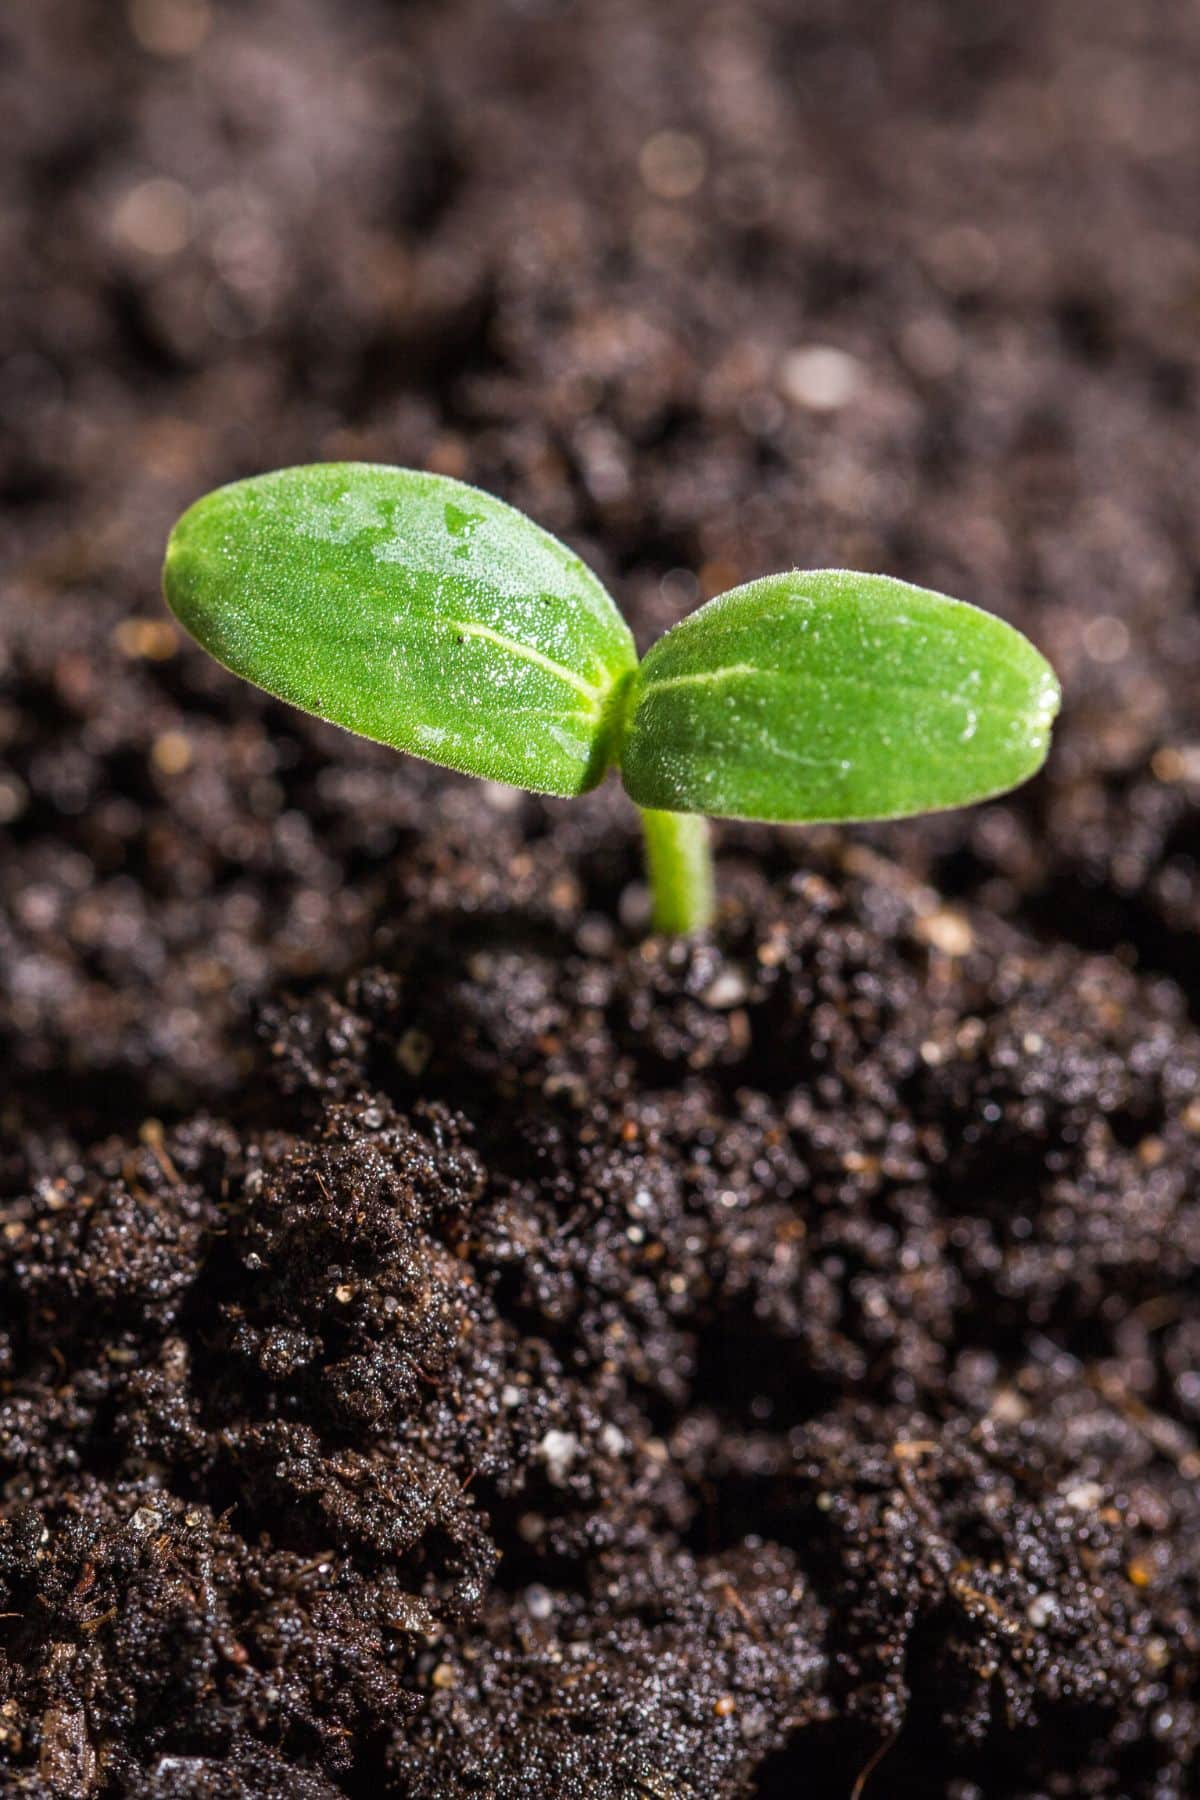
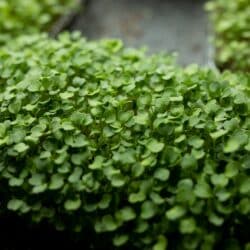
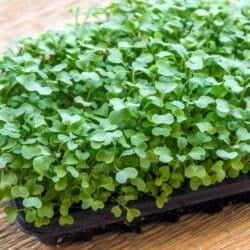
Within several days the seeds will begin to grow into microgreens.
They will look pale in color initially, but once they have received enough light they will start to turn green.
If they continue to look pale even as they grow taller, they may not be receiving enough light. It’s important to rectify this – using a grow light if necessary – as pale microgreens will be inferior in taste and less nutritious than those that are fully green.
Aim to keep your growing microgreens in a warm area – around 70℉ (21℃) is ideal. If you live in a cooler climate, you may require the addition of grow lights or heat mats.
They also require good ventilation and a humidity level of around 50%.
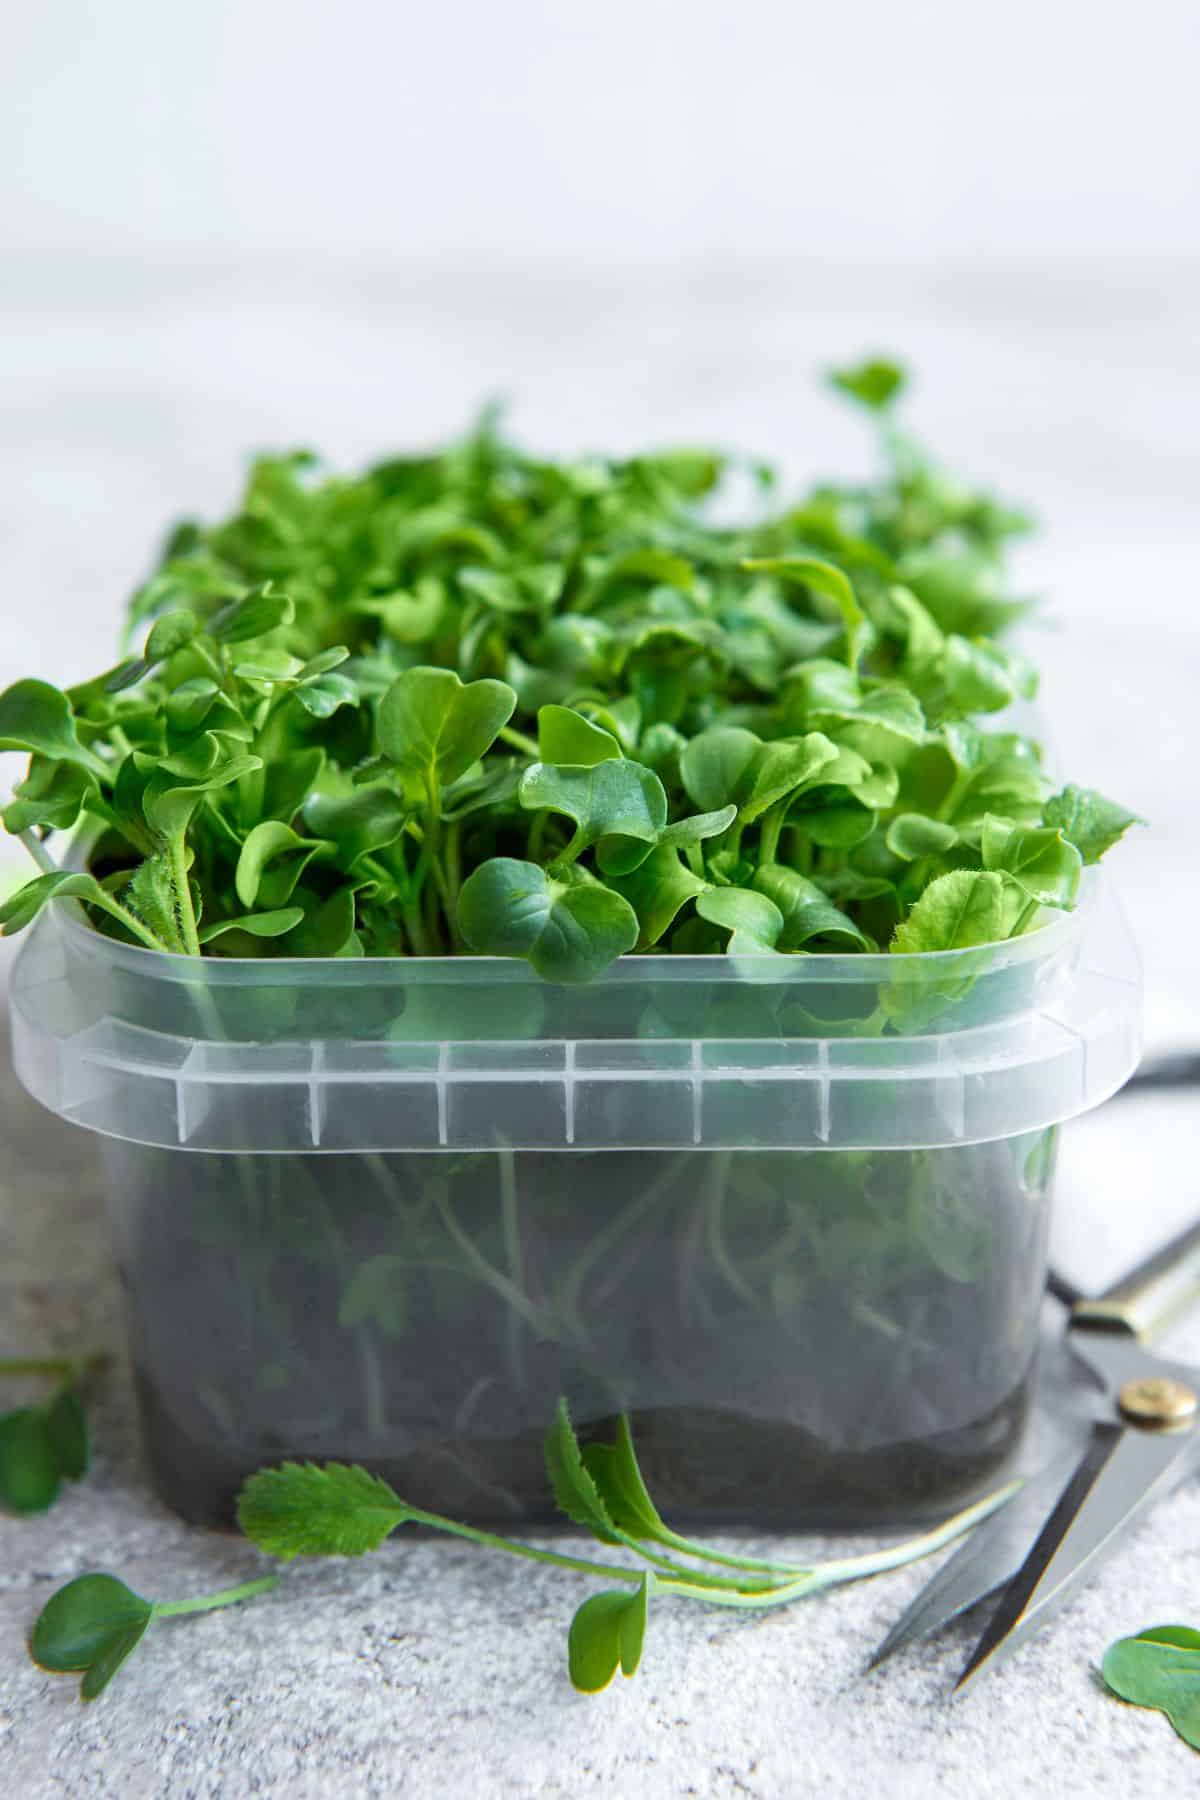
Harvesting your radish microgreens
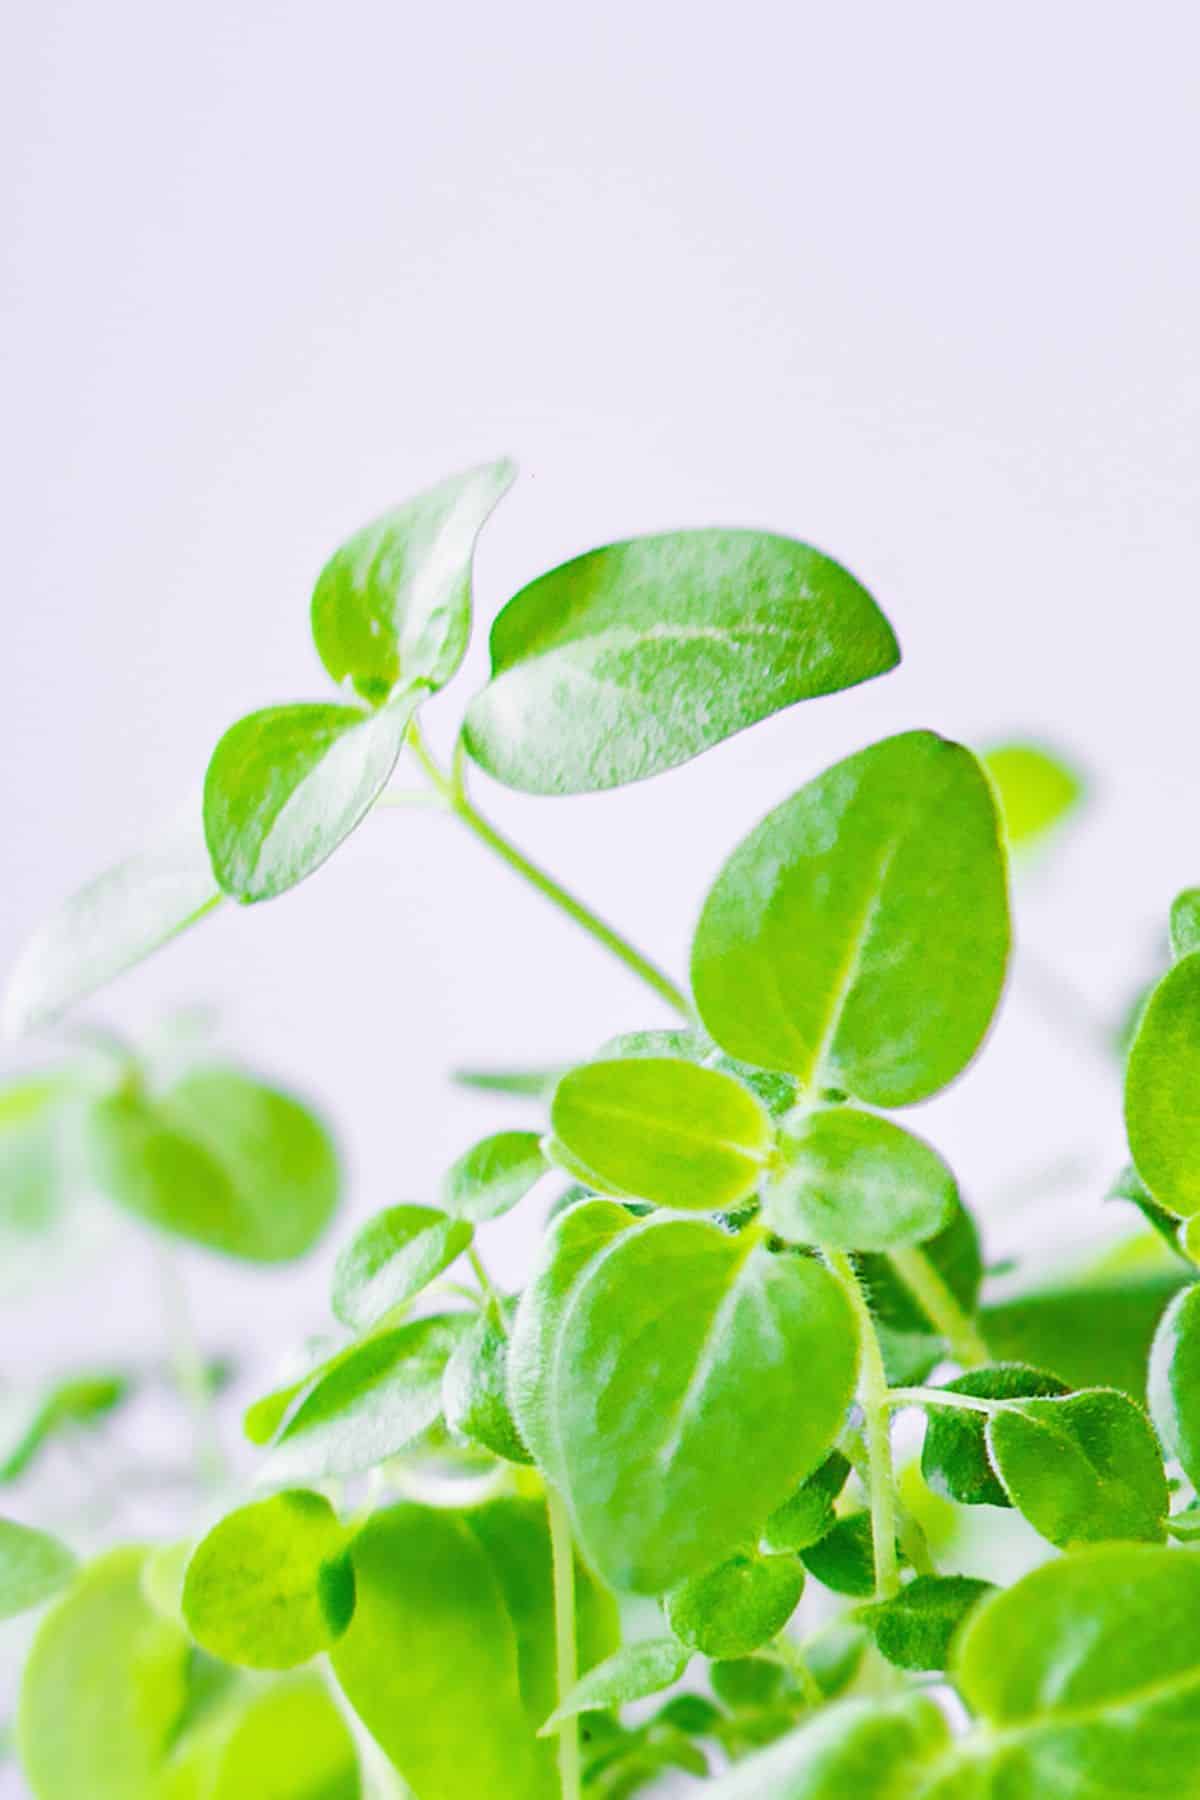
After just 8 to 10 days from the day you sowed the seeds, your radish microgreens will be ready to harvest and eat!
Don’t be tempted to leave them to grow too much bigger – they are ready for harvesting when they are around 2.5 to 3 inches tall and bright green in color. At this point, they will have two cotyledon leaves, but the first true leaves won’t yet have developed.
If you wait too long to harvest them, the true leaves will start to come in and your microgreens will not taste as good.
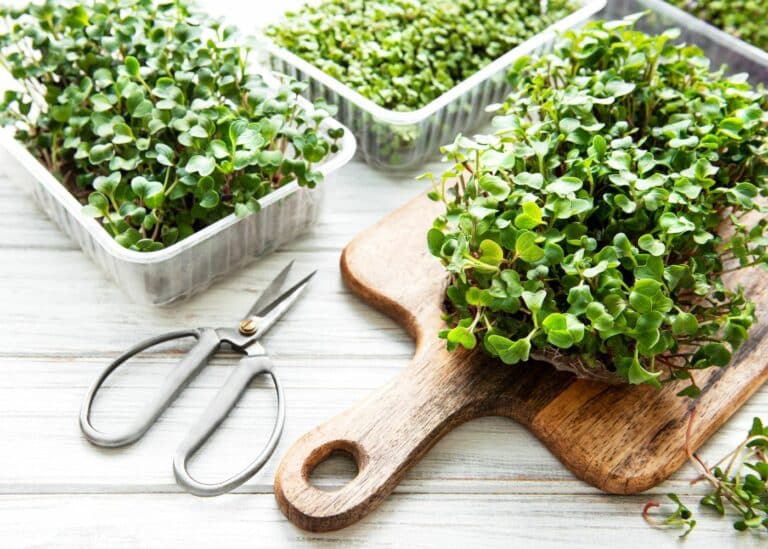
Avoid watering them in the 12 hours before harvesting so they are dry. This will help them last a bit longer once they’ve been harvested.
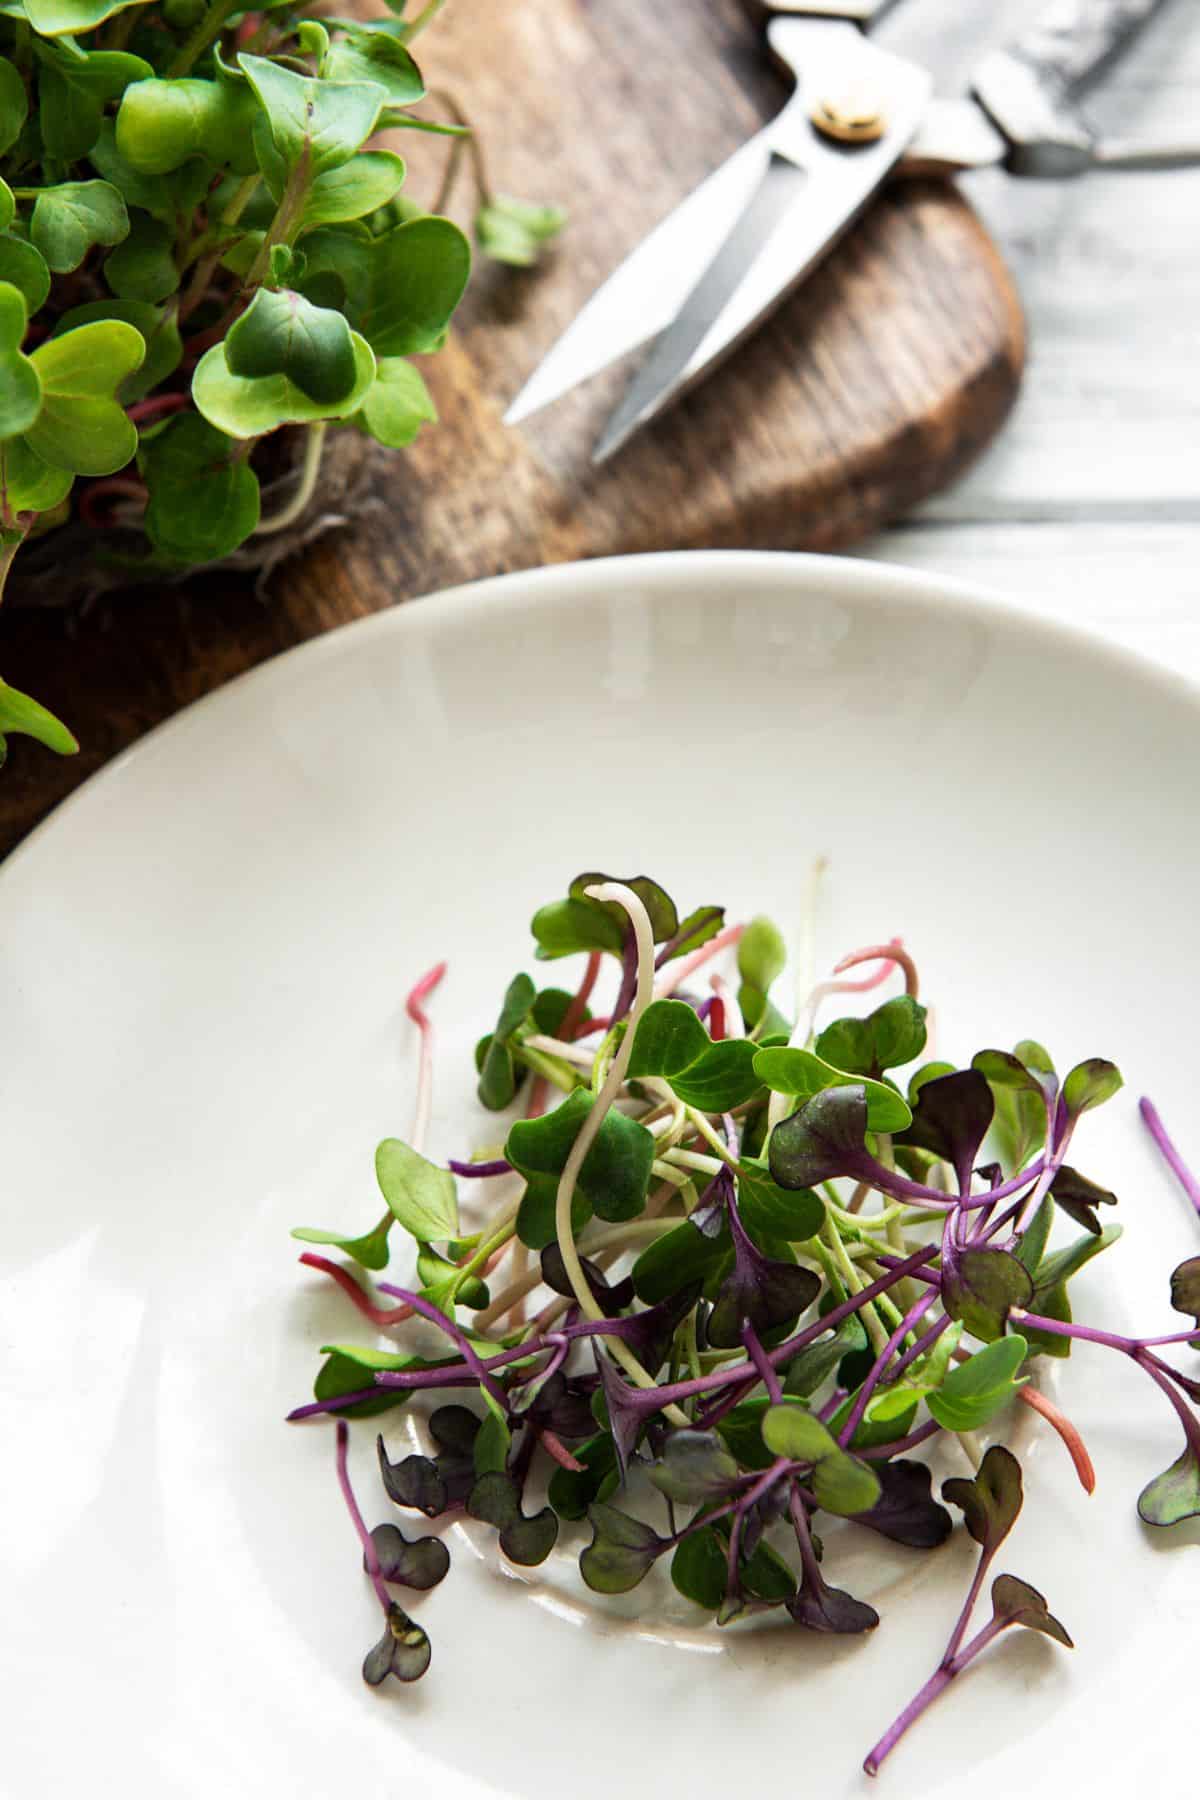
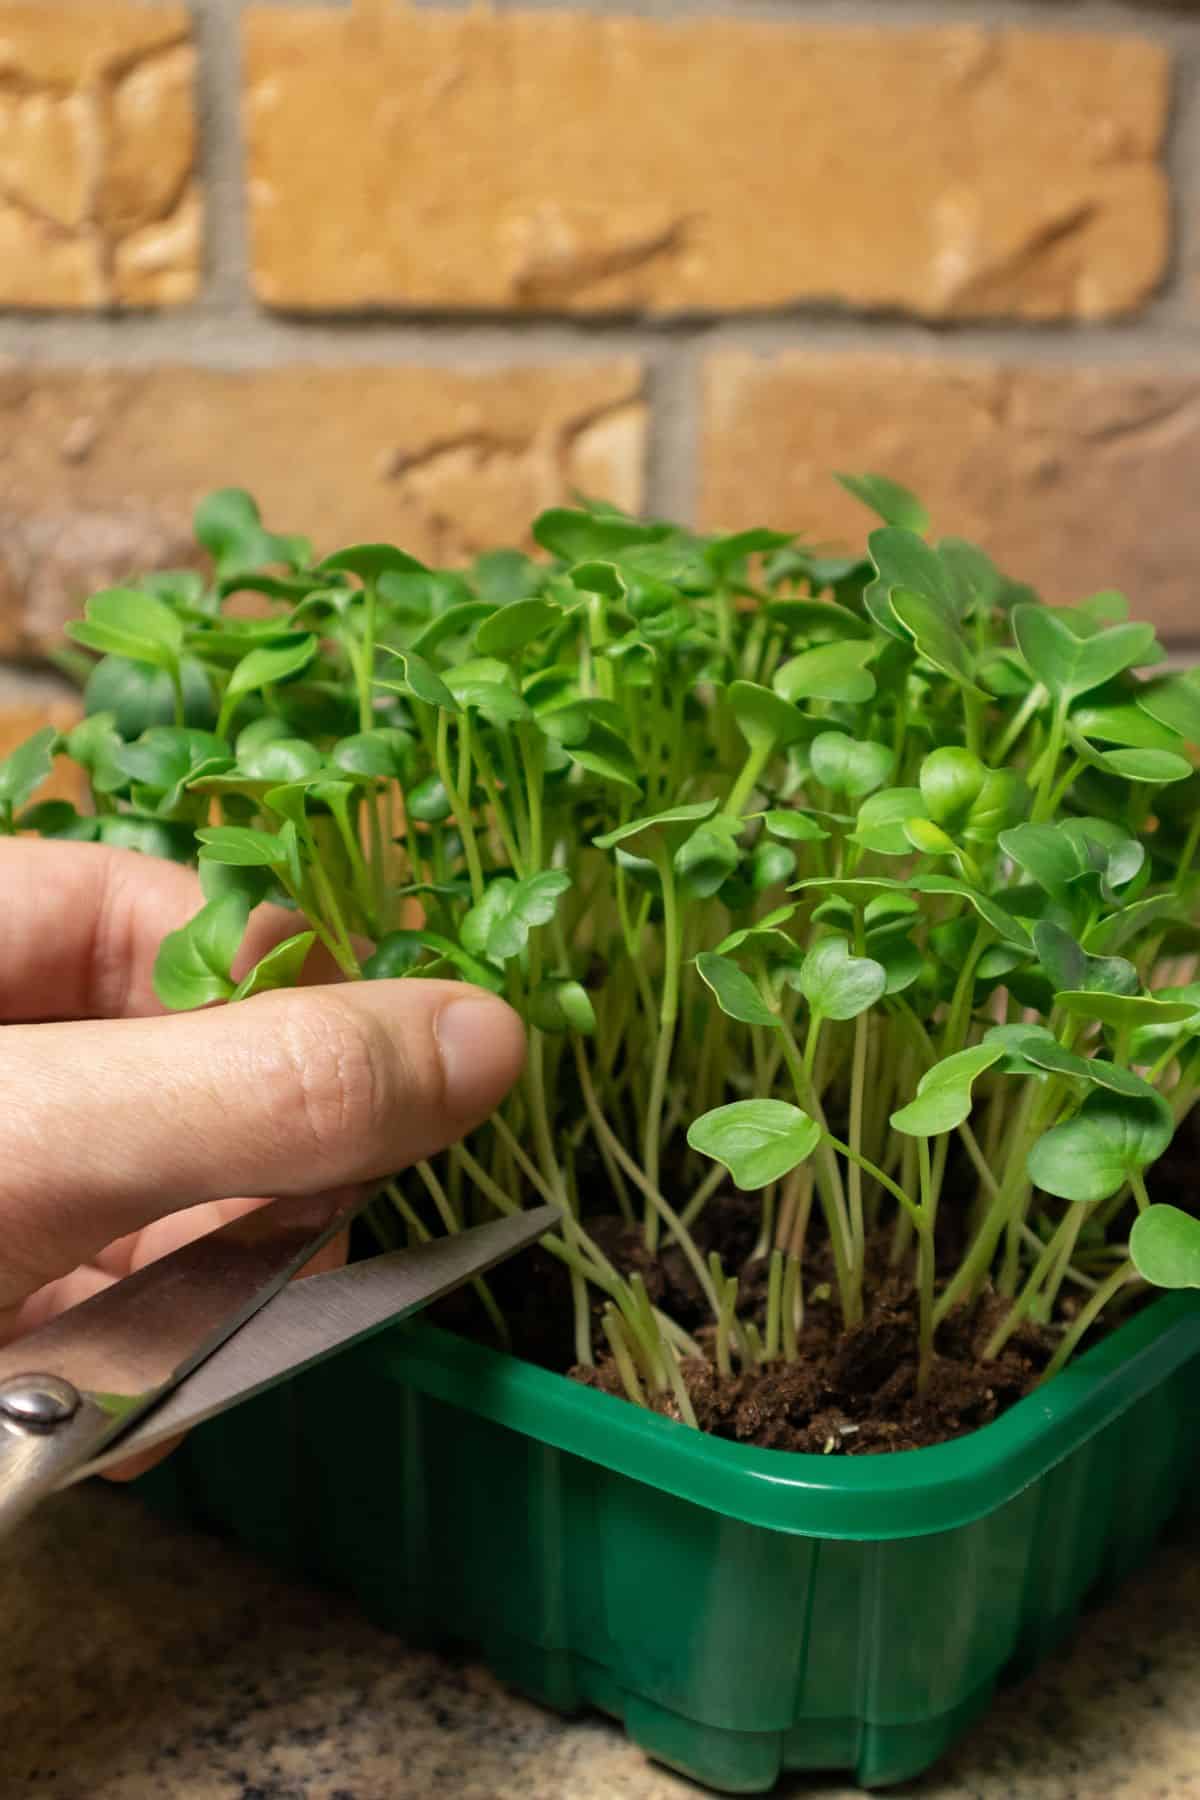
Use scissors or a very sharp knife to snip the microgreens off just above the surface of the soil.
You can cut them all in one go or just take what you need that day. Just remember that you will need to harvest the rest within a day or two.
As with all microgreens, the plants won’t regrow after harvesting and you’ll need to plant more for your next batch. The good news is that you’ll never have to wait long for them to be ready!
Storing your radish microgreens
If you’ve harvested more microgreens than you can use, wrap them in a paper towel to absorb any moisture then place them into an airtight container in the fridge.
They will usually last for around 4 days, although you should eat them as soon as possible for the freshest flavor and optimal nutritional value.
Growing Steps
Step One
Place your growing medium into a suitable container. You can use seed soil, potting soil, growing mats, paper towels, or coconut coir.
Step Two
Spray your growing medium lightly with water and allow it to sink in. Respray the surface once again.
Step Three
Sprinkle your radish seeds over the surface, aiming to sow around 10 seeds in every square inch.
Step Four
Gently mist the seeds with a spray bottle, then cover them and place a weight on top to retain moisture and block out the light. Leave to germinate until all the seeds have sprouted.
Step Five
Remove the cover and expose the seeds to plenty of natural light, or use a grow lamp. Water regularly.
Step Six
Harvest within 7 to 10 days of planting.
Radish Microgreen FAQs
Radish microgreens usually complete the germination process within 3 days of sowing and are ready to eat between 4 and 7 days later. This means that it takes about 10 days from start to finish.It’s rewarding to produce a crop that grows so quickly and easily, making it a great project to do with kids!
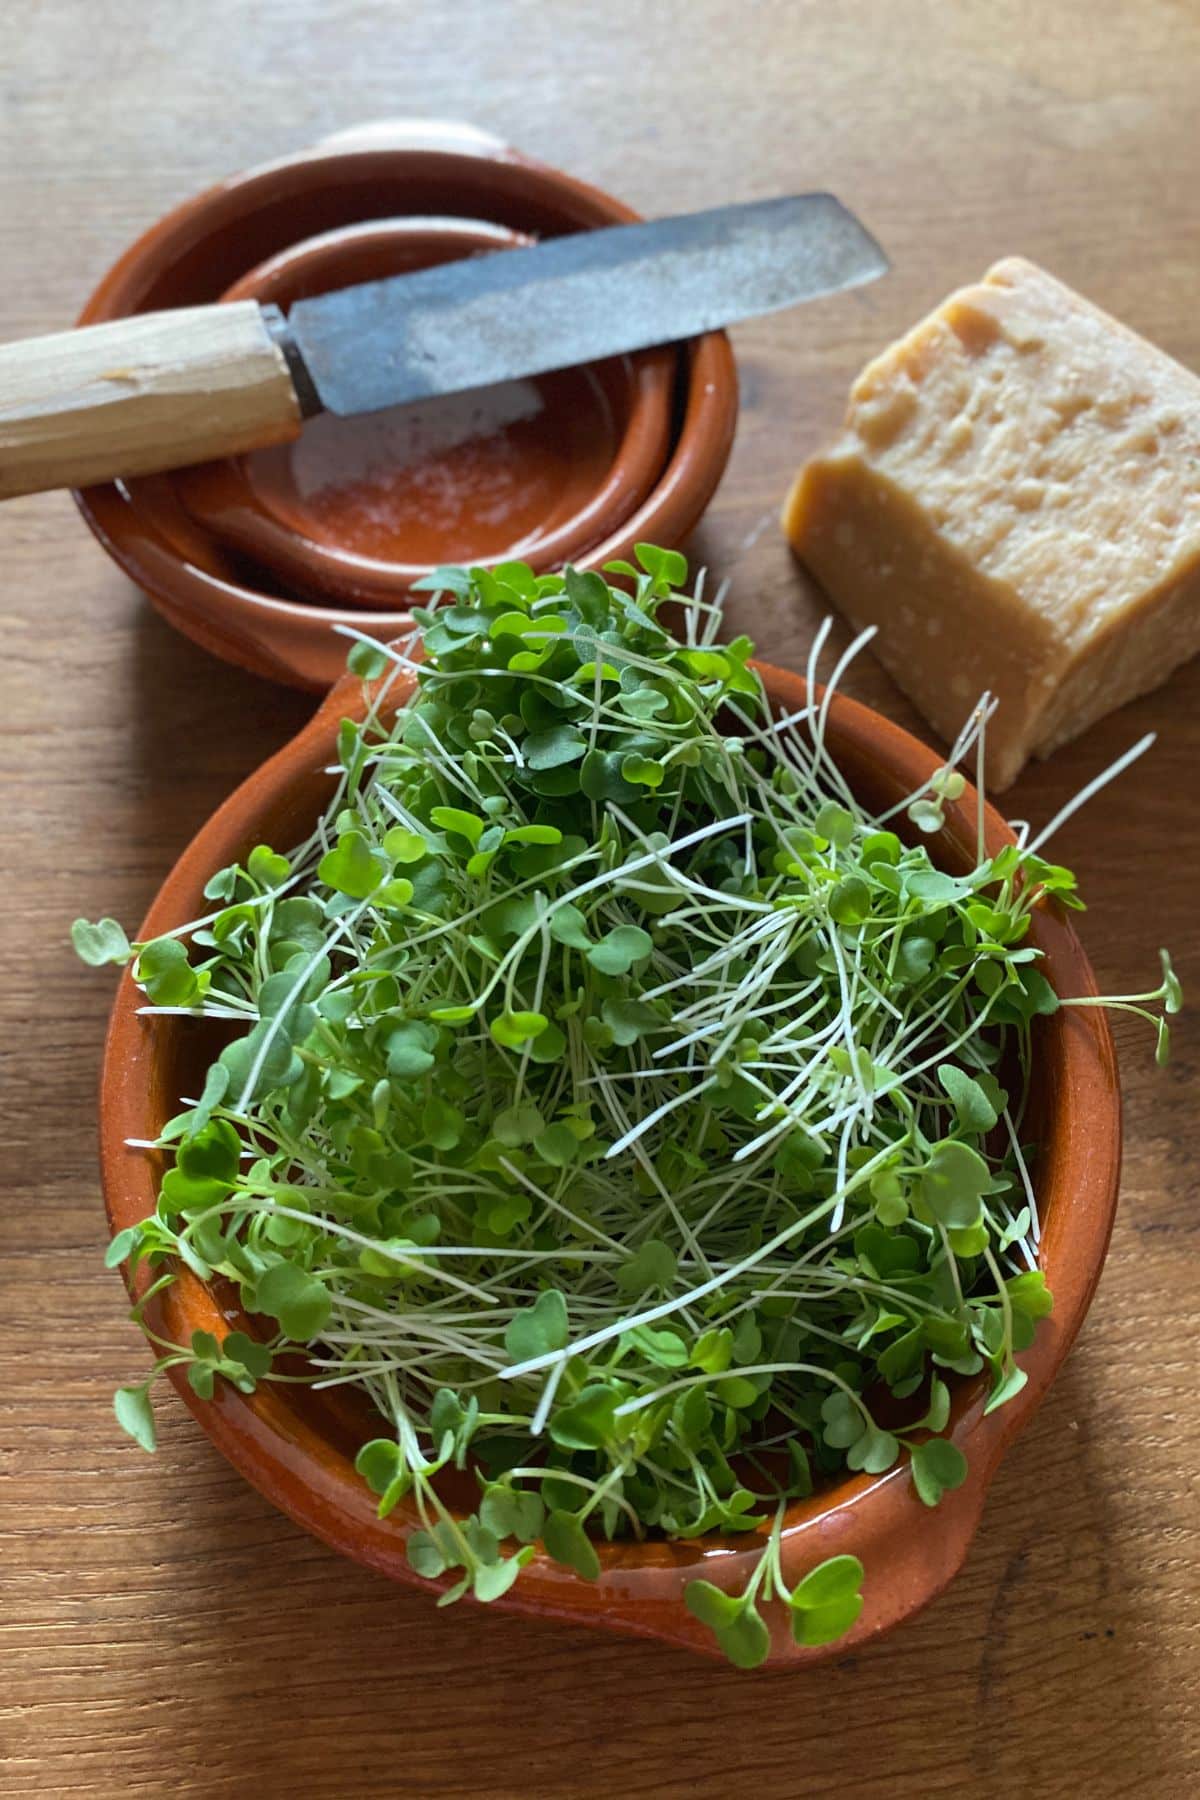
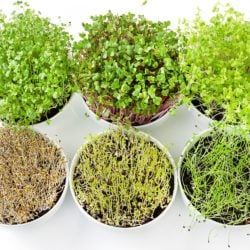
Radish microgreens have a fresh, crunchy texture and a mildly spicy flavor that goes well with lots of different foods. Many of them also have bright colors that add plenty of visual appeal to a dish.
There is a little variation in flavor from one variety of seed to another. The Minowase Radish (a Japanese mooli type of radish) tastes slightly spicy but also slightly sweet. The Daikon radish is more robust in terms of spice, whereas the China Rose is definitely on the sweeter side.
To keep things interesting, why not try growing a radish mix for a nice combination of flavors and colors?
Here are some ideas for how to use your radish microgreens in your recipes:
Add them to salads and soups (if the soup is hot rather than chilled, add the microgreens just before serving to preserve their nutrients)
Use them as a healthier alternative to lettuce in sandwiches, tacos, and burgers
Stir them into your favorite slaw
Throw a handful into your daily smoothie
Add them to a stir-fry just before serving
Use them as an attractive garnish on any dish!
These ideas are similar to those in my broccoli sprout recipes post.
Growing Tips
- Use organic radish seeds to ensure they are free from harmful additives and pesticides. The seeds should be labeled as suitable for sprouting and microgreens.
- For ease of harvesting, make sure your growing container is no more than 1 to 2 inches deep.
- Instead of soil you can use grow mats, coconut coir, or paper towels.
- After germination, always water your seeds from the bottom using a second tray beneath your growing tray.
- Ensure your radish microgreens receive plenty of natural light as they grow, preferably on a sunny windowsill. If you use a grow lamp, place them under it for at least 4 to 8 hours daily.
- For best results, try to maintain a room temperature of around 70℉ (21℃), with 50% humidity and adequate ventilation.
- Ensure you harvest all your microgreens once they are 2 to 3 inches tall and have two cotyledon leaves.
- Store unused microgreens in the refrigerator for up to 4 days in a plastic bag or airtight container.
More Resources on Growing Microgreens
How to Grow Radish Microgreens
Radish Microgreens are a superfood that you can grow right in your own kitchen. They are full of health benefits and taste great too. Learn everything you need to know about radish microgreens.
- Total Time: 192 hours 30 minutes
- Yield: 4 Servings 1x
Ingredients
- 2 tablespoons organic radish seeds
- Seed soil/potting soil
Instructions
- Place the soil into the growing container until it reaches the rim. Pat gently to level it out.
- Spray the soil with water. Wait until it is absorbed then spray again.
- Sprinkle the radish seeds evenly over the surface of the soil, aiming to sow around 10 seeds in every square inch.
- Mist the seeds with water, then cover. Leave to germinate for 2 to 4 days, until all the seeds have sprouted.
- Remove the cover and expose the seeds to plenty of natural sunlight.
- Water the growing microgreens from the bottom as often as necessary to keep the soil consistently moist.
- Harvest the microgreens when they are a rich green color and 2 to 3 inches tall, between 4 to 7 days after sowing.
Notes
- Use organic radish seeds to ensure they are free from harmful additives and pesticides.
- For ease of harvesting, make sure your growing container is no more than 1 to 2 inches deep.
- Instead of soil you can use grow mats, coconut coir, or paper towels.
- After germination, always water your seeds from the bottom using a second tray beneath your growing tray.
- Ensure your radish microgreens receive plenty of natural light as they grow, preferably on a sunny windowsill. If you use a grow lamp, place them under it for at least 4 to 8 hours daily.
- Prep Time: 30 minutes
- Cook Time: 8 days
- Category: Salad
- Method: Gardening
- Cuisine: Healthy
- Diet: Vegan
Nutrition
- Serving Size: 1 tablespoon
- Calories: 1
- Sugar:
- Sodium:
- Fat:
- Saturated Fat:
- Trans Fat:
- Carbohydrates: 0.1 g
- Fiber: 0.1 g
- Protein: 0.1 g
- Cholesterol:
Don’t forget to join my newsletter list to get exclusive clean eating recipes and tips. The newsletter is 100% free with no spam; unsubscribe anytime.
About the Author: Carrie Forrest has a master’s degree in public health with a specialty in nutrition and is a certified holistic nutritionist. She is a top wellness and food blogger with over 5 million annual visitors to her site. Carrie has an incredible story of recovery from chronic illness and is passionate about helping other women transform their health. Send her a message through her contact form.
Note: this post is for informational purposes only and is not intended as medical advice. Please consult your healthcare provider for recommendations related to your individual situation.


Thank you! Great tips. Any advice for removing seed hulls? I’ve grown Daikon radish a few times and the harvest is great but a lot of hulls. It makes harvesting a tray pretty time consuming trying to pick them off.
great question! There are several techniques for removing hulls. I usually use the sprayer on my kitchen sink to remove them. You can search this topic on YouTube for videos of the process.
What happens next? After you cut them- do they regrow again and again? Do you throw it away?
As with all microgreens, the plants won’t regrow after harvesting and you’ll need to plant more for your next batch.
I love my little microgreens garden in my kitchen! So healthy and easy to grab a handful and put on a salad.