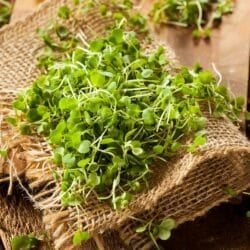
7 Healthiest & Most Nutritious Microgreens To Eat & Grow

Microgreens are vegetable greens that are harvested just after they have sprouted. Microgreens can come from many different types of seeds. This article reviews the 7 best types of microgreens to grow at home and include in your diet, plus a handy growing guide.
You are probably familiar with sprouts like alfalfa sprouts, but now it’s time to explore the world of microgreens. While sprouts are grown without soil in a sprouting jar, microgreens are grown in soil.
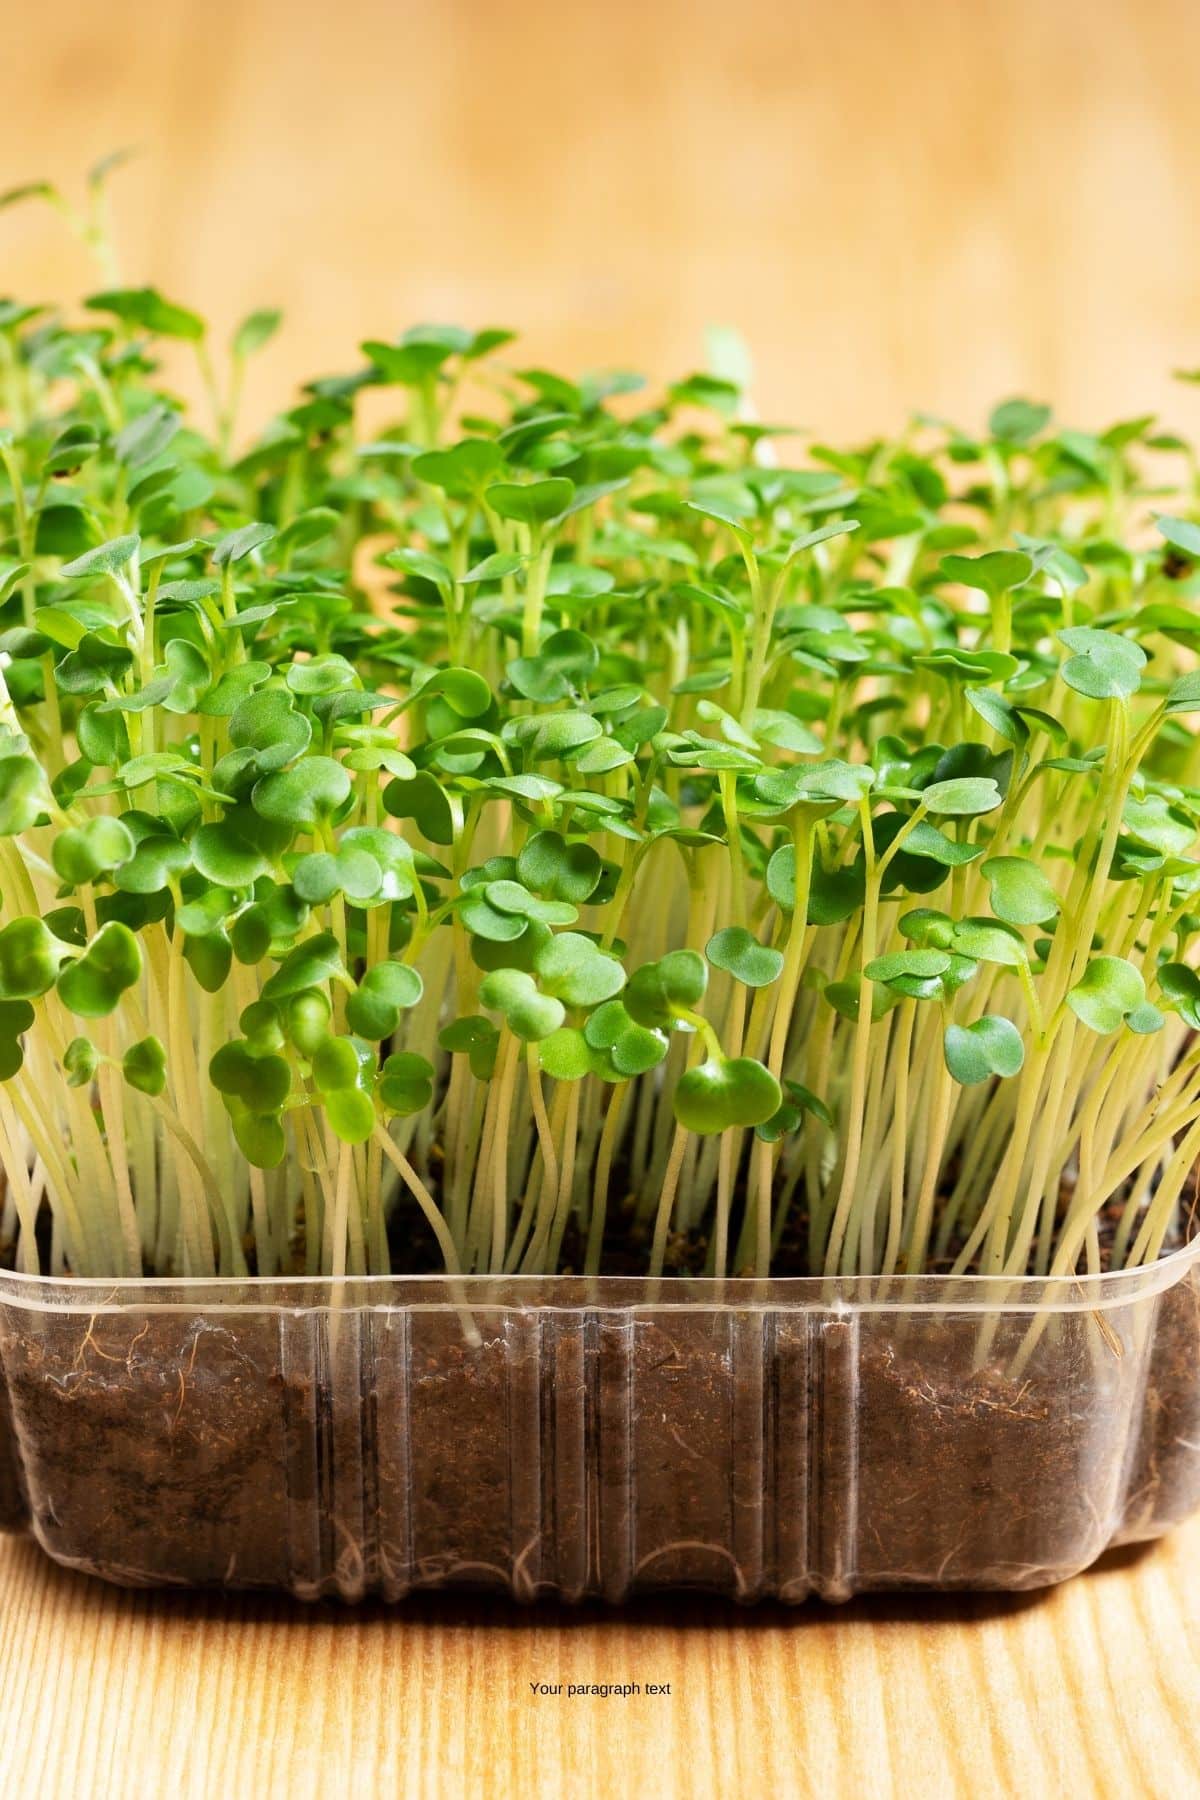
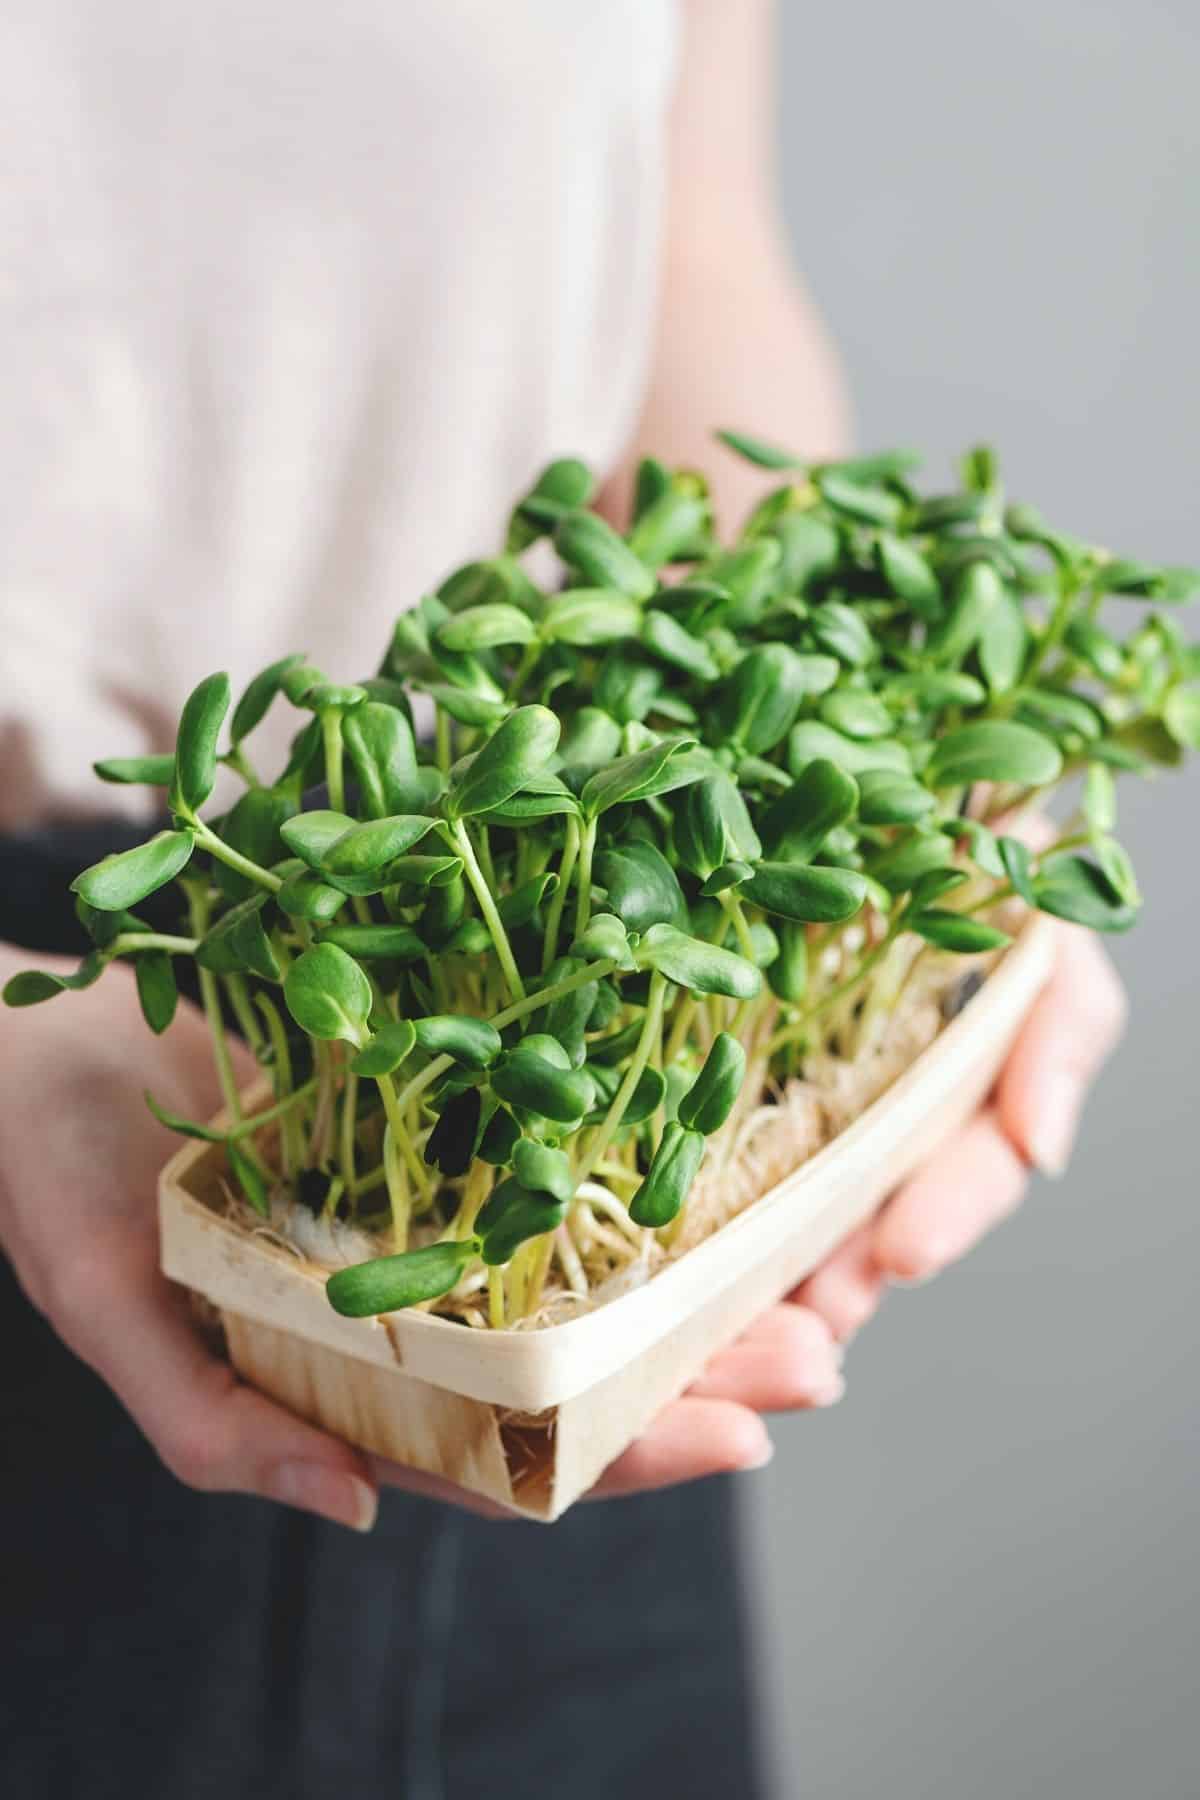
The best way to describe a microgreen is that it is the small sprout of a vegetable green seed. Instead of waiting until the sprout is fully mature, microgreens are harvested when the greens are just 2-3 inches tall. Any type of seed that would grow into a leafy green mature plant can theoretically be harvested as a microgreen.
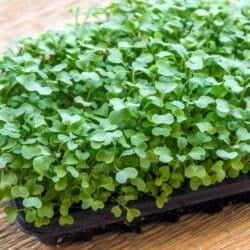
Most people who grow their own microgreens have trays lined with soil or “seed quilts,” (as opposed to growing them in the ground). There are websites devoted to helping people learn to grow their own microgreens, including figuring out the best equipment and growing environments.
Benefits of Microgreens
There are potential health benefits and other benefits to virtually all of the varieties of microgreens. It just depends on how much effort you want to put into growing them and which one has the best nutritional value for your needs.
Here’s a brief overall of why growing any of these nutritious microgreens can have a benefit to your overall health.
1. Small But Mighty Greens
Microgreens may be small, but from a nutritional point of view, they are mighty! In fact, a serving of microgreens is often a better source of vitamins and minerals than mature vegetables.
They work well in all sorts of dishes, so it’s easy to make them a regular part of your diet and comfortably hit your daily nutritional goals.
2. A Nutrient Dense Food
The exact nutrient breakdown of microgreens differs from one variety to another, but in general, they are an excellent source of antioxidants and are high in potassium, phosphorus, calcium, magnesium, iron, zinc, and copper.
They also have folate which is great if you are on an MTHFR diet.
3. Disease Fighting Properties
Collectively, the nutrient content from both microgreens and their mature counterparts help protect you from certain cancers, plus conditions like heart disease, diabetes, and Alzheimer’s.
Almost all leafy greens are a great source of vitamin C and dietary fiber, not to mention antioxidants.
See my list of the best green vegetables including how to eat more of them.
4. Budget Friendly
Plus, of course, microgreens are sustainable and affordable, especially when you grow your own!
They are easy to grow at home in small spaces and they are a great way for families to enjoy a fresh source of nutrients all year round. See my article with more tips on how to eat clean on a budget.
And, don’t miss my complete guide on how to grow broccoli microgreens.
Potential Risks of Eating Microgreens
You may have heard that there is a risk of food poisoning from eating microgreens, but this is actually rare and is connected to the confusion between microgreens and sprouts.
Sprouts require very warm, humid conditions to flourish so the risk of them developing the bacteria that may lead to food poisoning is higher.
This isn’t the case with microgreens, as long as they are grown in uncontaminated soil or a single-use growing mat. That said, never consume microgreens that appear moldy or that smell bad. If in doubt, throw them out.
Some people with compromised immune systems (or pregnant women) may need to avoid eating microgreens.
Check with your doctor if you have questions about whether eating microgreens is safe for you and your immune system.
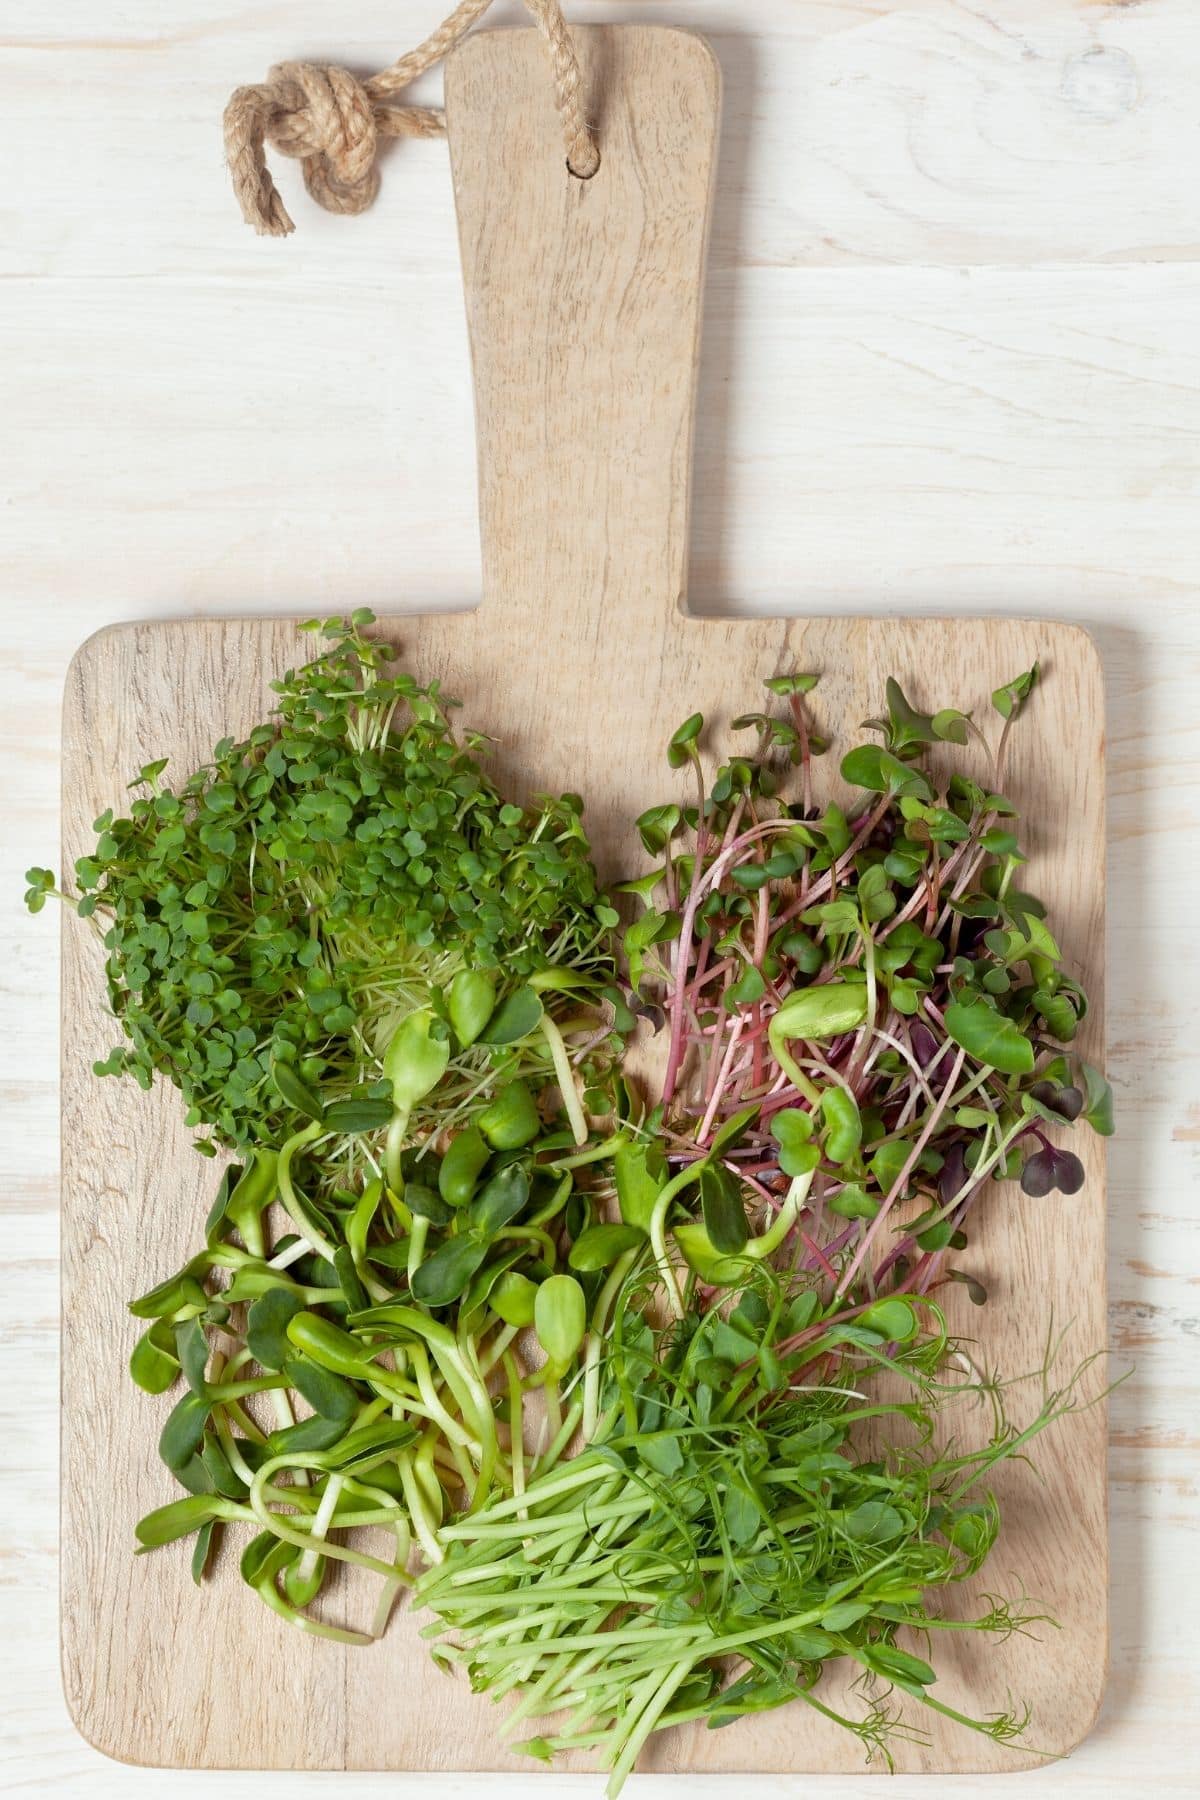
Best Microgreens to Eat & Grow
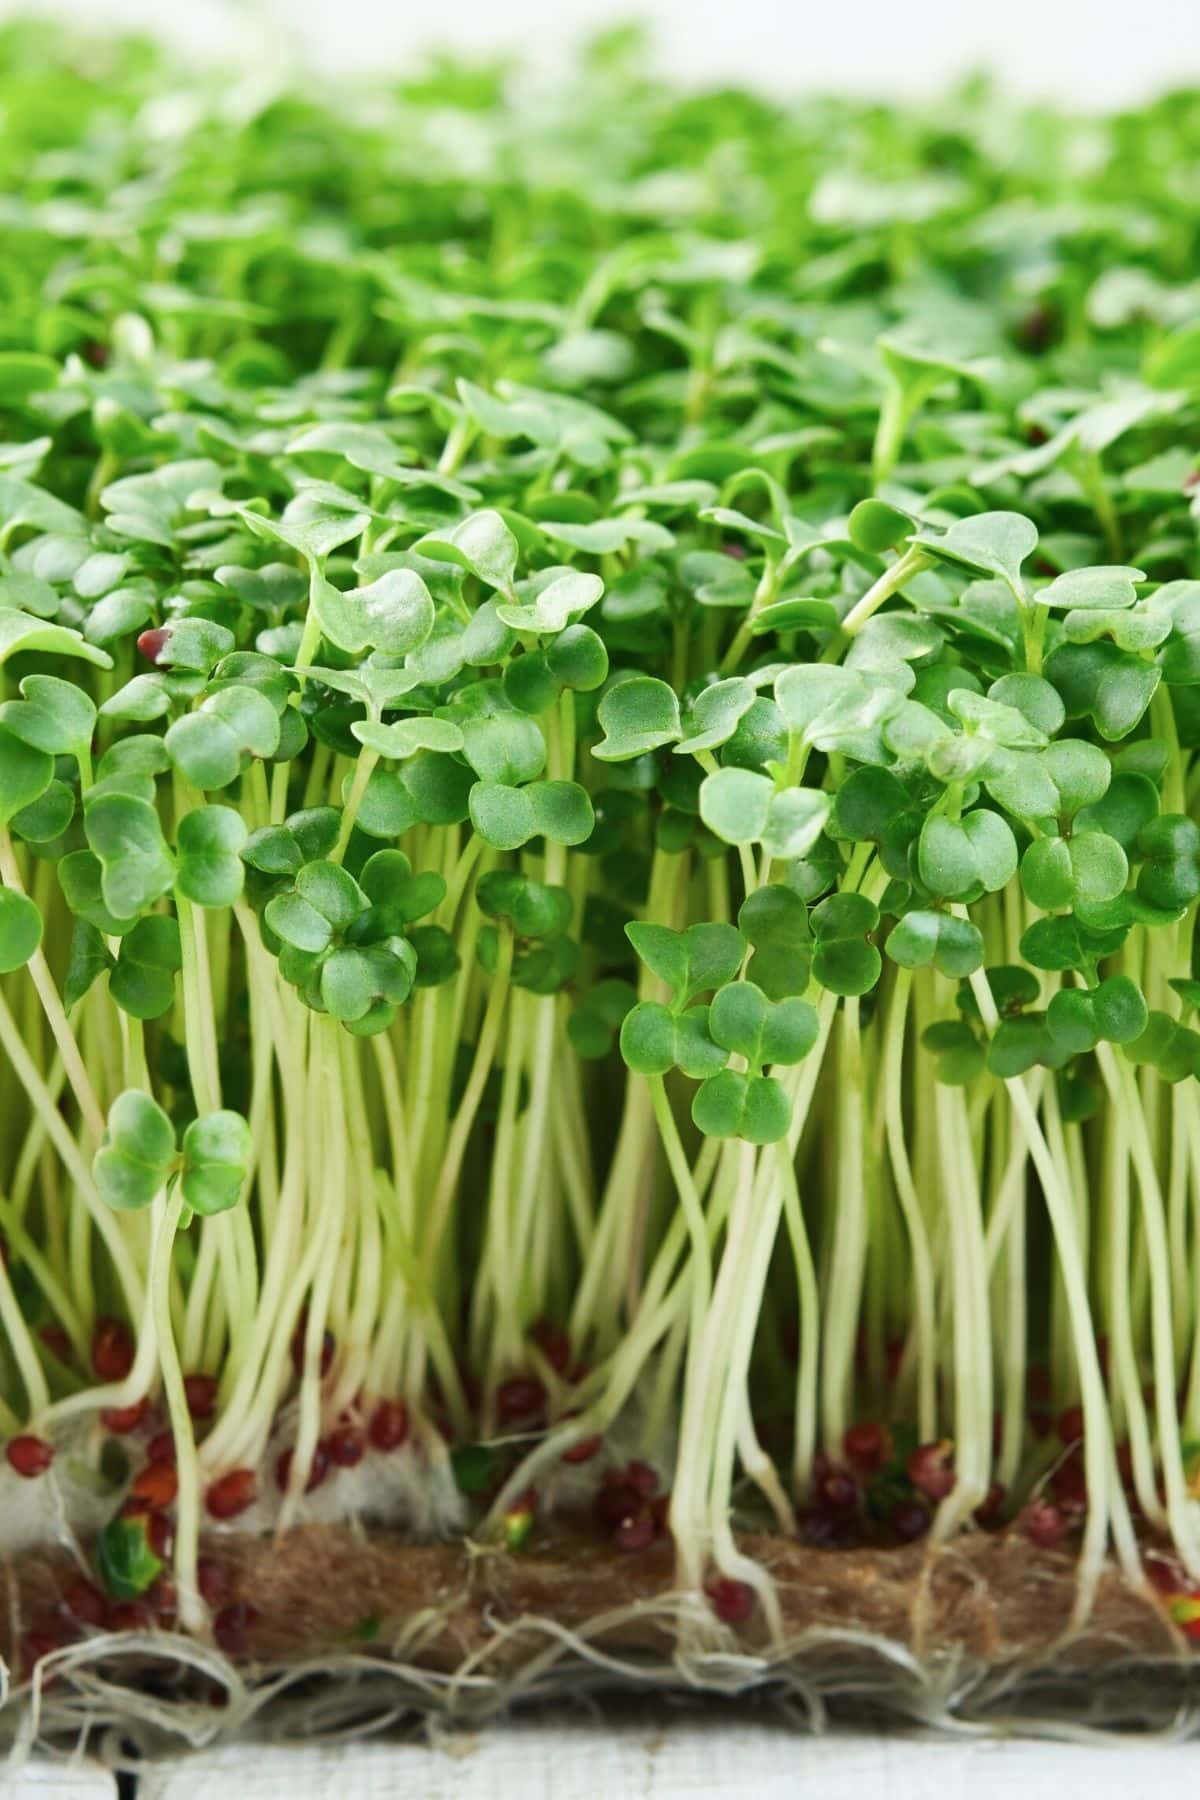
1. Broccoli microgreens
Pros
- Takes only 1-2 weeks to grow
- Very nutritious
Cons
- Can have a bitter flavor
- May grow mold in humid weather
Wonderfully rich in minerals, broccoli microgreens are also one of the easiest varieties to grow at home. They are quite mild in flavor – although some people do find them just slightly bitter – and they have a nice crunchy texture.
They are far more nutrient-dense than a head of mature broccoli, making them a great way for those who don’t like the flavor of broccoli to still enjoy its benefits in a small size.
You may also want to see my guide on how to grow broccoli sprouts or how to grow broccoli microgreens.
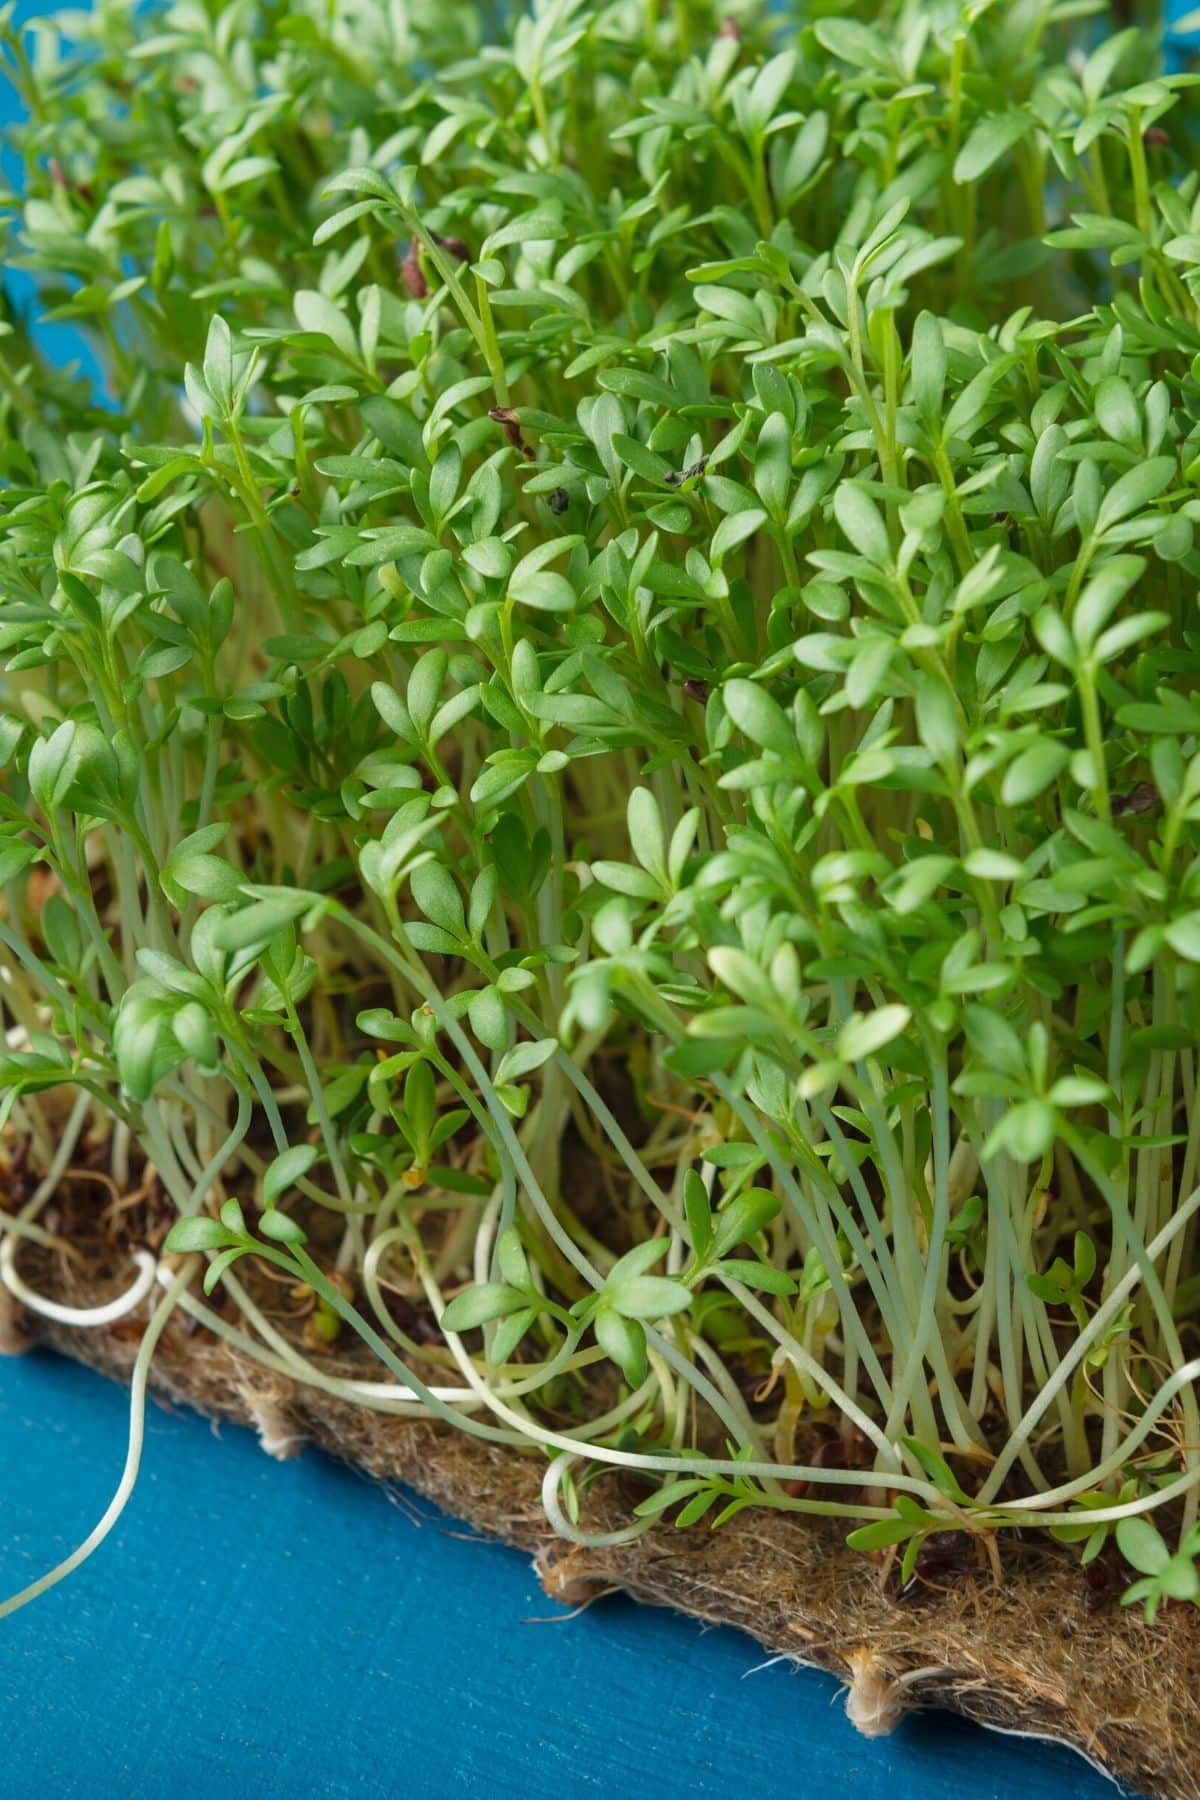
2. Watercress microgreens
Pros
- Very nutritious
- Can be served in a variety of ways
- Fairly easy to grow
Cons
- Can take up to 2 weeks to grow
- Can have a strong flavor
- Requires frequent watering
Part of the Brassicaceae family – just like Brussels sprouts, kale, and cabbage – watercress microgreens are very high in antioxidants.
They have a peppery, slightly spicy flavor and are great mixed into salads or served with egg dishes.
3. Arugula microgreens
Pros
- Less peppery flavor than regular arugula
- Takes only 1-2 weeks to grow
- Very nutritious
Cons
- May have a strong flavor
- Can be overwatered easily
If you find mature arugula a little too bitter and peppery, then you might just enjoy arugula microgreens. The flavor is somewhat similar but milder, and the texture is deliciously succulent.
They are relatively easy to grow but they don’t need as much moisture as other seeds, so take care not to overwater them if you’re growing your own. You might also see these referred to as rocket or rucula microgreens.
4. Radish microgreens
Pros
- Takes only 10 days to grow
- Very nutrient dense
- Easy to grow
Cons
- Can have a strong flavor
- Short shelf life
- Can attract pests
These are great for bringing a touch of heat to your dishes, with a similar spiciness to the mature variety.
They are some of the best microgreens to grow at home because they flourish so well and are ready for harvesting within just 10 days of planting!
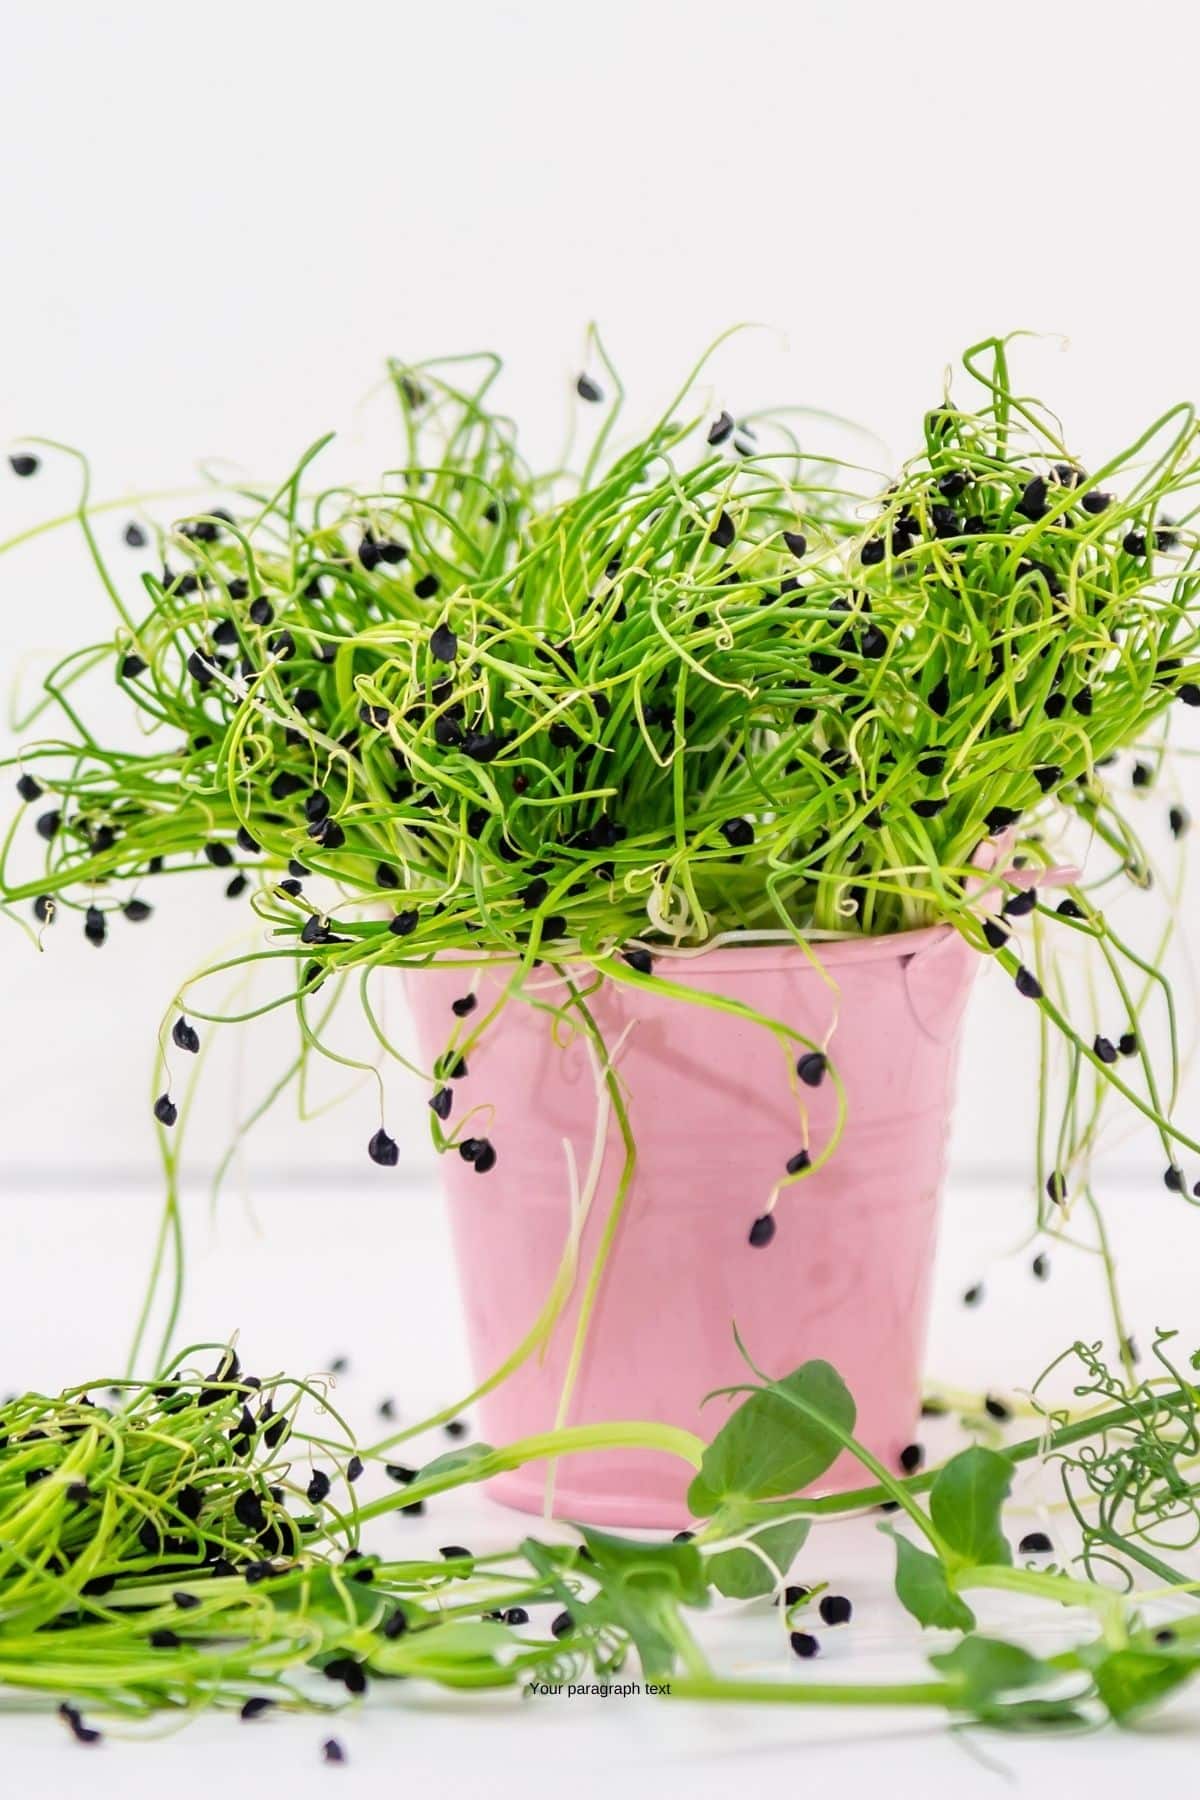
5. Onion microgreens
Pros
- Flavorful with mild onion flavor
- Very nutritious
Cons
- Can take up to 3 weeks to grow
- Potential for mold
These don’t just pack a punch in terms of nutrition – they have a powerful flavor too, very reminiscent of mature onions and the perfect replacement for green onions or chives in your recipes.
Onion microgreens are somewhat unique in the microgreens world as they tend to be long and slender, with their black seed husks attached as they grow. You can eat the husks too – they add a delicious, slightly garlicky taste.
If I had to pick my favorite microgreen, I would have to say that onion microgreens are at the top of the list!
Be patient if you decide to grow these at home – it can take up to 3 weeks before they are ready to harvest after planting.
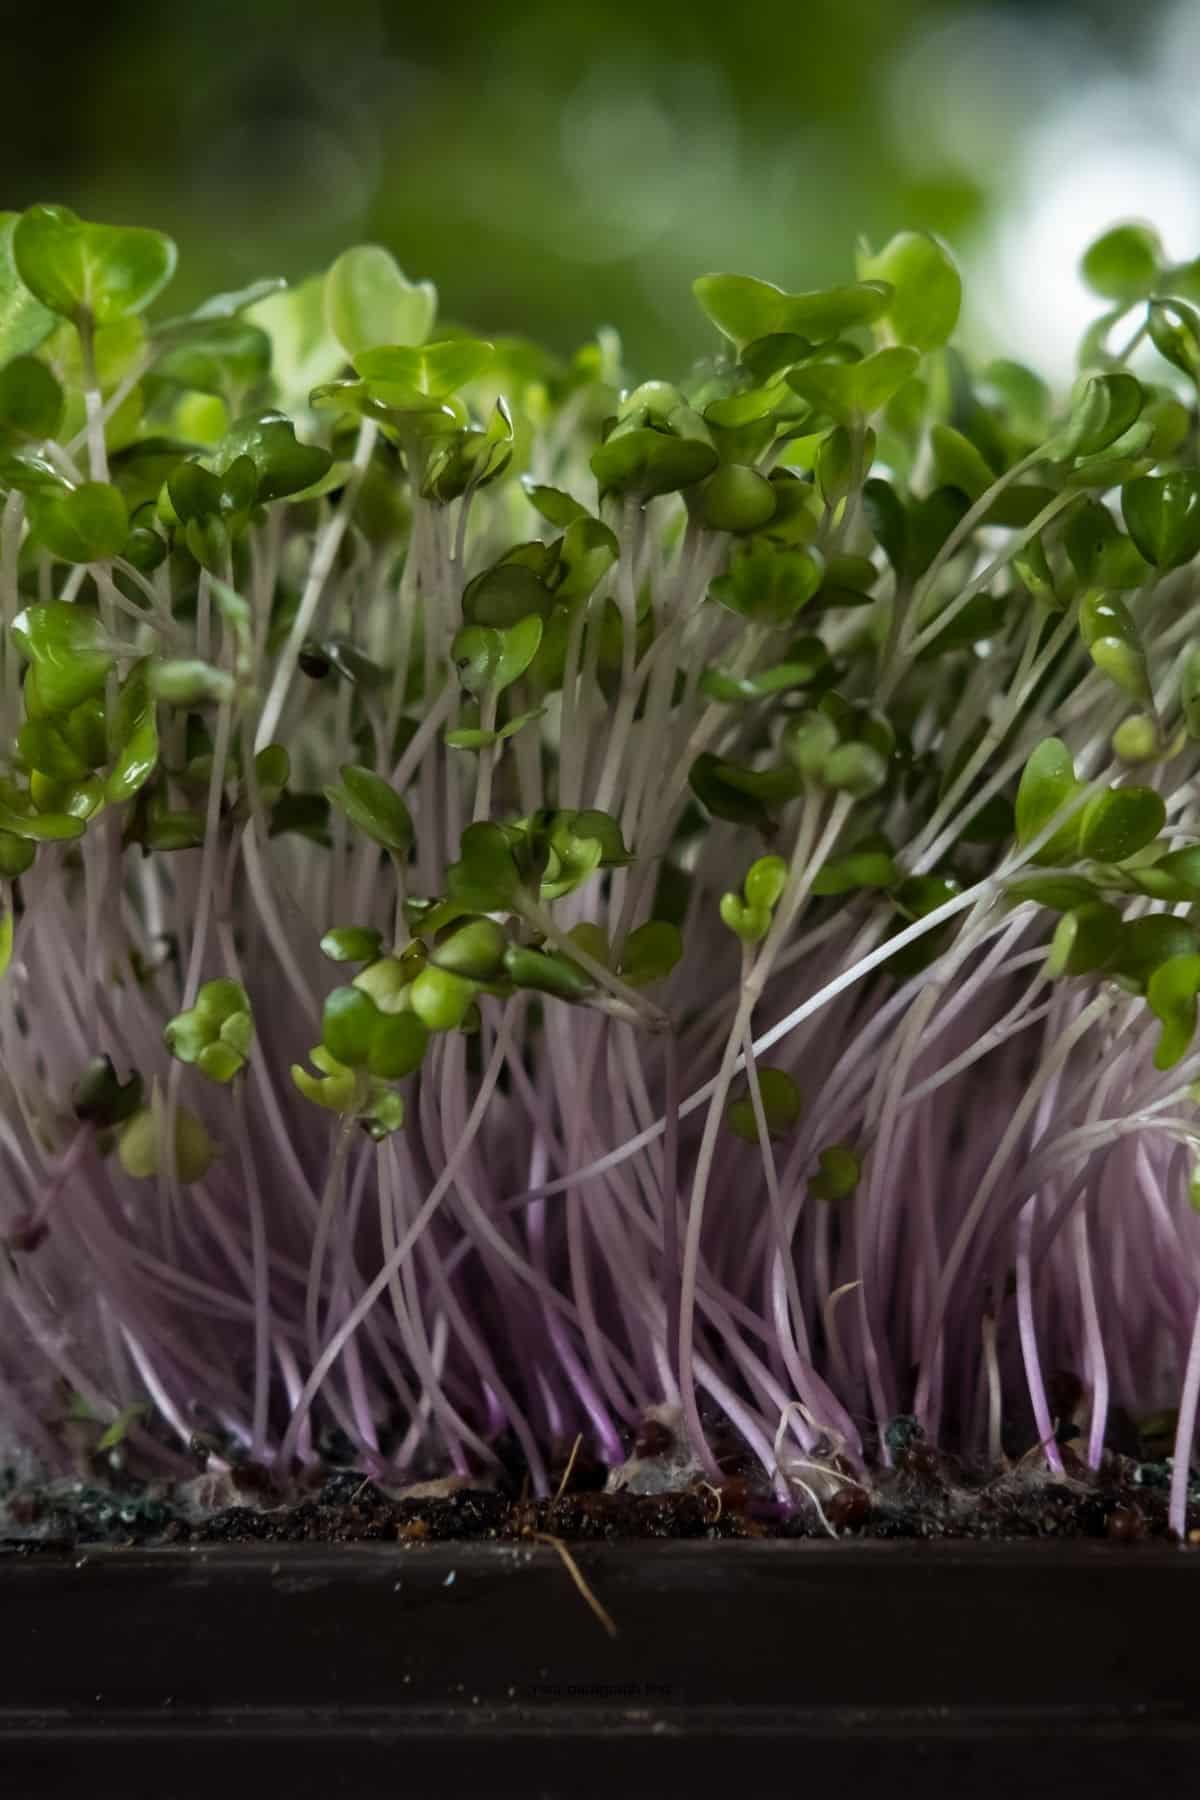
6. Cabbage microgreens or kale microgreens
Pros
- Takes only 7-10 days to grow
- Very nutrient dense
- Easy to grow
Cons
- Short shelf life
- Can have strong flavor
In addition to being among the healthiest microgreens to enjoy, red cabbage microgreens look great too, with a deeply pigmented purple color that pops in a salad!
The flavor of cabbage greens varies a bit from one type to another. In general, though, they tend to have a delicate taste, something like a spinach/cabbage mixture with hints of broccoli.
Kale microgreens are similar to cabbage microgreens in that they are both cruciferous and highly nutritious. Here is how to grow kale microgreens.
7. Salad microgreens

Pros
- Very nutritious
- Visually interesting
- Flavorful
Cons
- Can take up to 3 weeks to grow
- Potential for mold
These tend to mix together a variety of greens with flavors and colors that pair well together. You can buy seeds for salad mixes, too, containing greens with similar growth rates to ensure you get good results.
If you are new to growing your own microgreens and you don’t know which ones you will like the most, you might consider starting with salad microgreens. They tend to be mild and you’ll get a variety of nutrients.
You can also try straight spinach microgreens if you want to know exactly what you are getting in your mix.
See my recipe for a Microgreens Salad.
Bonus Microgreens
This list is not exhaustive! I also really like Pea Microgreens that are tender and mild in flavor.
You could also try mustard microgreens (watch out, they’re spicy!), beetroot microgreens (beet microgreens), swiss chard microgreens, cilantro microgreens, sunflower shoots, and others. This list is not exhaustive.
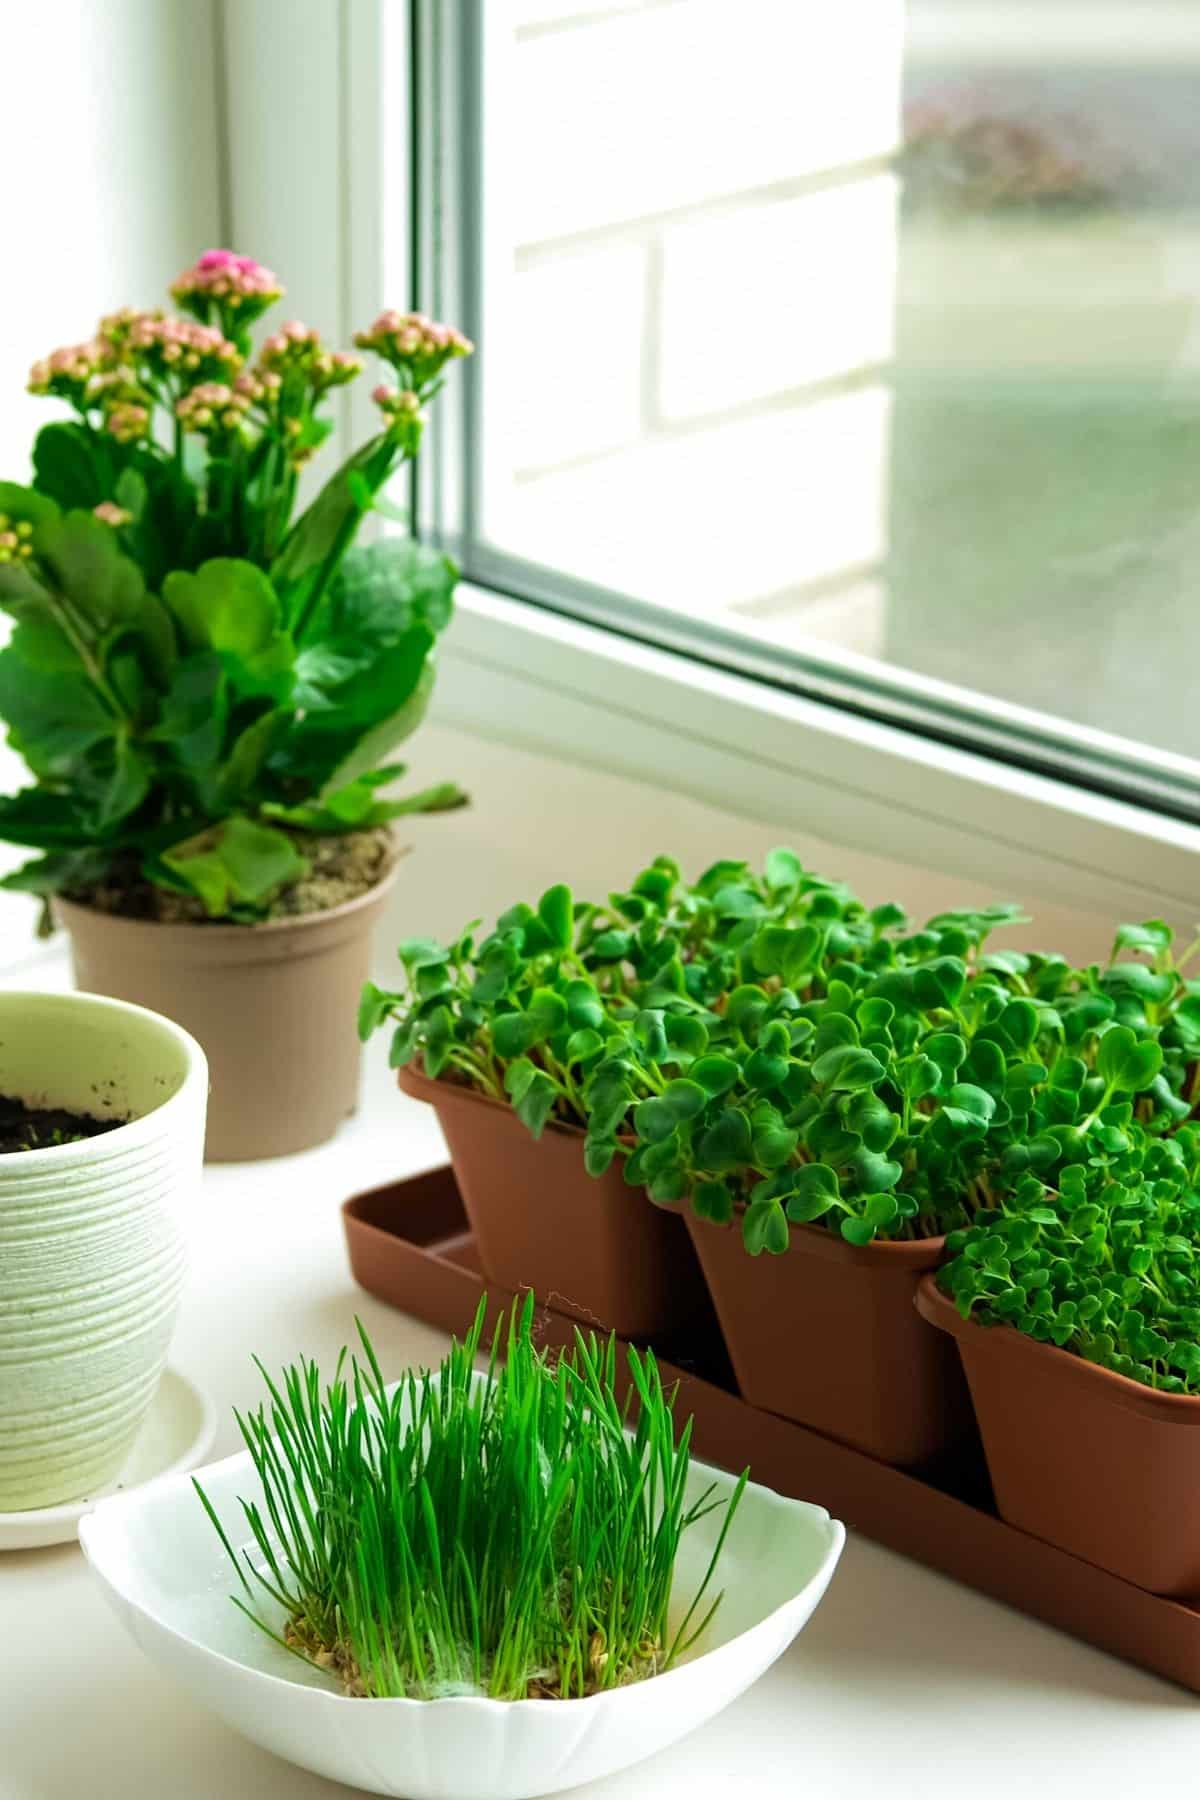
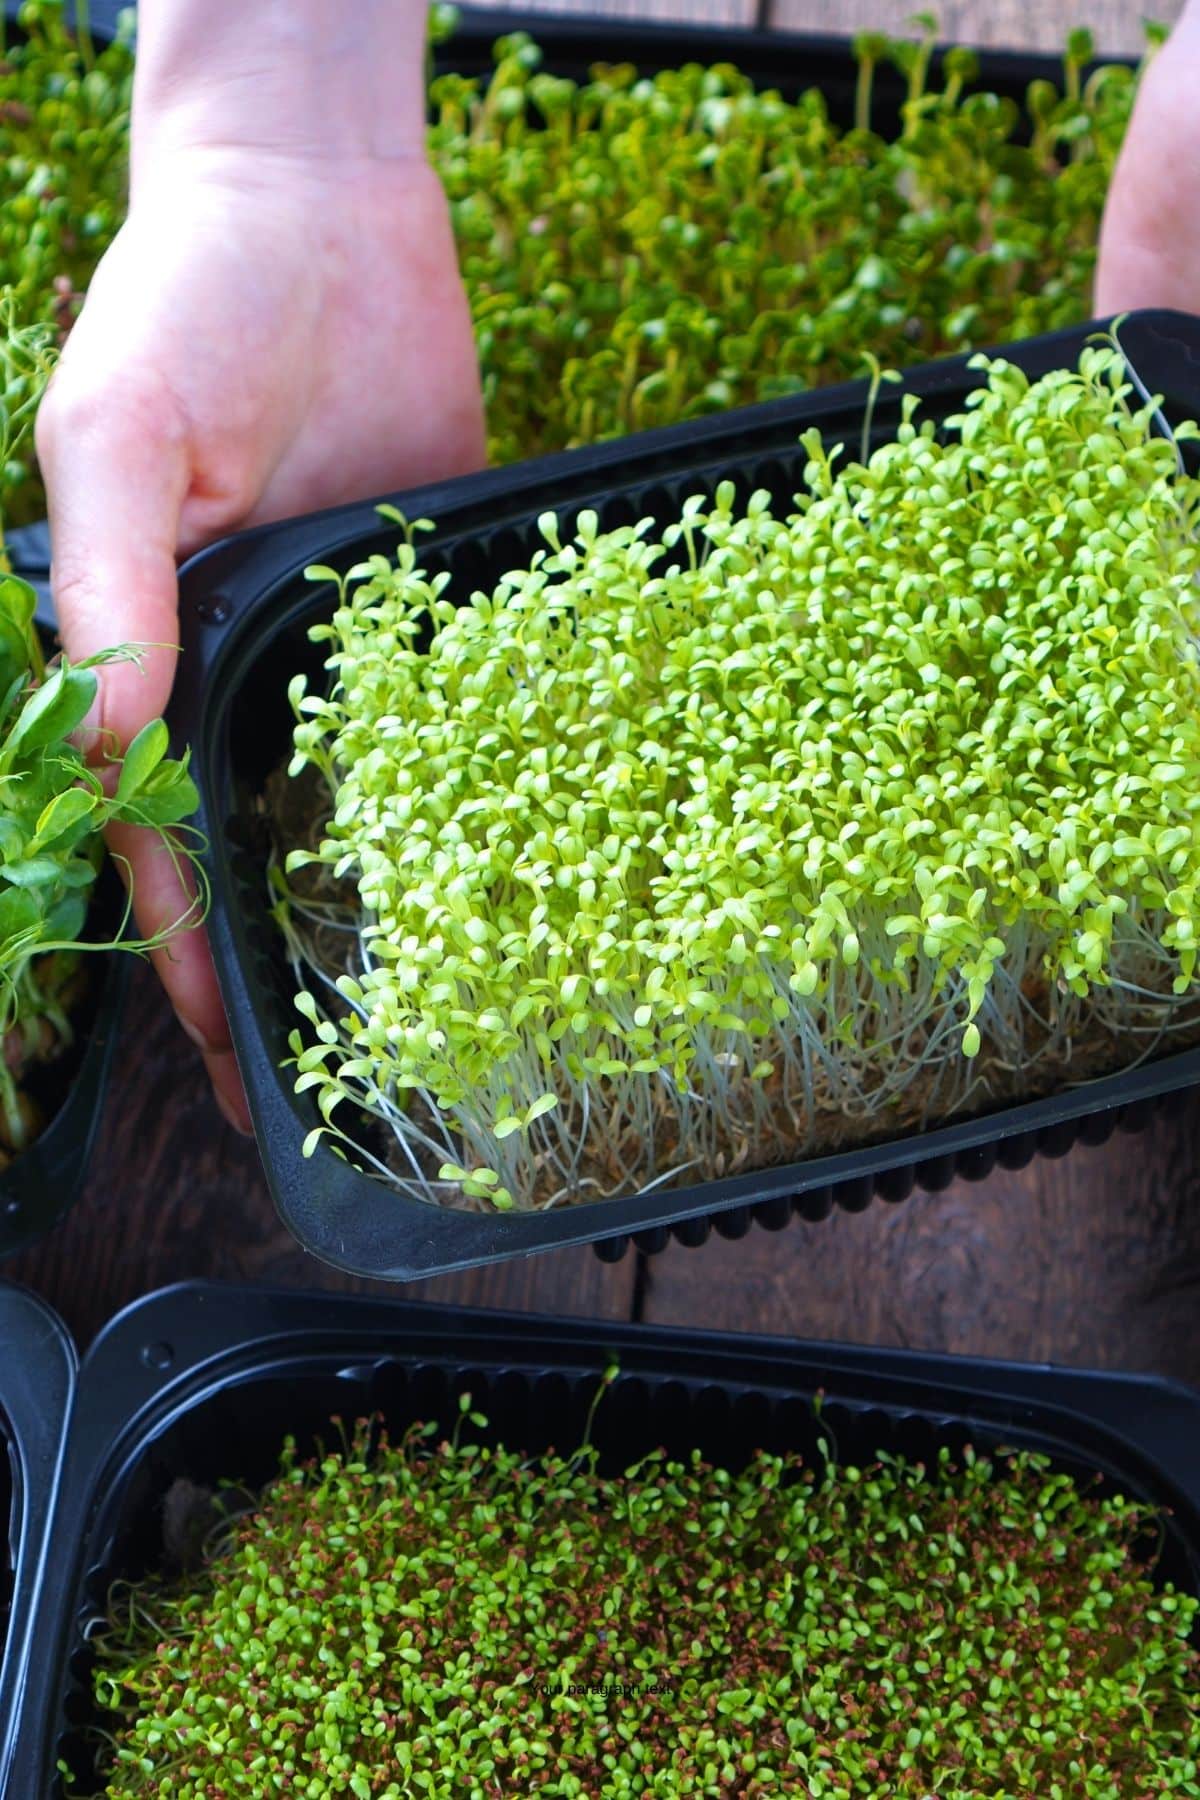
How to Grow Microgreens at Home
Growing microgreens is incredibly rewarding. Within just a few weeks of starting off your seeds, they are ready to be harvested and enjoyed.
Prepare to Grow Microgreens
Choose location: It is also very easy, and since microgreens don’t need much space to grow, a small area near a window is the perfect spot to choose.
That being said, some people prefer to grow microgreens outdoors. While possible, this can be challenging as the seedlings are very fragile and susceptible to temperature extremes and pests. If you do opt to grow yours outside, make sure that they are under shade and adequately protected from the elements.
Containers: Once you’ve decided where to grow your seeds, you will need to find a suitable container to place them in. An environmentally friendly option is to use something that may otherwise have been thrown out – an empty plastic take-out container, for example, or the type of clear plastic container in which fruit or vegetables are packaged.
If you are planting your seeds in soil they will need drainage. If your container doesn’t already have this built-in, just make a few holes in the bottom with a sharp knife. You can skip this step if you are using a grow mat/seed quilt.
You are now ready to plant your seeds!
Choosing your seeds: Always choose organic seeds, as these will be free from conventional fungicides, pesticides, and herbicides. Rebel Gardens sells organic, non-GMO, heirloom microgreen seeds.
The guidelines below work well for most types of seeds, but it’s a good idea to check the packaging for specific instructions for the variety you are planting.
How to plant microgreens in soil:
1. Cover the bottom of the container with around an inch of moist potting soil, gently pressing it with the flat of your hand until it is level.
2. Spread your seeds in an even layer on the top of the soil then press them into the soil very gently with your hand.
3. Add another thin layer of soil to the container, completely covering the seeds, then put a lid on the container or cover it with plastic wrap.
4. Place the container in a spot where it will get several hours of direct sunlight every day. If this isn’t possible, you can use a grow light instead.
5. Keep the soil moist by spraying it gently with a mister once or twice a day, as required.
6. Once the seeds start to sprout – generally somewhere for 3 to 7 days – take off the lid or plastic wrap.
7. Continue to keep the soil moist by misting once or twice a day until your microgreens are ready to harvest.
How to grow microgreens using a grow mat or seed quilt:
1. Cut the mat to fit your container then soak it in water for a few hours. While the mat is soaking, soak the seeds too.
2. Drain away any excess water, then sprinkle the seeds across the surface. The seeds don’t need to be covered.
3. Place the container in a sunny spot and keep the mat well-watered at all times.
It usually takes around two to three weeks for your microgreens to be ready to eat, although this depends on the point you choose to harvest them.
Some people choose to do this at an early stage, right after the first pair of leaves (the cotyledons) appear.
But it’s more common to wait until the next set of leaves – known as the “true leaves” – appear. At this point, it’s essential that you harvest them – otherwise they may begin to discolor.
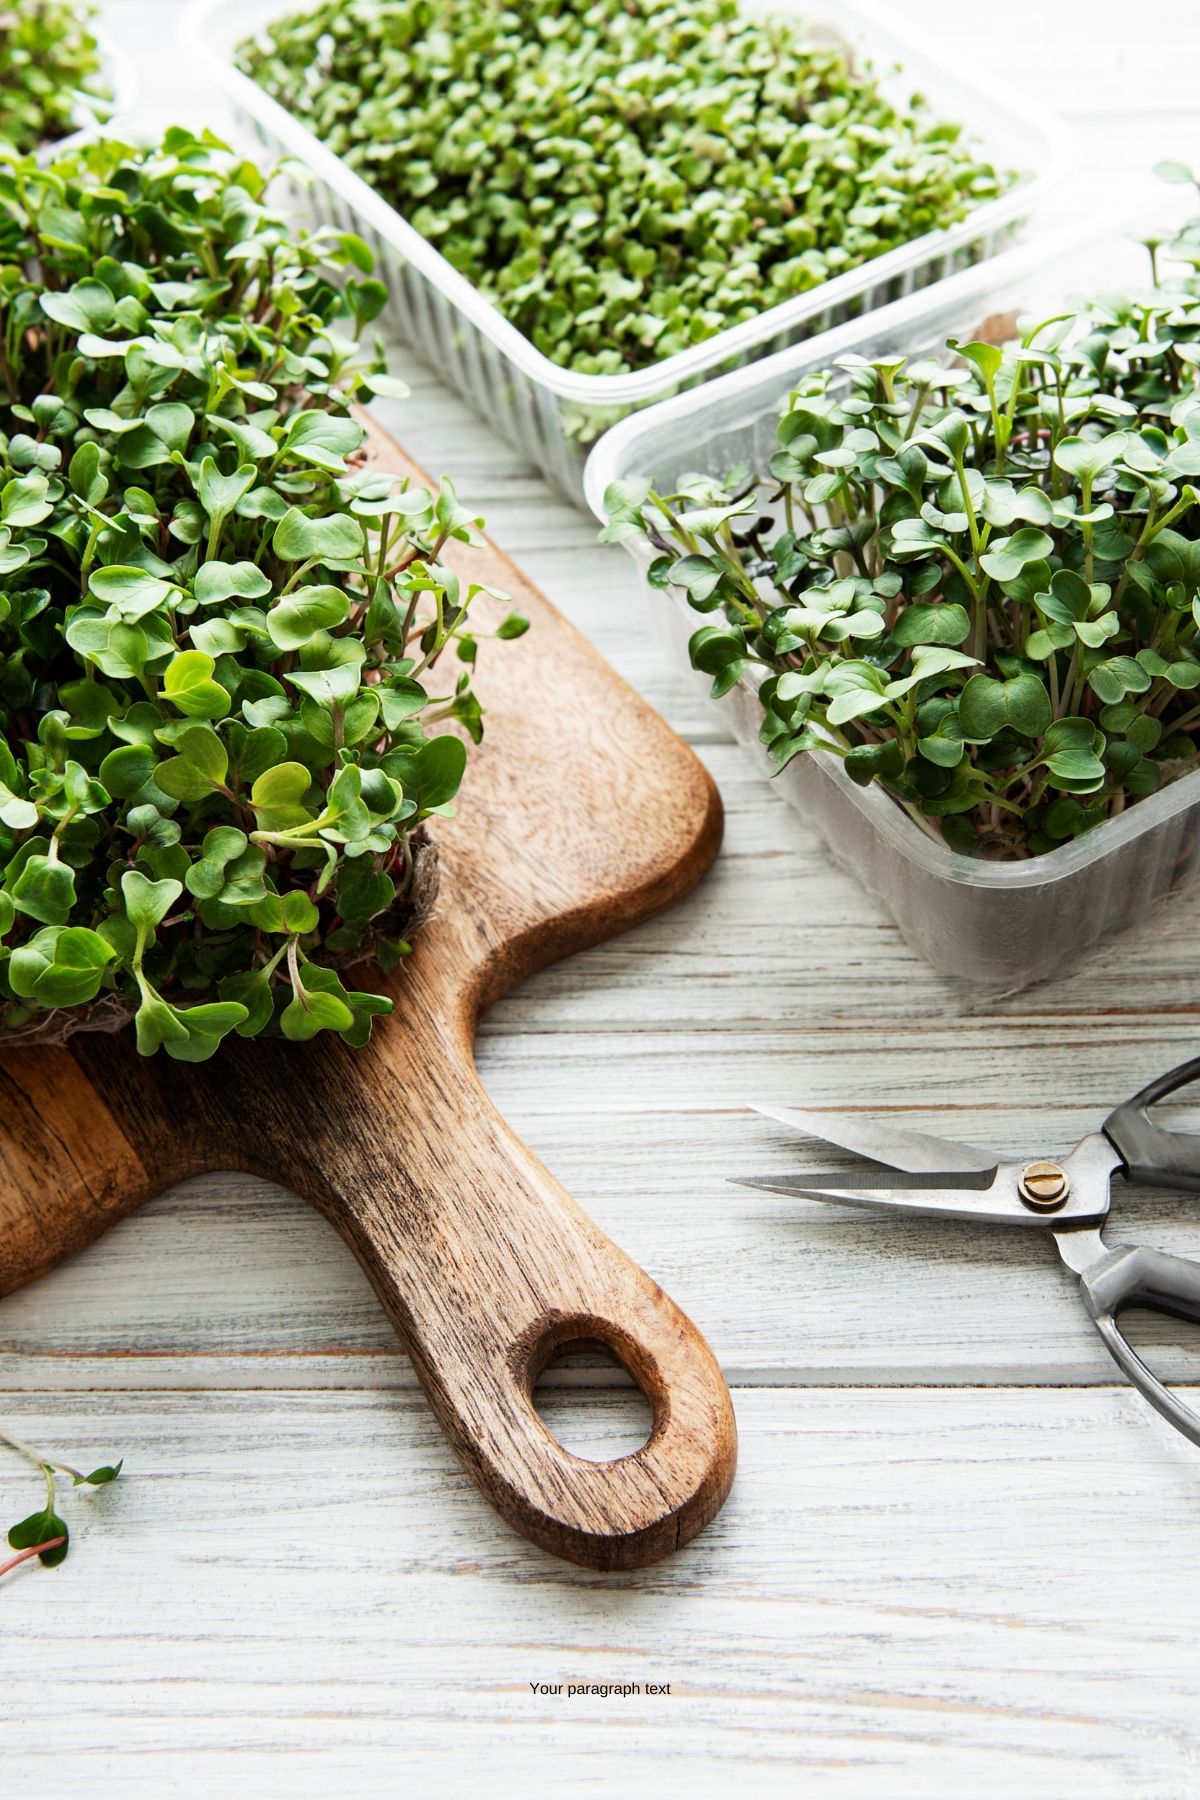
All you’ll need for this is a pair of scissors. Just snip them around an inch above the soil, then rinse off any loose dirt. Your microgreens are now ready to enjoy.
(Note: There will be no further growth after harvesting, so dispose of the soil and then start again with your next batch).
Best Microgreen Kits
You can probably find seeds for microgreens and growing kits at your local nursery or hardware store. I have even seen them at boutiques and grocery stores.
If you prefer to shop online, here are some options:
How to Eat Microgreens
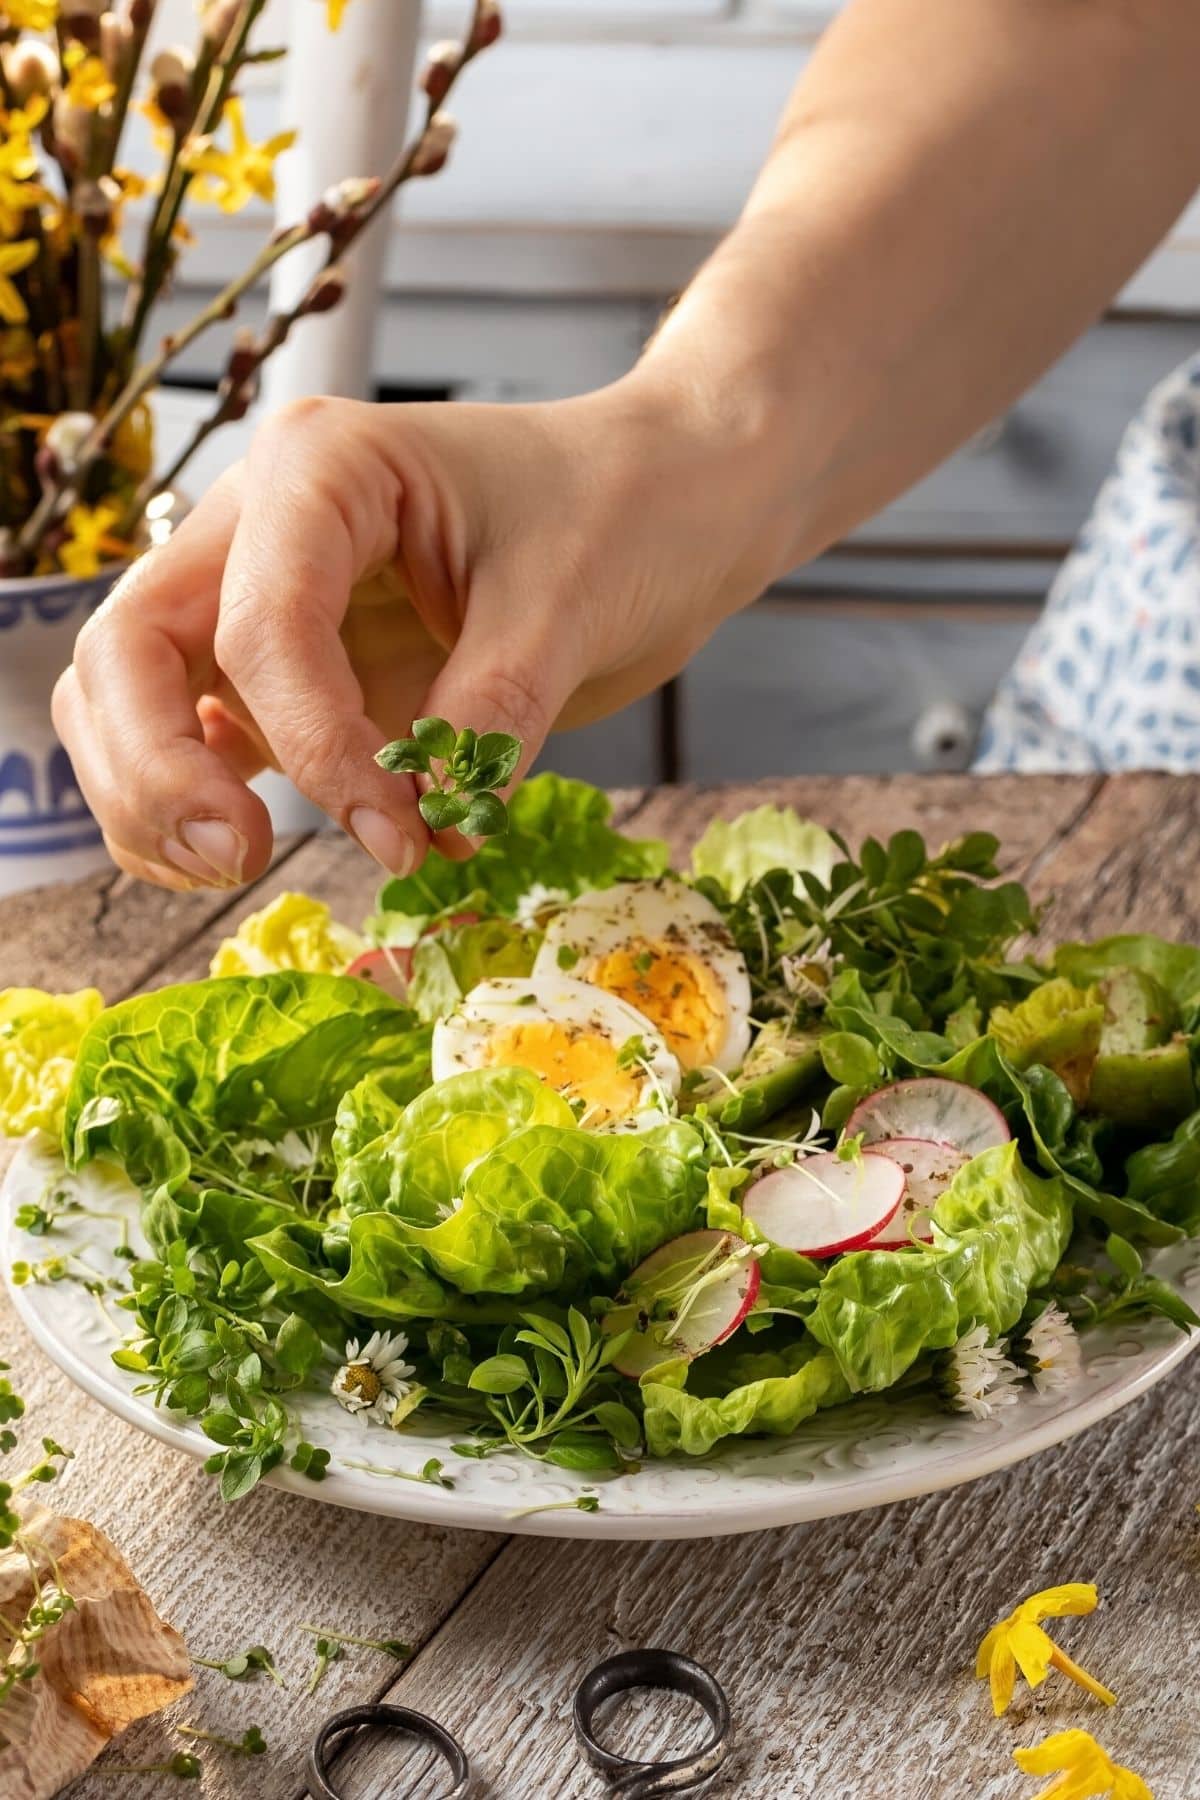
Microgreens are very versatile, enhancing the color, flavor, and texture of the dishes you add them to. Because they are considered safe to consume raw, it’s actually better not to cook them, as this depletes their nutrients.
Here are some simple ways to use them:
- Add them to your sandwiches or wraps
- Use as a garnish on main meals
- Sprinkle over your breakfast omelet
- Throw a handful in your daily smoothie
- Add to soups as a garnish just before serving
- Mix into your salads
- Make a Microgreens Salad
FAQs
After a little initial expenditure on the supplies that you need to get started, growing your own microgreens is very cost-effective – far cheaper, in fact, than buying the commercially produced variety!
It is also very satisfying on a personal level to be able to produce and consume such a healthy food as and when you need it.
Research published in 2012 showed that red cabbage microgreens have some of the highest levels of ascorbic acids, carotenoids, phylloquinone (the dietary form of vitamin K), and tocopherols (the major forms of vitamin E). The study showed that other good choices are cilantro, garnet amaranth, and green daikon radish microgreens.
Any of the microgreens included in this article are appropriate to grow inside including: broccoli microgreens, watercress microgreens, arugula microgreens, radish microgreens, onion microgreens, cabbage microgreens, kale microgreens, or salad microgreens.
The fastest microgreens to harvest are radish microgreens or arugula microgreens, with about 5-7 days to harvest.
The trickiest microgreens to grow at home include the herb microgreens such as basil microgreens or parsley microgreens.
Pea microgreens (also called pea shoots) have a sweet taste. I personally enjoy onion microgreens which have a delicate onion and slightly sweet flavor.
Learn About Types of Microgreens and More!

Conclusions
If you find it hard to eat as many vegetables as you should on a daily basis, consuming microgreens is the answer! They allow you to benefit from a whole range of important nutrients without needing large quantities of produce and they are perfect for picky eaters, blending easily into other dishes.
Best of all, you don’t need to rely on your local stores to stock them as you can easily – and cost-effectively – produce a never-ending supply at home.
Don’t forget to join my newsletter list to get exclusive clean eating recipes and tips. The newsletter is 100% free with no spam; unsubscribe anytime.
About the Author: Carrie Forrest has a master’s degree in public health with a specialty in nutrition. She is a top wellness and food blogger with over 5 million annual visitors to her site. Carrie has an incredible story of recovery from chronic illness and is passionate about helping other women transform their health. Send Carrie a message through her contact form.
Note: this post is for informational purposes only and is not intended as medical advice. Please consult your healthcare provider for recommendations related to your individual situation.


Great post! I have grown microgreens for awhile. Started growing sprouts, then went to microgreens. I have been using organic seed starting mix, do you think this is ok?
Yes, amazing!
Very informative post, thank you so much!!
I’m so glad it was helpful! Happy gardening! 🙂