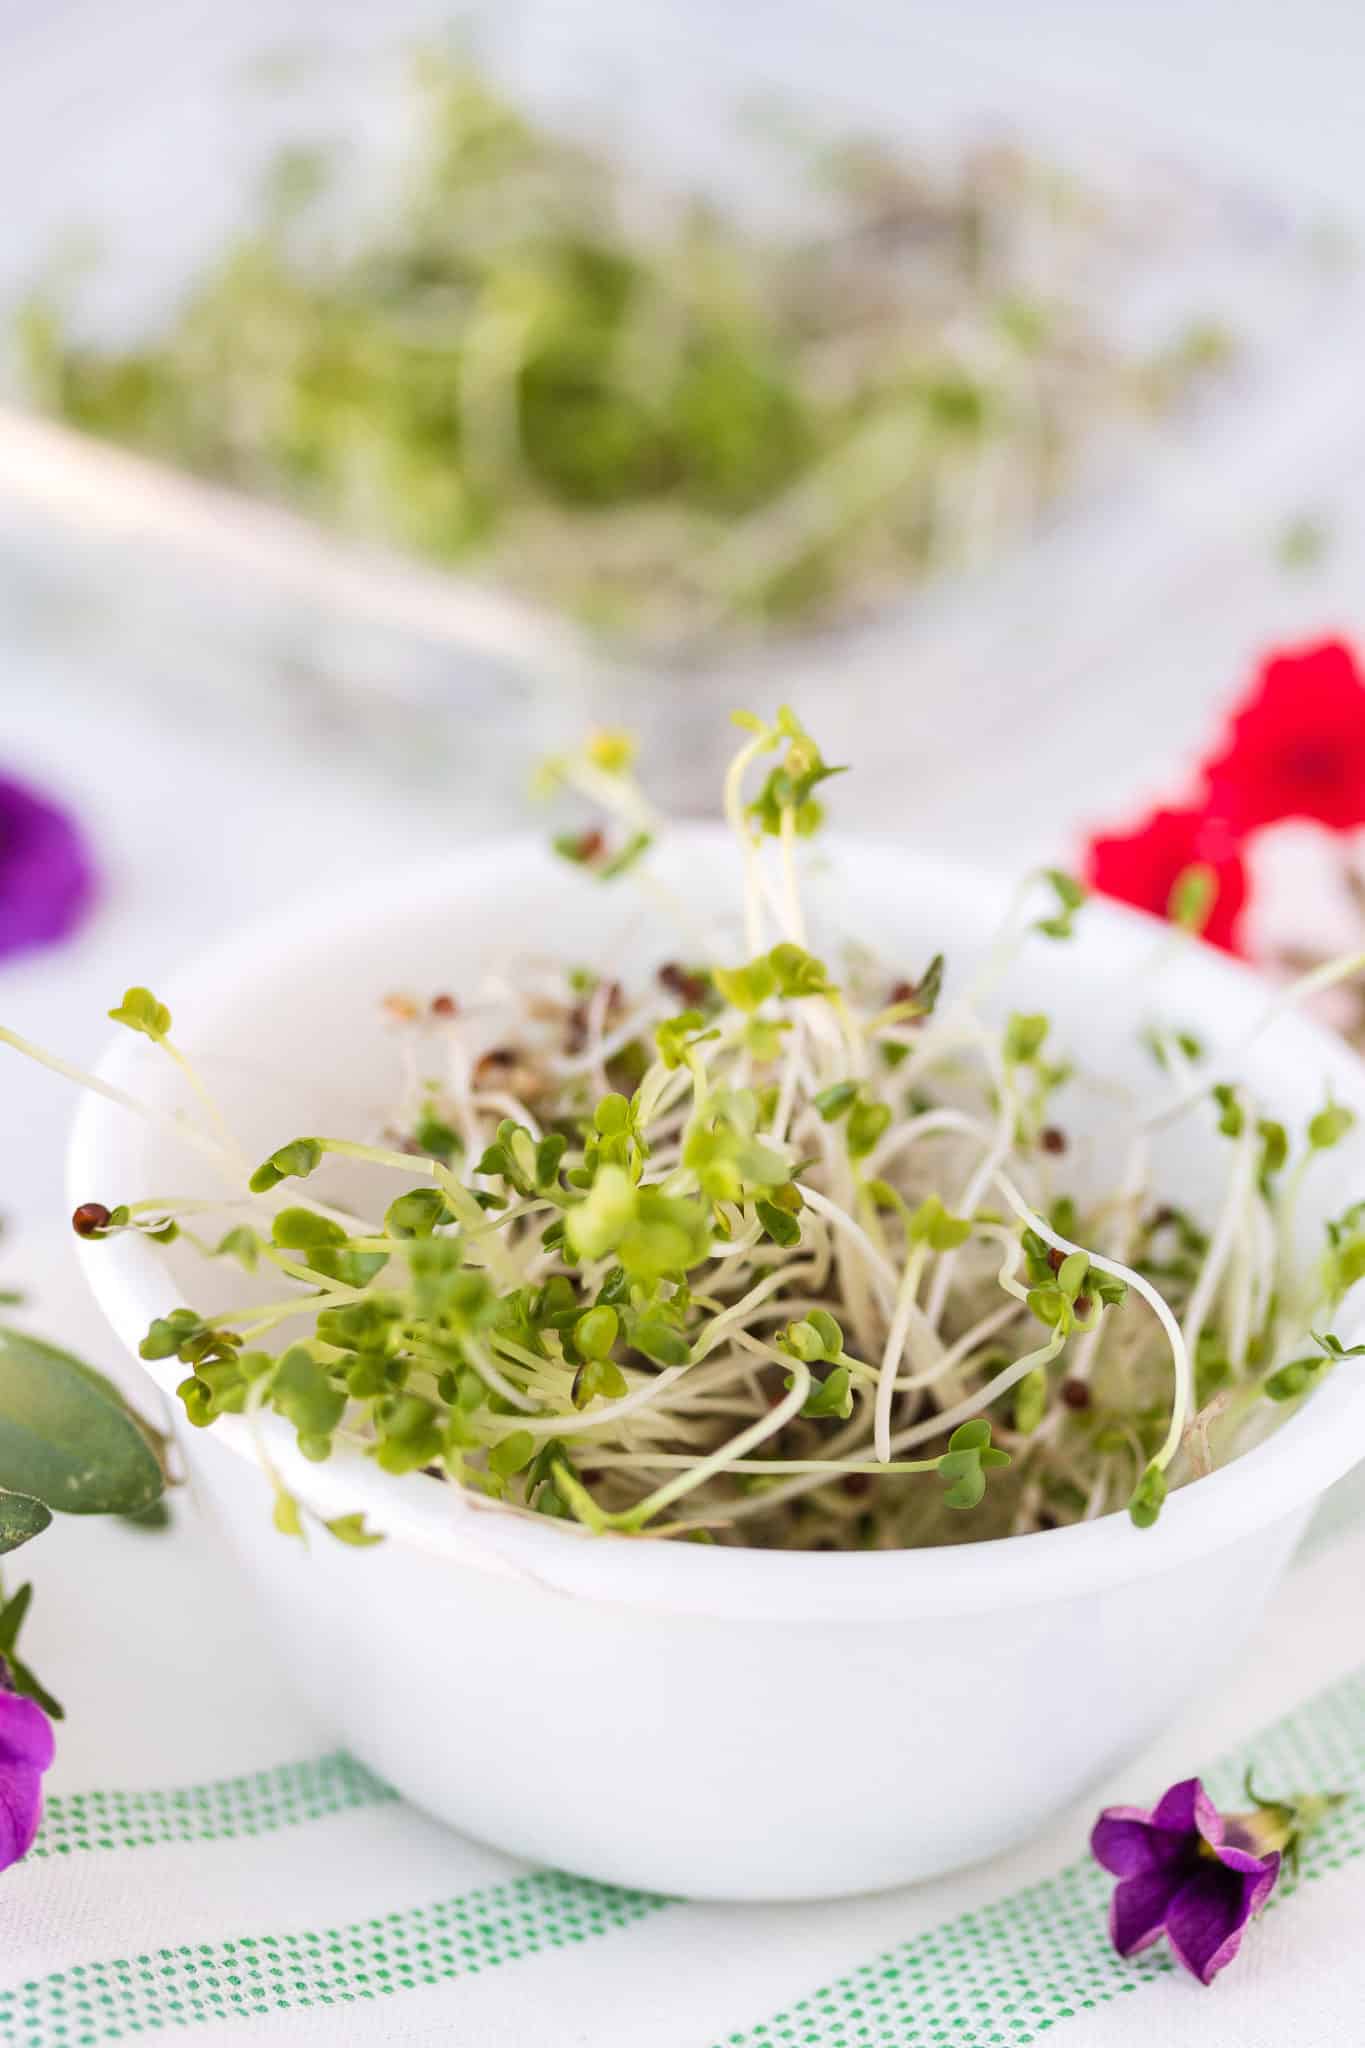
How to Grow Broccoli Sprouts (Step-By-Step Guide)


This post shares an easy, step-by-step guide for how to grow broccoli sprouts. It only takes a few days to grow your own superfood sprouts without any dirt. Learn how to make fresh sprouts in a jar right on your kitchen countertop.

Even if you don’t have a green thumb, you can easily learn how to grow broccoli sprouts from broccoli seeds. Broccoli sprouts do not come from a regular head of mature broccoli, but they are sprouted from broccoli seeds.
In this article, I’ll share my step-by-step guide and exclusive tips for growing this healthy food at home in a matter of a few days.
I’ve been growing broccoli sprouts for over a decade now so I’ll share all of my tips!
Equipment You’ll Need
Skip the expensive sprouts at farmer’s markets or at specialty health food stores and learn to make your own at home instead!
You’ll save tons of money and have a fresh batch of edible broccoli sprouts on hand at all times.
1. Sprouting vessel
- The simplest method to grow sprouts at home is to use a Mason jar with a strainer lid (also called a sprouting lid).
- You can also use cheesecloth to cover the top of the jar if you don’t want to buy the lid (just use a rubber band to secure the cheesecloth over the opening of the jar).
- Or, you can also try this glass sprouting jar with a straining lid. This one is also great and has the benefit of being a glass container as opposed to plastic.
2. Broccoli seeds
- You will also need to buy some broccoli sprouting seeds either online or available at most health food stores.
- My preference is to purchase organic broccoli seeds. You’ll need about 1-2 tablespoons of broccoli seeds per batch of sprouts.
- You can save money by purchasing non-organic, GMO-free broccoli seeds if you prefer.
Step-by-Step Guide
Let me show you how easy and cost-effective it is to make your own broccoli sprouts right at home.
Step One: Soak the Broccoli Seeds
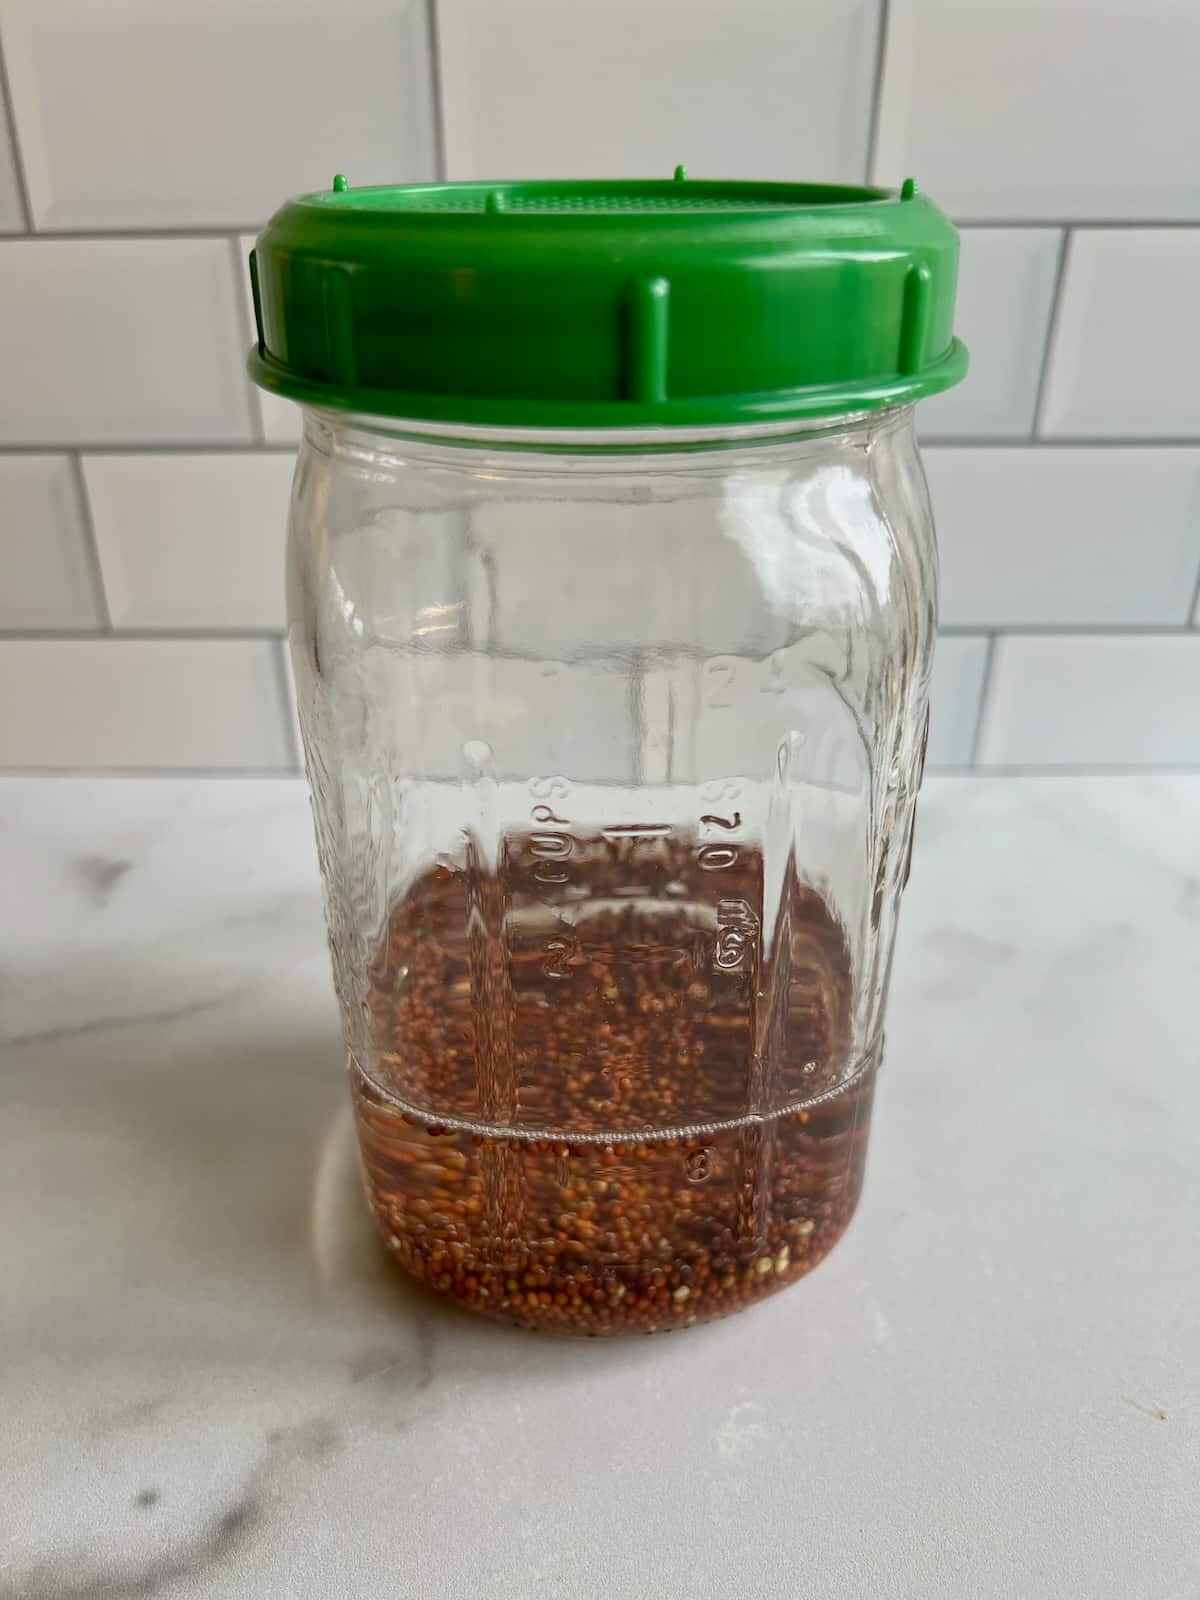
- To get started, you’ll need to soak your broccoli seeds in a small bowl or Mason jar filled with water. This helps prepare the seeds to sprout.
- Let the seeds sit in the water for 6-12 hours to soak.
Step Two: Rinse the Seeds and Start Sprouting
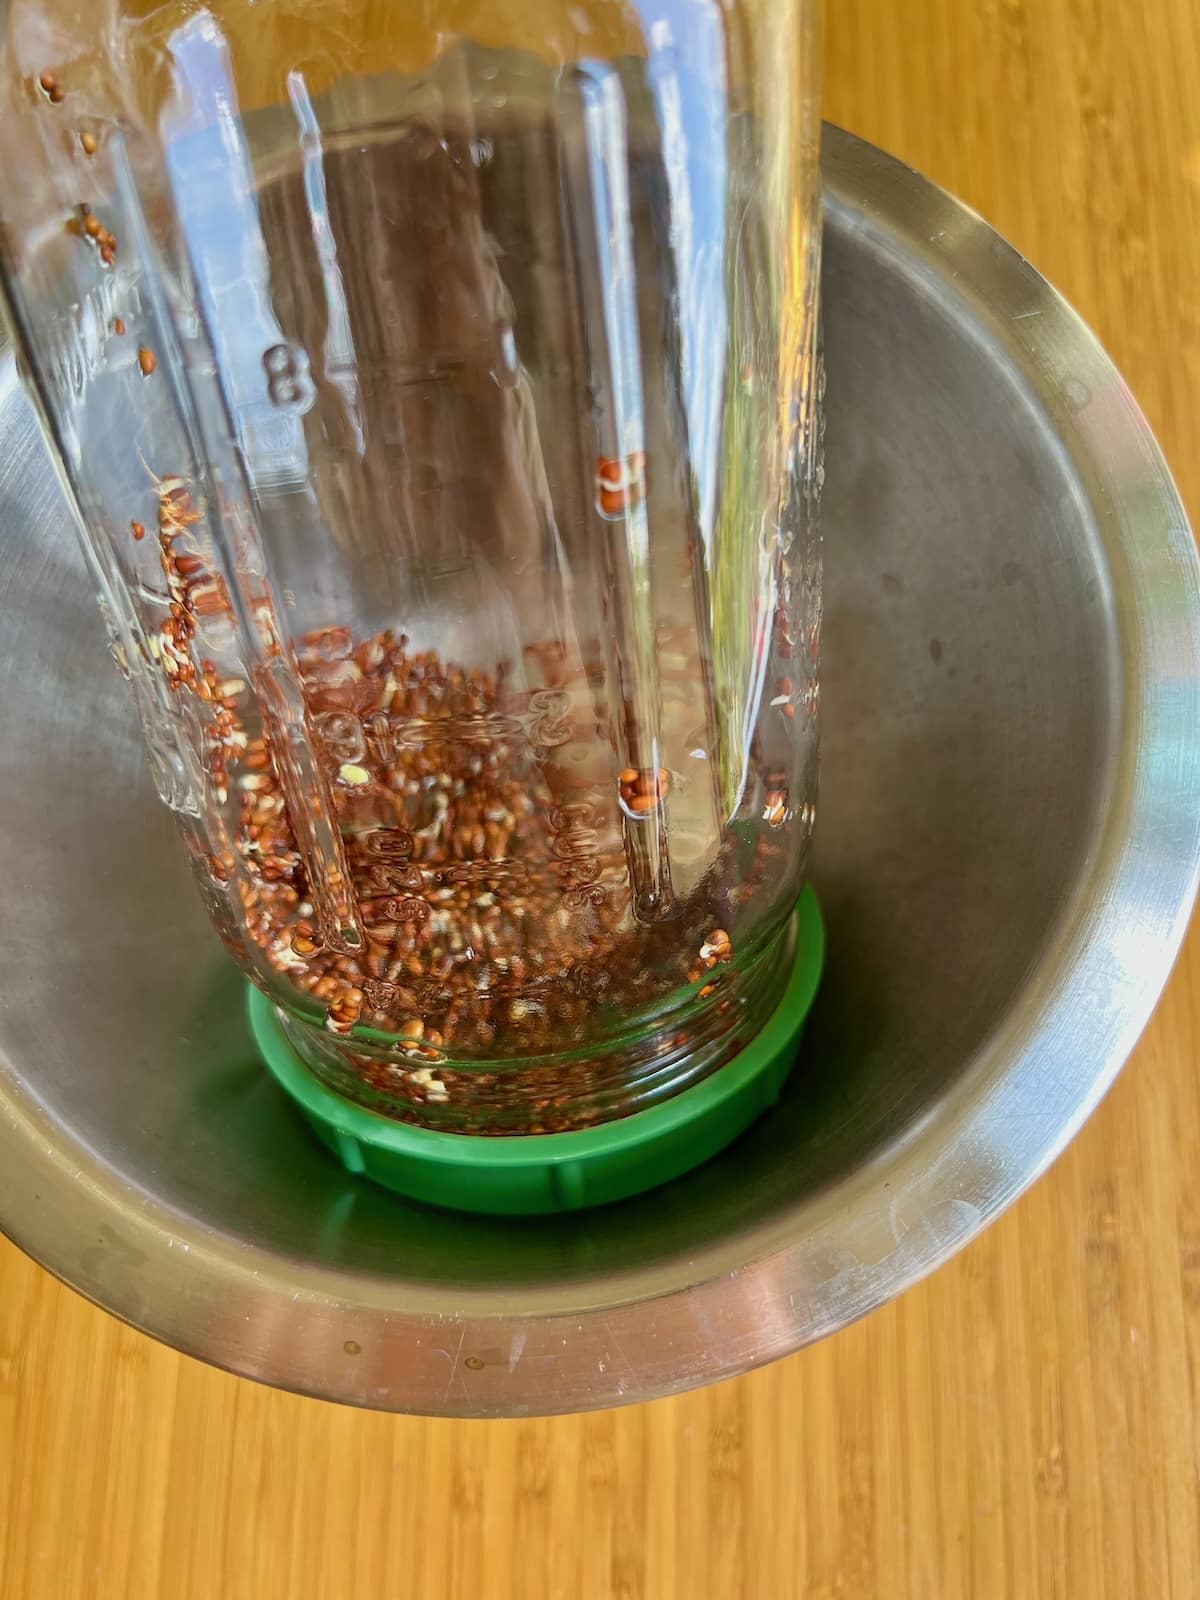
- After you have soaked the seeds, it’s time to rinse them in cool water and drain them well.
- For the next 48 hours, you’ll need to keep the sprouts in a cool, dark place, such as a dark pantry or a kitchen cabinet. Store the jar upside down so any excess water can drain from the sprouting vessel to prevent mold or mildew.
Step Three: Rinse and Sprout
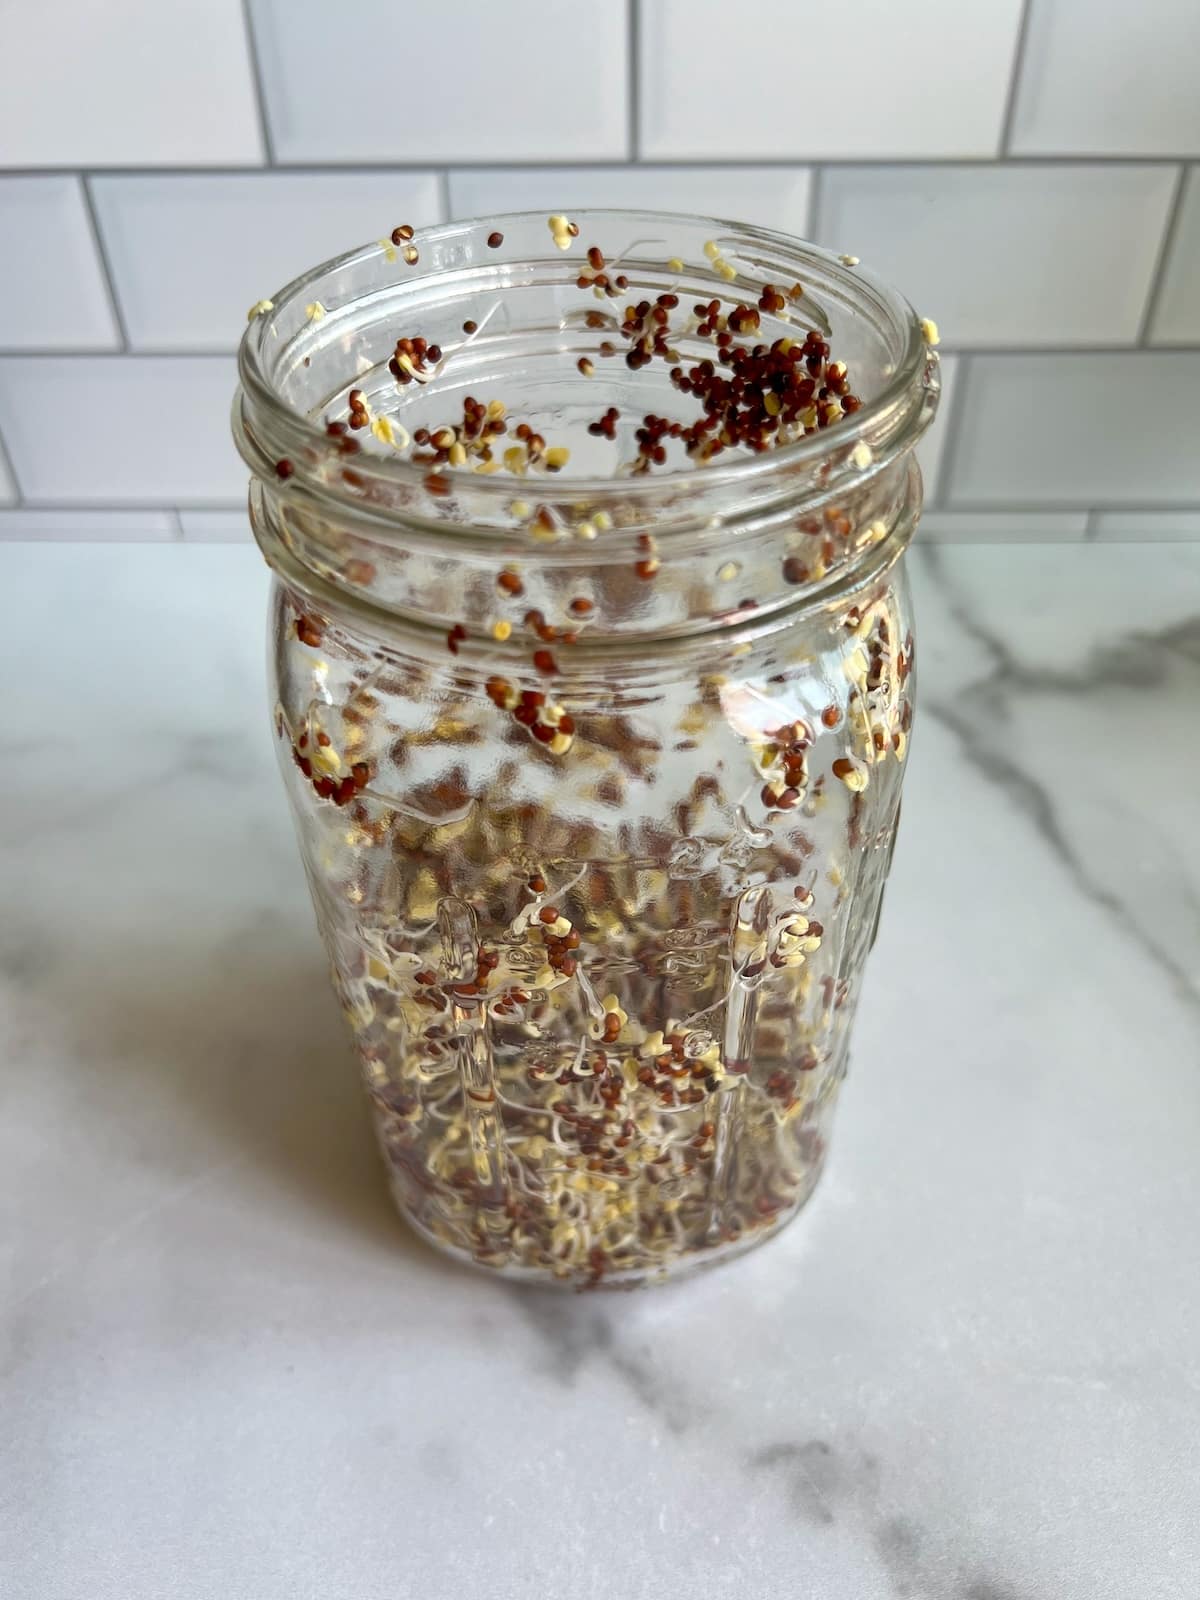
- For every day until you harvest the sprouted broccoli seeds, you’ll need to rinse the sprouts at least 3 times a day with fresh water. Don’t skip this step as this is what keeps the sprouts from going bad.
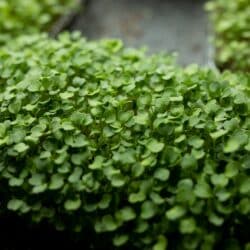
- Once the sprouts have reached about a half-inch to full-inch in length, it’s time to move the sprouting vessel out of the dark and expose it to some sunlight. This will be around day 4 or 5 of the sprouting process.
- We don’t want to put the vessel in direct sunlight, but just in some nice indirect light for about 12 more hours. This will help develop the lovely green color that fresh and healthy sprouts should have.
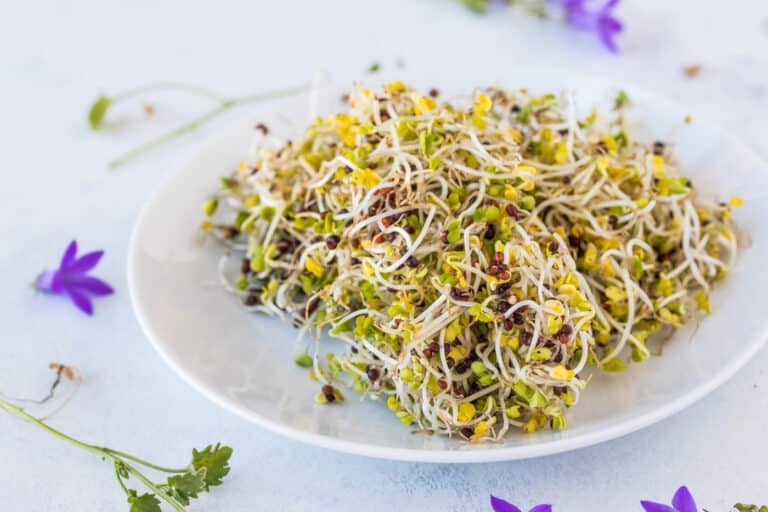
Step Four: Harvest the Sprouts
- By day 5, they should be fully grown and nice and green. All you have to do to harvest them is give them one really good final rinse and transfer them to a glass bowl with a lid (or any other airtight container). You can also dry them in a salad spinner or pat them dry with a paper towel.
- Store them in the refrigerator for up to 5 more days.
- One to two tablespoons of broccoli seeds will yield about one cup of broccoli sprouts.
Sprouting Tips
- Taking into account both the soaking time (12 hours) and sprouting time (3 days), allow for a total of about 3 1/2 – 5 days days total to grow and harvest your broccoli sprouts.
- Freshly harvested broccoli sprouts will keep in the refrigerator in an airtight container for about 5-7 days.
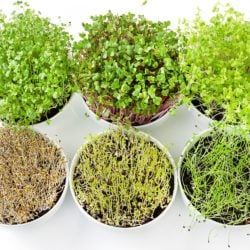
- Not all seeds are appropriate for sprouting. Be sure to buy seeds that are labeled “for sprouting,” including any type of alfalfa sprouts or bean sprouts.
- There is a small chance that you can grow mold during the sprouting process. Sprouts should smell fresh and should not be “stinky” at all. If in doubt, don’t eat them. And, pregnant women and anyone with an immunocompromised system should be cautious about consuming raw broccoli sprouts due to the risk of e. coli. Talk to your healthcare provider if you have concerns or questions.
Potential Health Benefits
- Broccoli sprouts contain sulphoraphane that has research behind it showing its cancer-fighting properties including against breast cancer, H. pylori, inflammation, and more.
- Sulphoraphane is a powerful antioxidant that we should be consuming as often as possible from a variety of cruciferous vegetables. Antioxidants are great for the immune system and for reducing oxidative stress, risk of cancer, and cardiovascular disease.
- Getting the health benefits from cruciferous veggies through consuming organic broccoli sprouts is an easy nutrition hack. See my full green vegetables list.
Sprouting FAQs
You should know that the little fuzzy parts of the sprouts are totally normal. They’re micro “hairs” meant to help draw moisture into the sprout, and it’s not mold.
That said, you should let your nose tell you if your sprouts have gone moldy. Any kind of sour smell is not normal and means that they’re probably not safe to eat. I’ve only had this happen once in about fifty times, but it can happen. If you live in a location with very humid conditions, your sprouts are more likely to grow mold.
Always be cautious when consuming raw sprouts and ask your doctor or healthcare provider if you have concerns about whether or not sprouts are safe for you.
Taking into account both the soaking time (12 hours) and sprouting time (3 days), you’re looking at a total of about 3 1/2 – 5 days total from start to finish.
In warmer climates, it can take less time to grow the sprouts. But, you’ll need to keep a close eye on them and rinse them often to keep any harmful bacteria from growing.
You can keep them in the fridge for about a week after you harvest them.
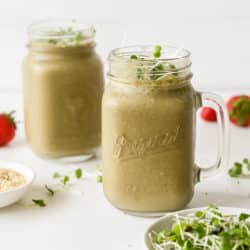
They are slightly spicy but they don’t have a super strong flavor. Check out my list of ways to eat broccoli sprouts.
Don’t Miss These Helpful Sprouting Resources!
I hope you make this recipe! If you do, please leave a comment and a starred review below.
And, consider following me on social media so we can stay connected. I’m on Facebook, Pinterest, Instagram, and YouTube!
How to Grow Broccoli Sprouts (Step-by-Step Guide)
This post shares an easy, step-by-step guide for how to grow broccoli sprouts from broccoli seeds. It only takes a few days to grow your own superfood sprouts!
- Total Time: 120 hours 5 minutes
- Yield: 8
Ingredients
- 2 tablespoons broccoli seeds
- 1/4 cup water (plus extra water for rinsing)
Instructions
- Soak the broccoli seeds overnight in a small bowl with filtered water.
- Transfer the seeds to a sprouting vessel and place in a dark, well-ventilated space. This can be either a pantry with a door or a kitchen cabinet. Store the jar upside down in a bigger bowl to help drain the excess water.
- Rinse the broccoli seeds daily for the 2-4 days.
- On about the 4th day, move the broccoli sprouts out of the dark once the seeds have started to sprout and grow and are about 1/2-inches to 1-inches in length.
- Harvest the broccoli sprouts once they reach the desired length after about the 4th or 5th day. The sprouts should be green and fresh-smelling.
- Rinse the sprouts before consuming.
Notes
- Taking into account both the soaking time (12 hours) and sprouting time (3 days), allow for a total of about 3 1/2 – 5 days days to grow and harvest your broccoli sprouts.
- Freshly harvested broccoli sprouts will keep in the refrigerator in an airtight container for about 5-7 days.
- Not all seeds are appropriate for sprouting. Be sure to buy seeds that are labeled “for sprouting.”
- There is a small chance that you can grow mold during the sprouting process. Sprouts should smell fresh and should not be “stinky” at all. If in doubt, don’t eat them. And, pregnant people and anyone with an immunocompromised system should be cautious about consuming raw sprouts. Talk to your healthcare provider if you have concerns or questions.
- Prep Time: 5 minutes
- Cook Time: 5 days
- Category: Side dish
- Method: Sprouting jar
- Cuisine: Healthy
- Diet: Vegetarian
Nutrition
- Serving Size: 1 tablespoon
- Calories: 1
- Sugar:
- Sodium:
- Fat:
- Saturated Fat:
- Trans Fat:
- Carbohydrates: 0.1 g
- Fiber: 0.1 g
- Protein: 0.1 g
- Cholesterol:
Don’t forget to join my newsletter list to get exclusive clean eating recipes and tips. The newsletter is 100% free with no spam; unsubscribe anytime.
About the Author: Carrie Forrest has a master’s degree in public health with a specialty in nutrition and is a certified holistic nutritionist. She is a top wellness and food blogger with over 5 million annual visitors to her site. Carrie has an incredible story of recovery from chronic illness and is passionate about helping other women transform their health. Send her a message through her contact form.
Note: this post is for informational purposes only and is not intended as medical advice. Please consult your healthcare provider for recommendations related to your individual situation.


Thank you for the super easy to follow instructions! My first harvest is today! 🙂