How to Make Coconut Milk in a Vitamix
Here’s how to make Vitamix Coconut Milk using a high-speed blender and a nut milk bag. Learn how to make vegan and dairy-free homemade coconut milk without fillers or preservatives.
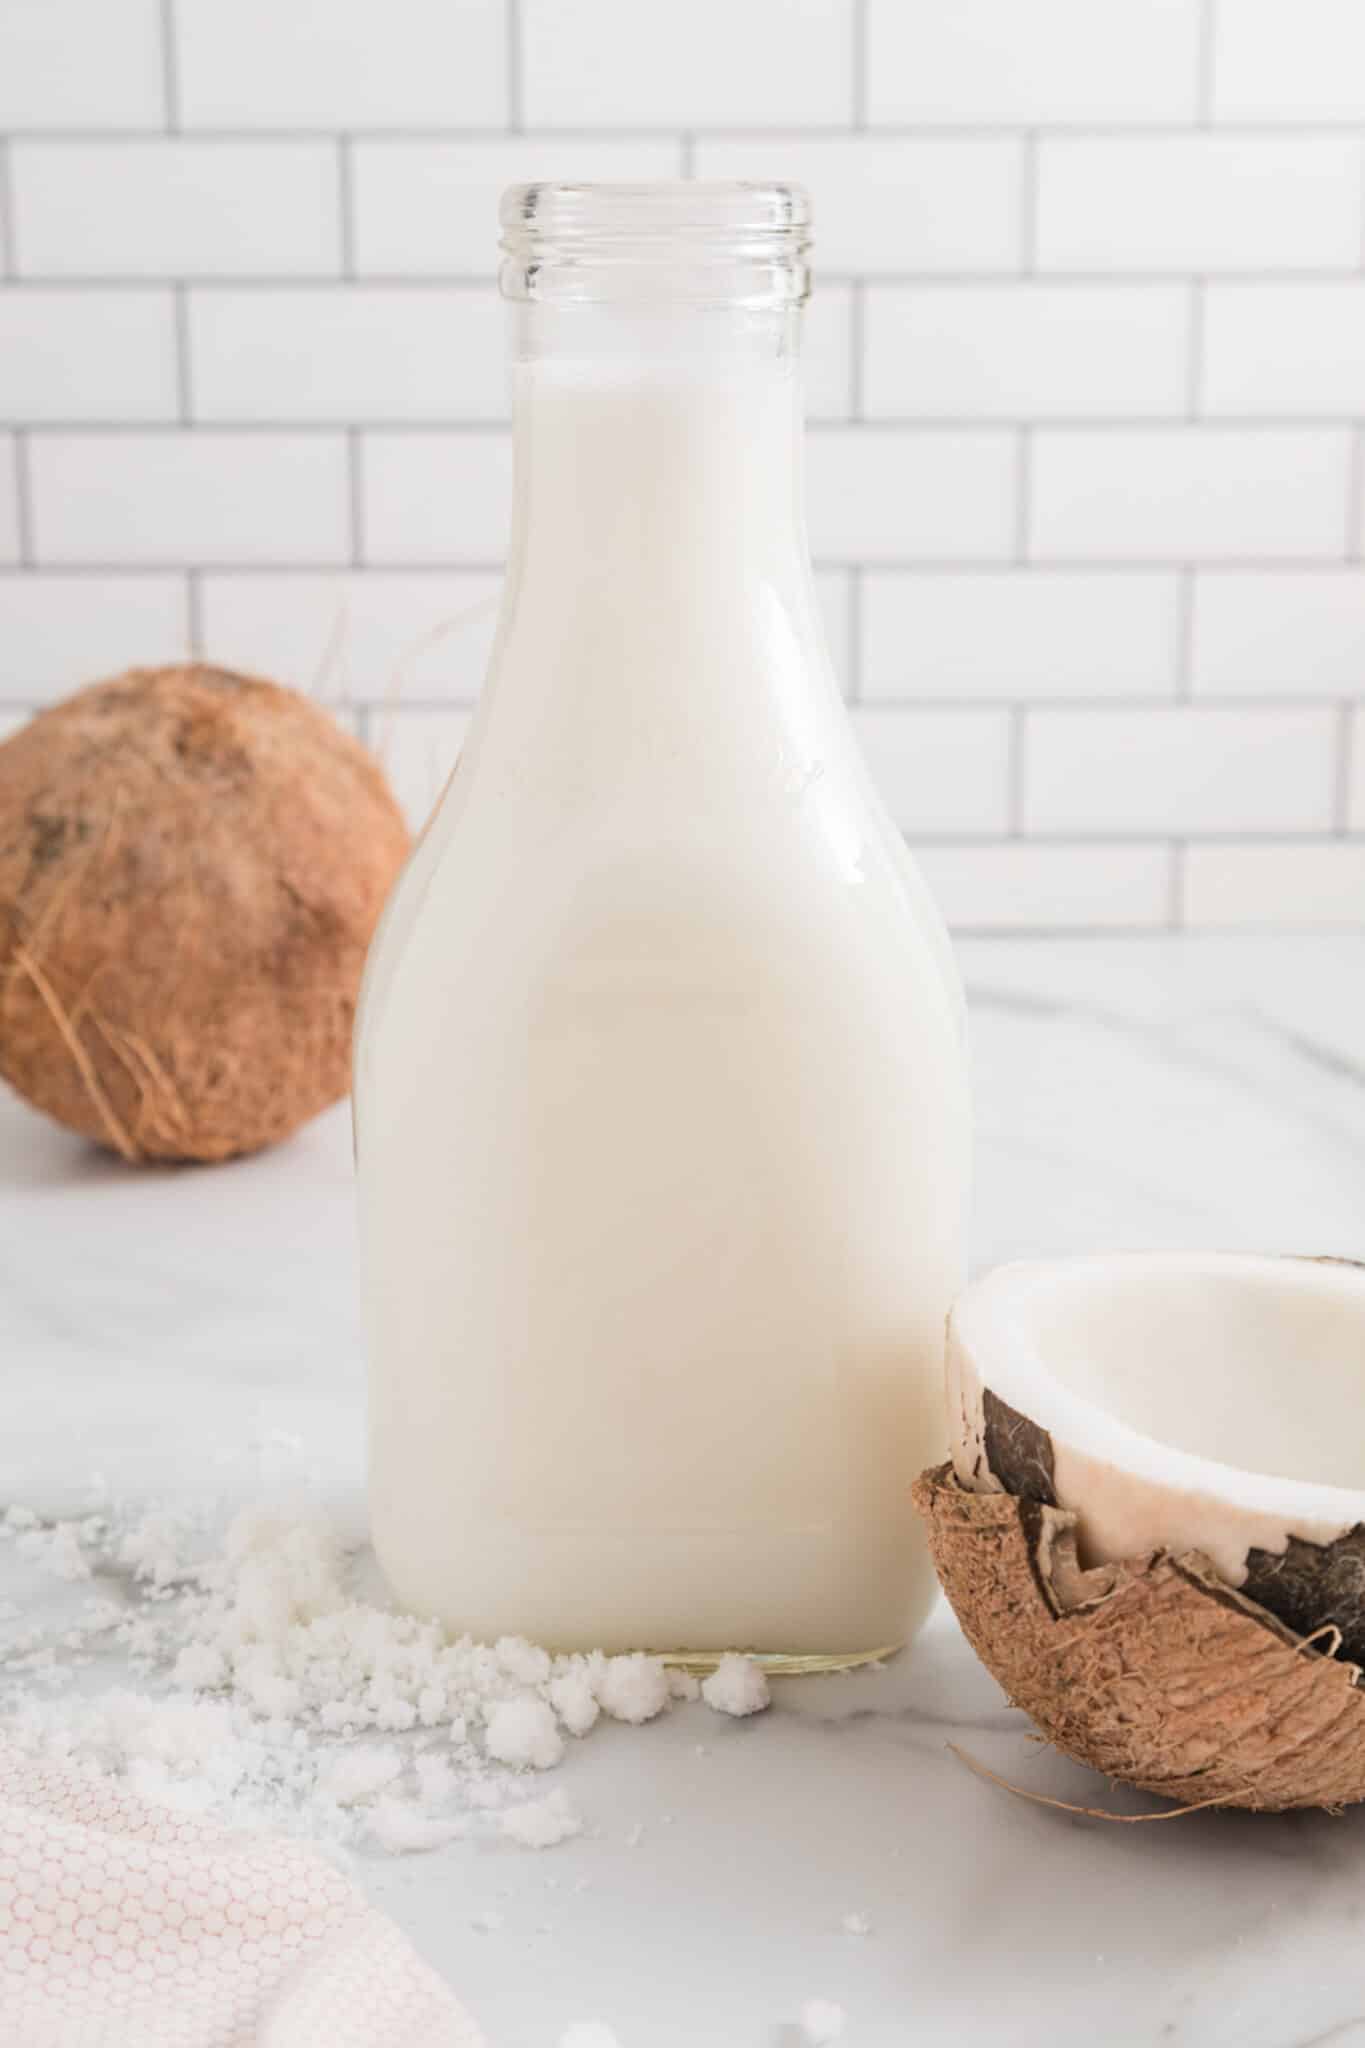
Coconut milk is a grain-free, paleo, dairy-free, and vegan “plant milk” that is so rich and delicious. A lot of different cultures use coconut milk in their cooking, including in Thai food, Indian food, and other Southeast Asian cuisines.
It is generally recognized that coconut milk in moderation is a healthy food. While it is high in fat, it also has beneficial properties that can actually help with cholesterol profiles, metabolism, and inflammation.
Besides that, coconut milk has a rich and flavorful taste that makes plant-based foods much more satiating and filling. I love it in my Coconut Lentil Curry, Slow Cooker Sweet Potato Curry, and Vegan Mango Ice Cream recipes.
I also love to warm it up to make my Tazo Chai Tea Latte.
Why You Need This Recipe
- If you love using coconut milk in your cooking, then you’re going to want to check out this super easy recipe for making homemade coconut milk. You’ll save money by making your own.
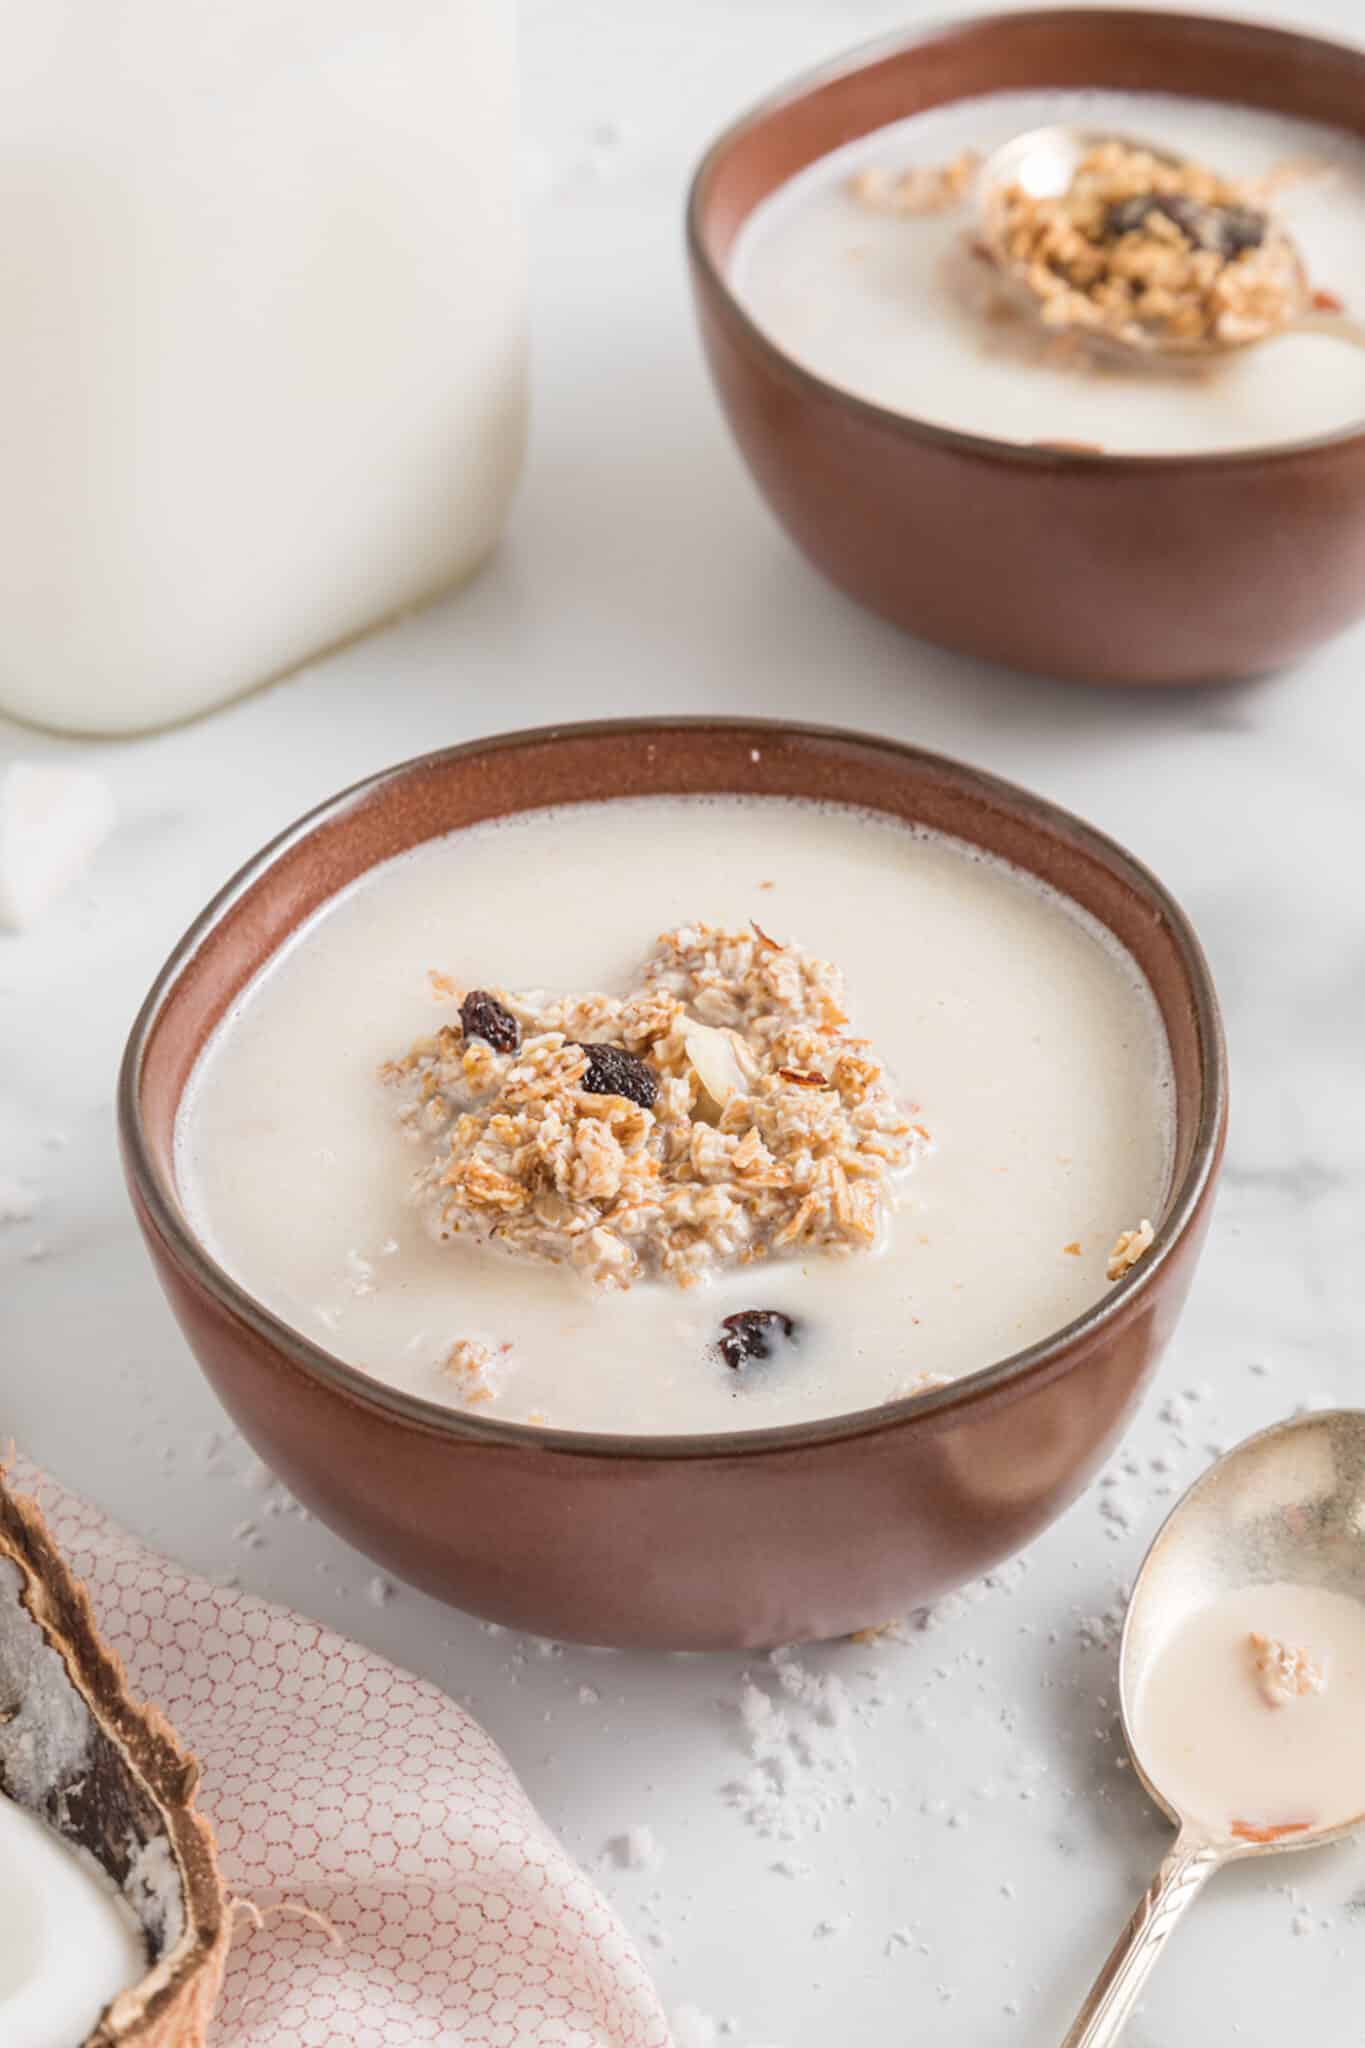
- It can also be used as a coconut beverage that you can use as a coffee creamer or to top cereal or granola. Want to make a light version? Just add more water to water it down a bit (see the recipe card at the end of this post for more details).
- This recipe is vegan, dairy-free, paleo, keto, and free from gums, preservatives, or fillers.
Key Ingredients
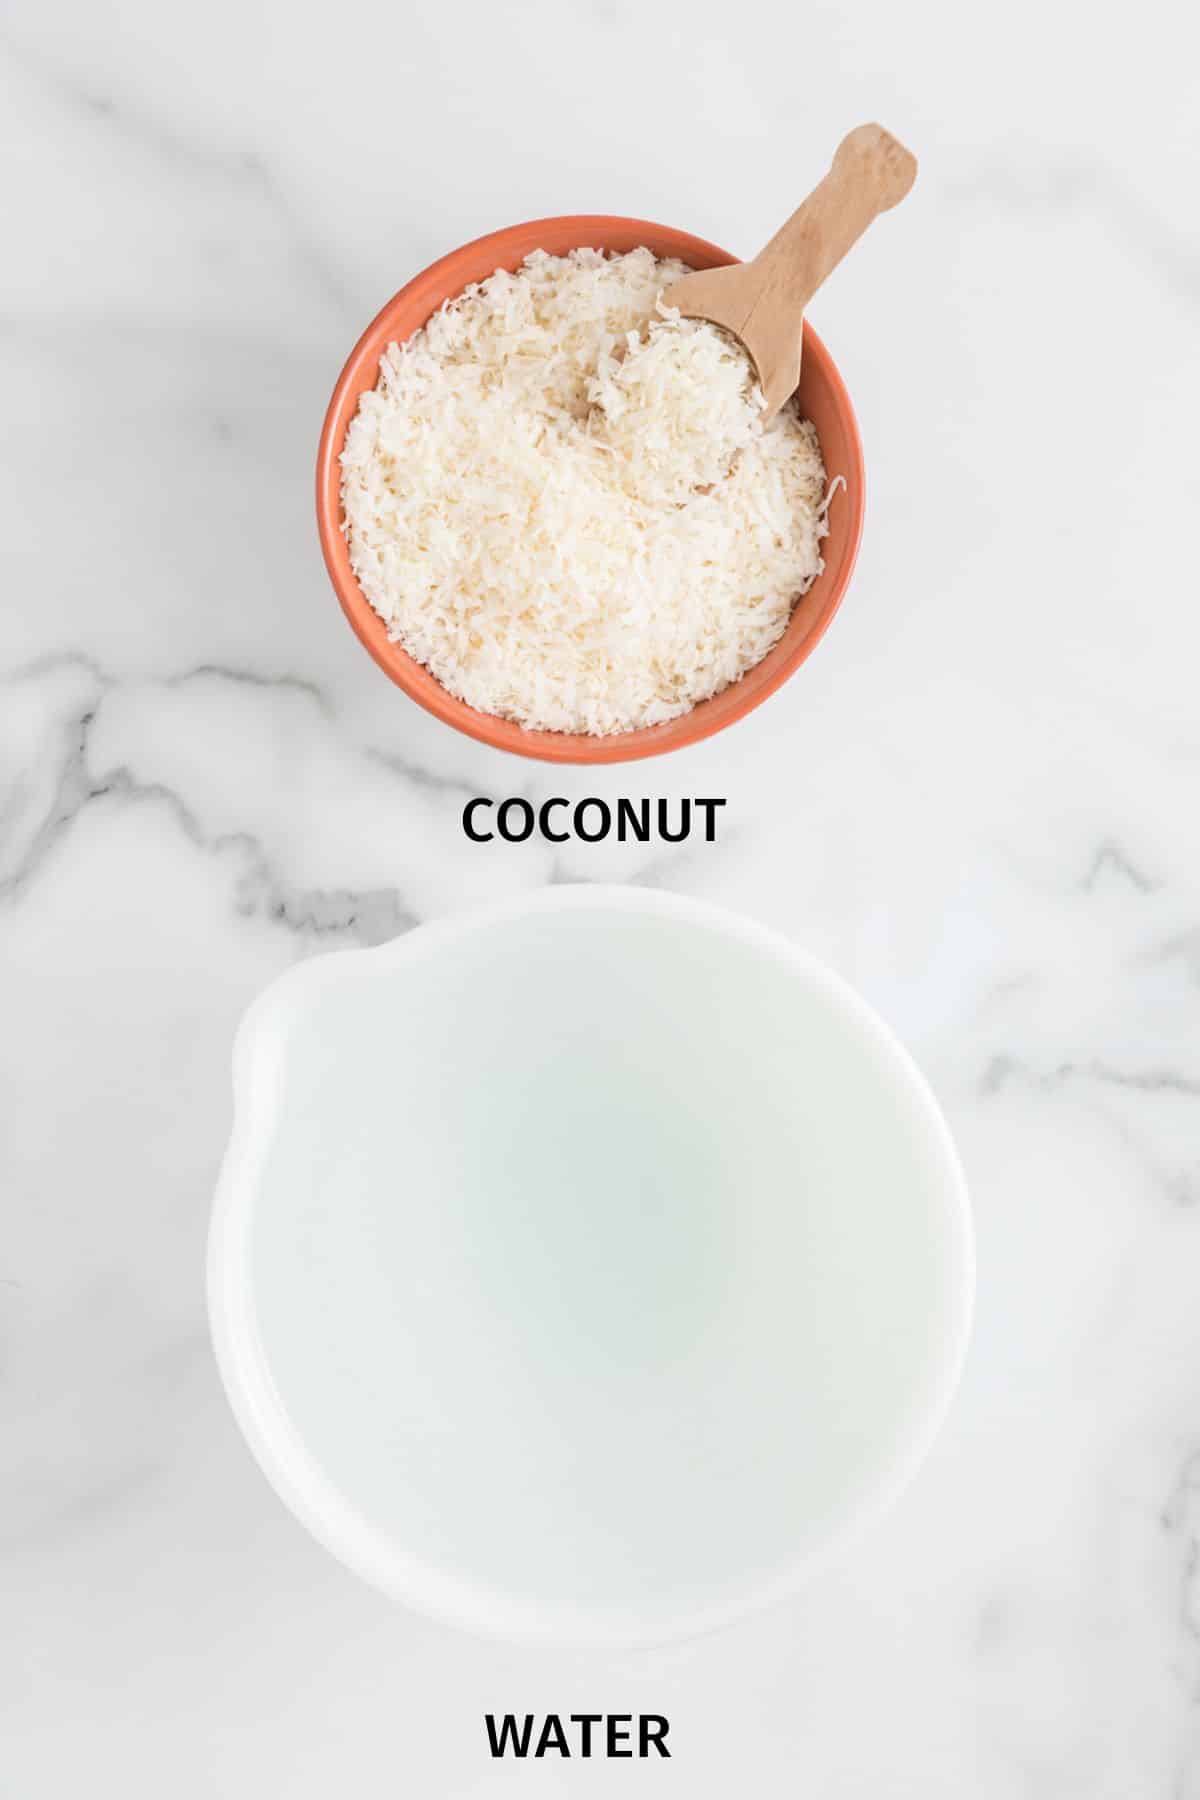
- You’ll need unsweetened, dried shredded coconut for this recipe. You can also use coconut flakes, if you prefer.
- I also recommend using filtered water for the purest flavor.
Be sure to check the full recipe card below for the exact measurements and ingredients.
Recipe Steps
You’ll never buy canned coconut milk again after learning how easy it is to make at home! Let me show you how.
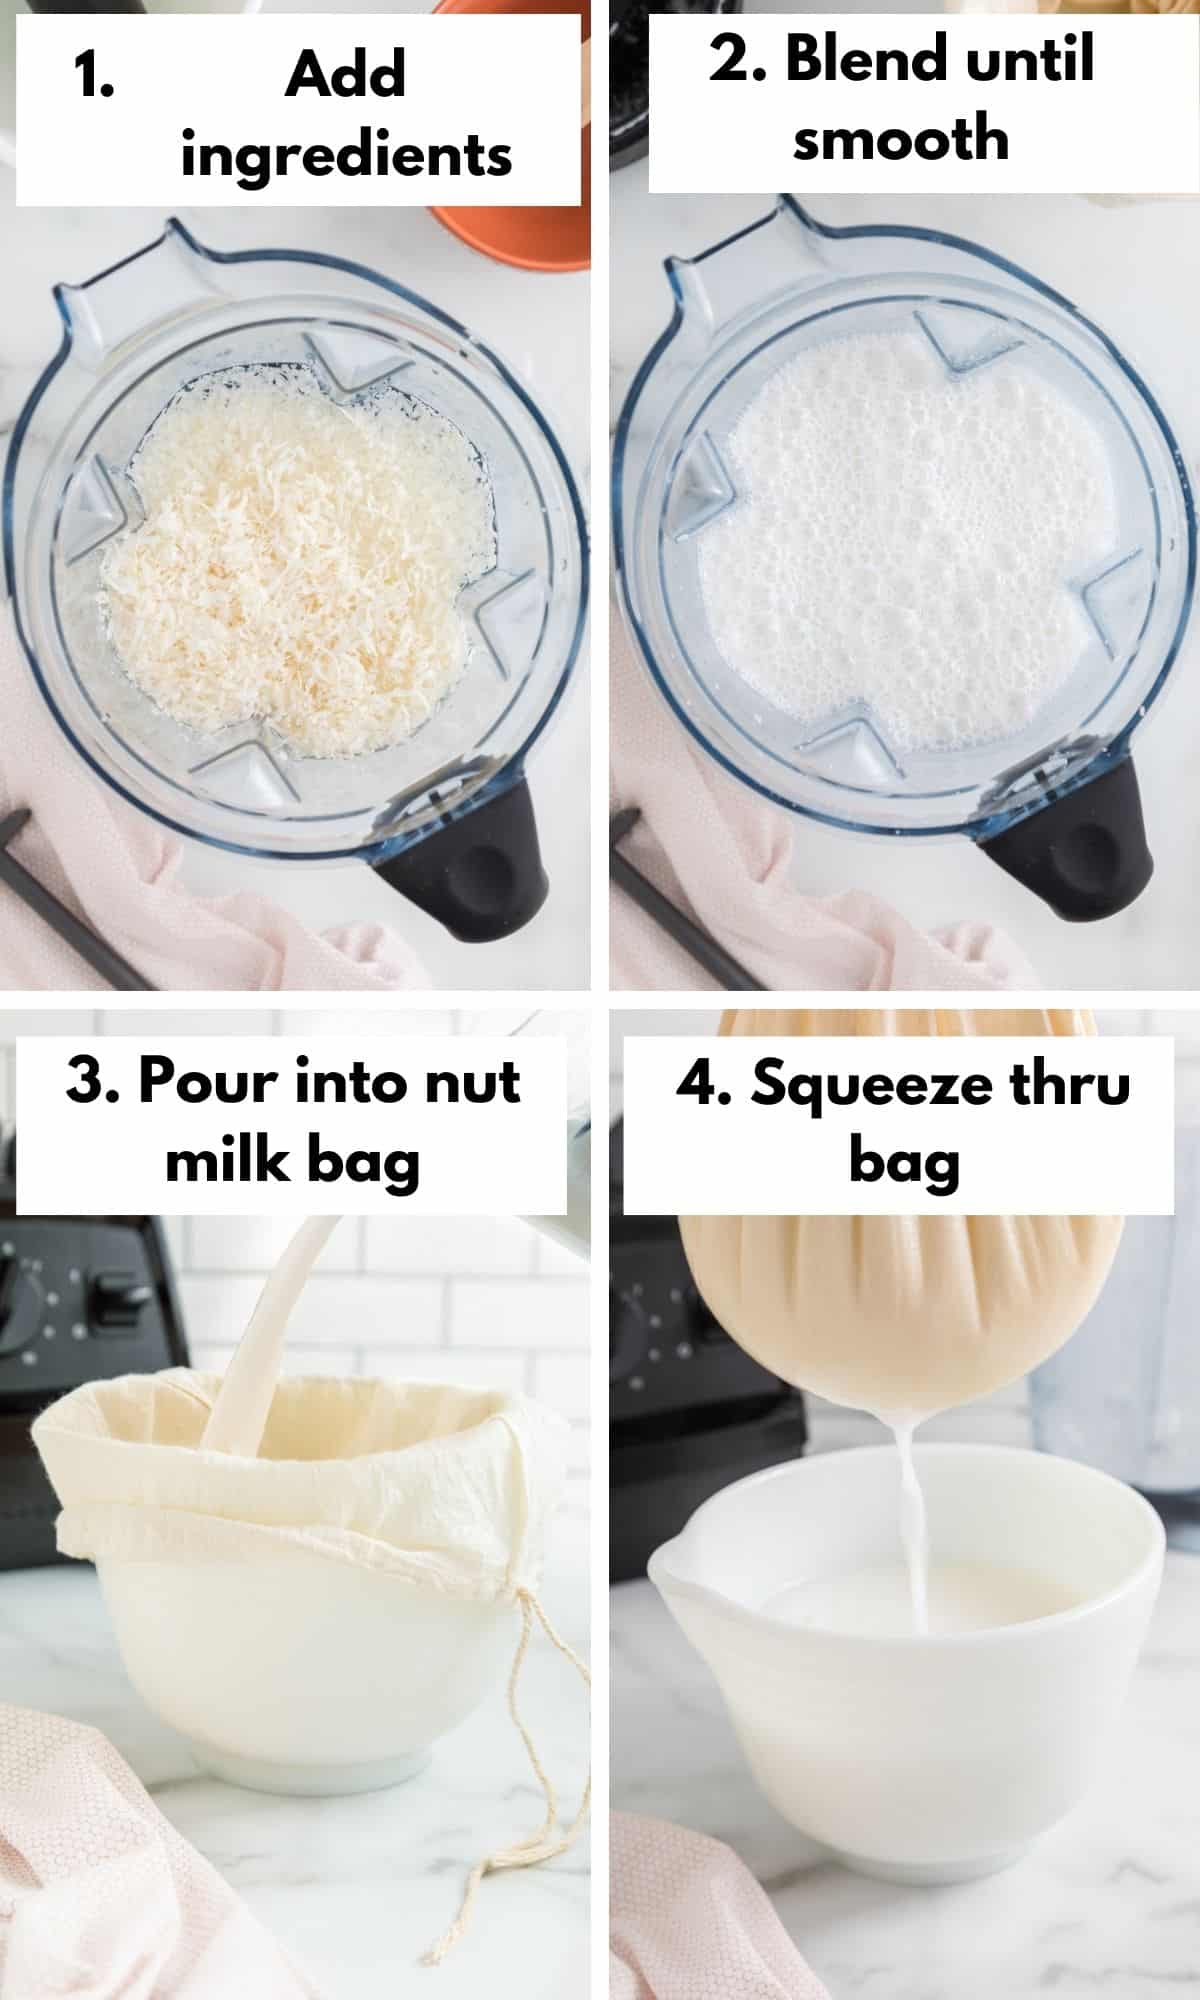
Step One
To start, you’ll just need to measure out 1 1/2 cups of dried, unsweetened shredded coconut. You’ll also need 4 cups of warm, filtered water and a nut milk bag (to save money, I use a clean nylon paint strainer bag).
Next, pour the coconut and the water in the pitcher of a high-speed blender. I use a Vitamix Explorian.
Step Two
Blend the coconut and the water for just about 20-30 seconds, or until the milk is creamy.
Step Three
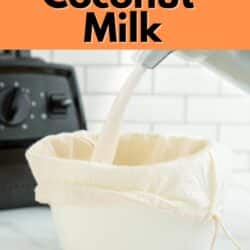
After you’ve blended the coconut with the water, it’s time to strain the milk. The easiest way to do this is to place your nut milk bag over a pitcher.
Step Four
Then, carefully squeeze the bag from the top down.
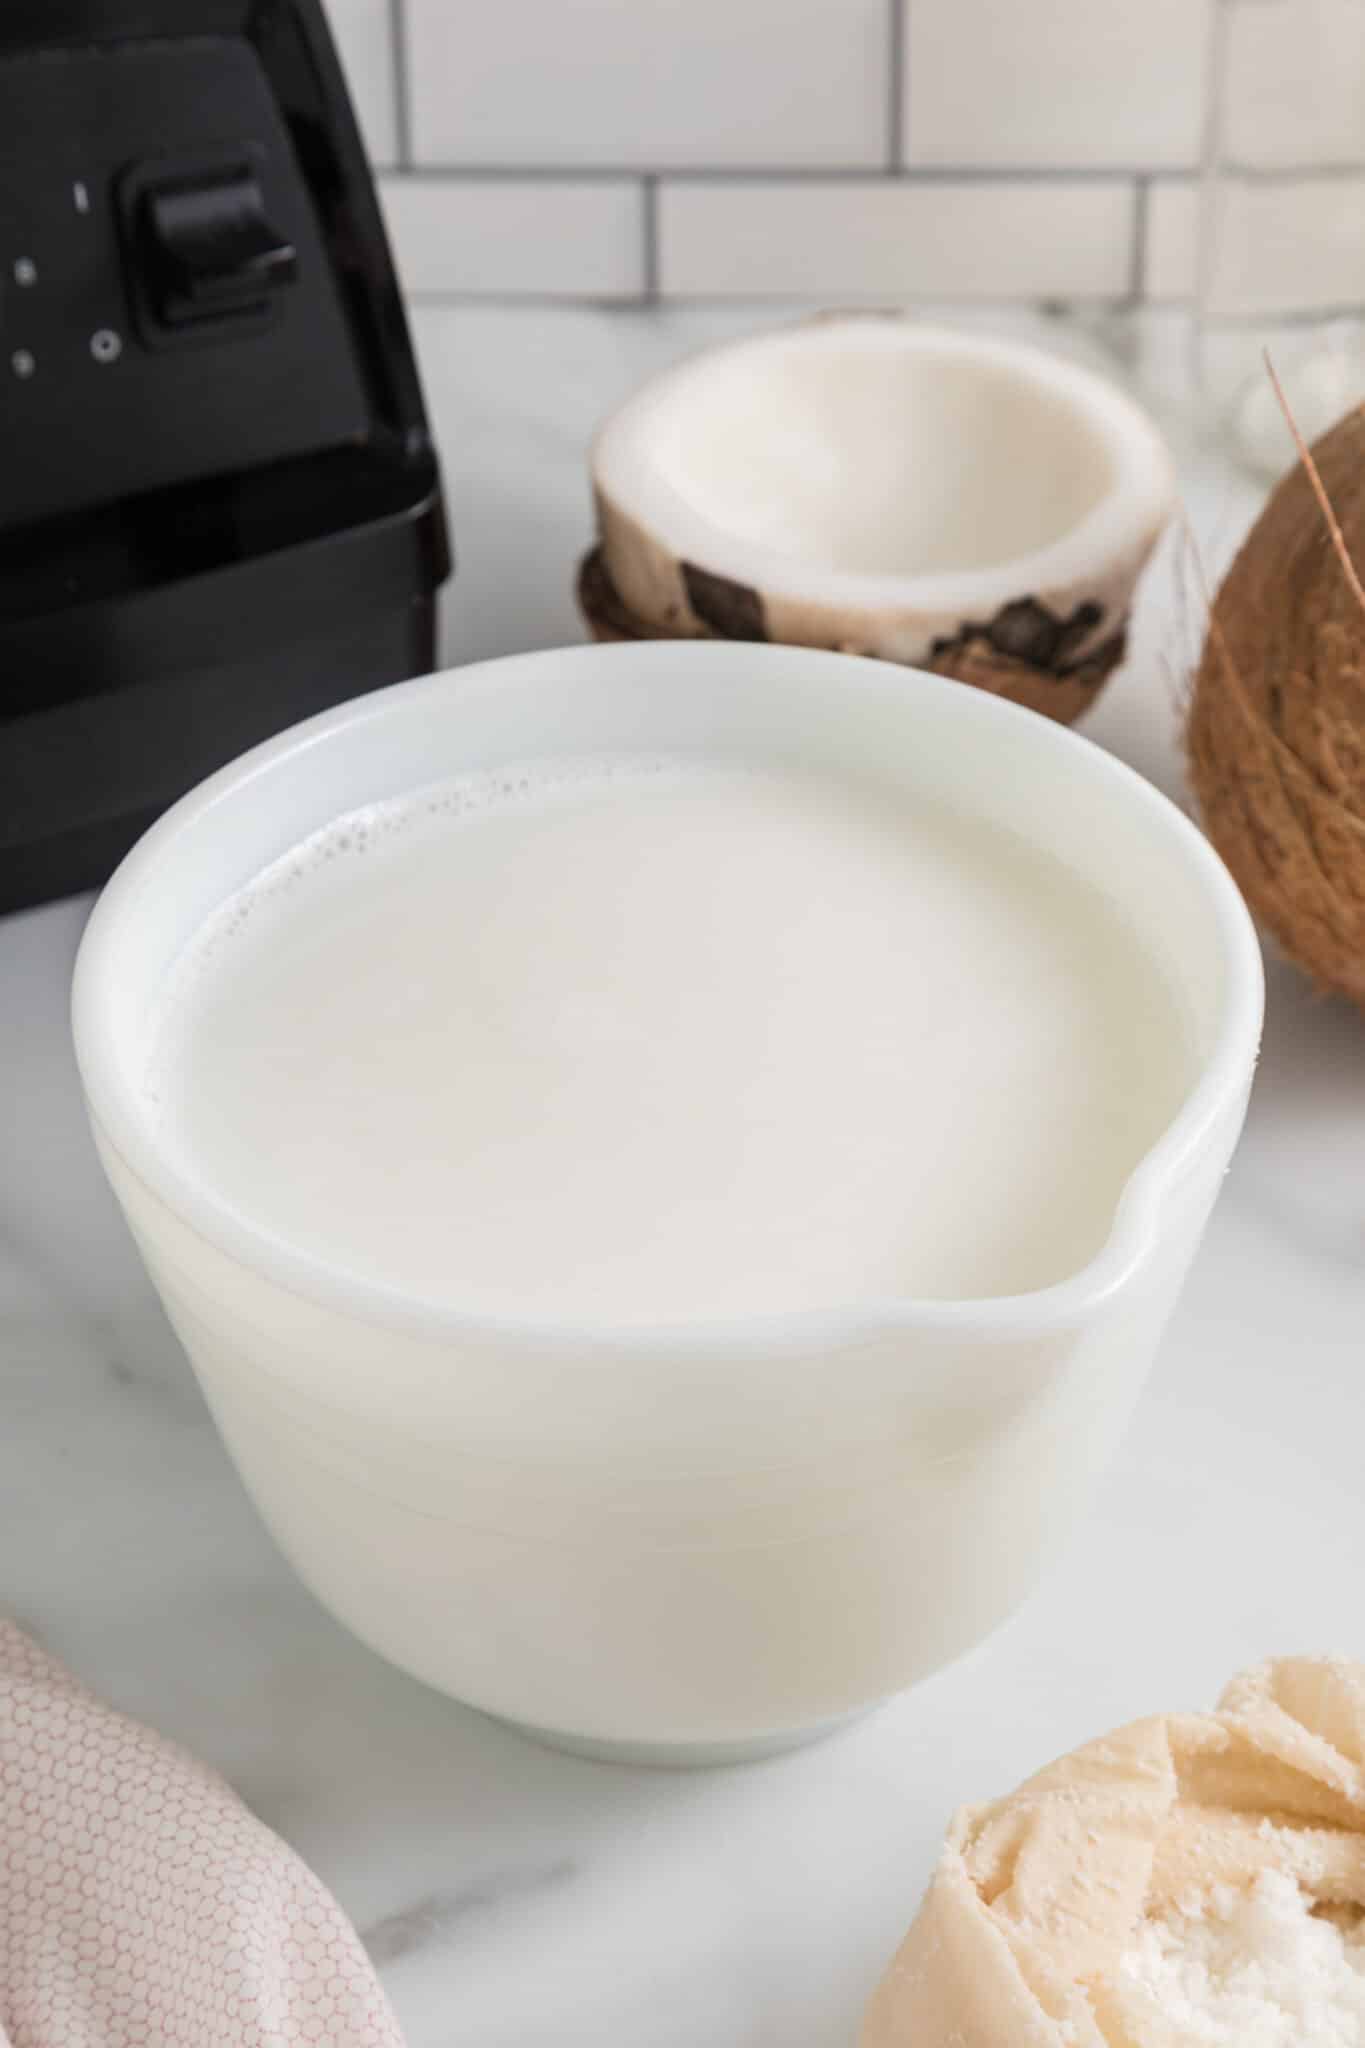
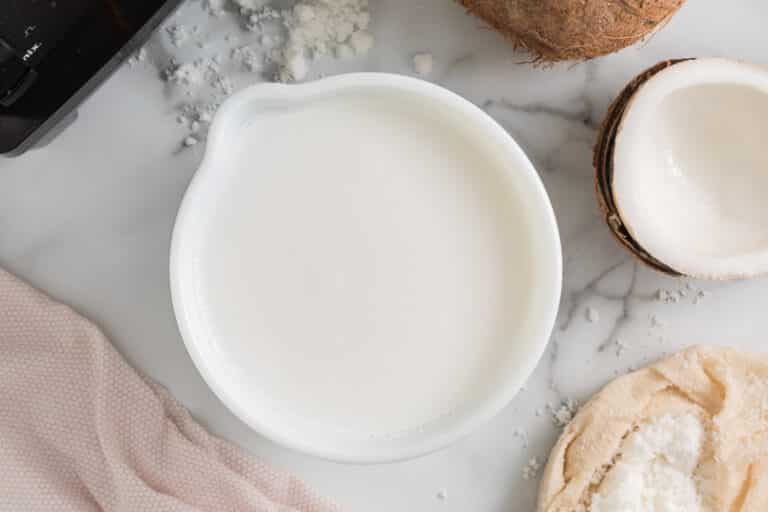
Pour your milk into a jar or container and use immediately. Or, cover and store the milk for up to 5 days.
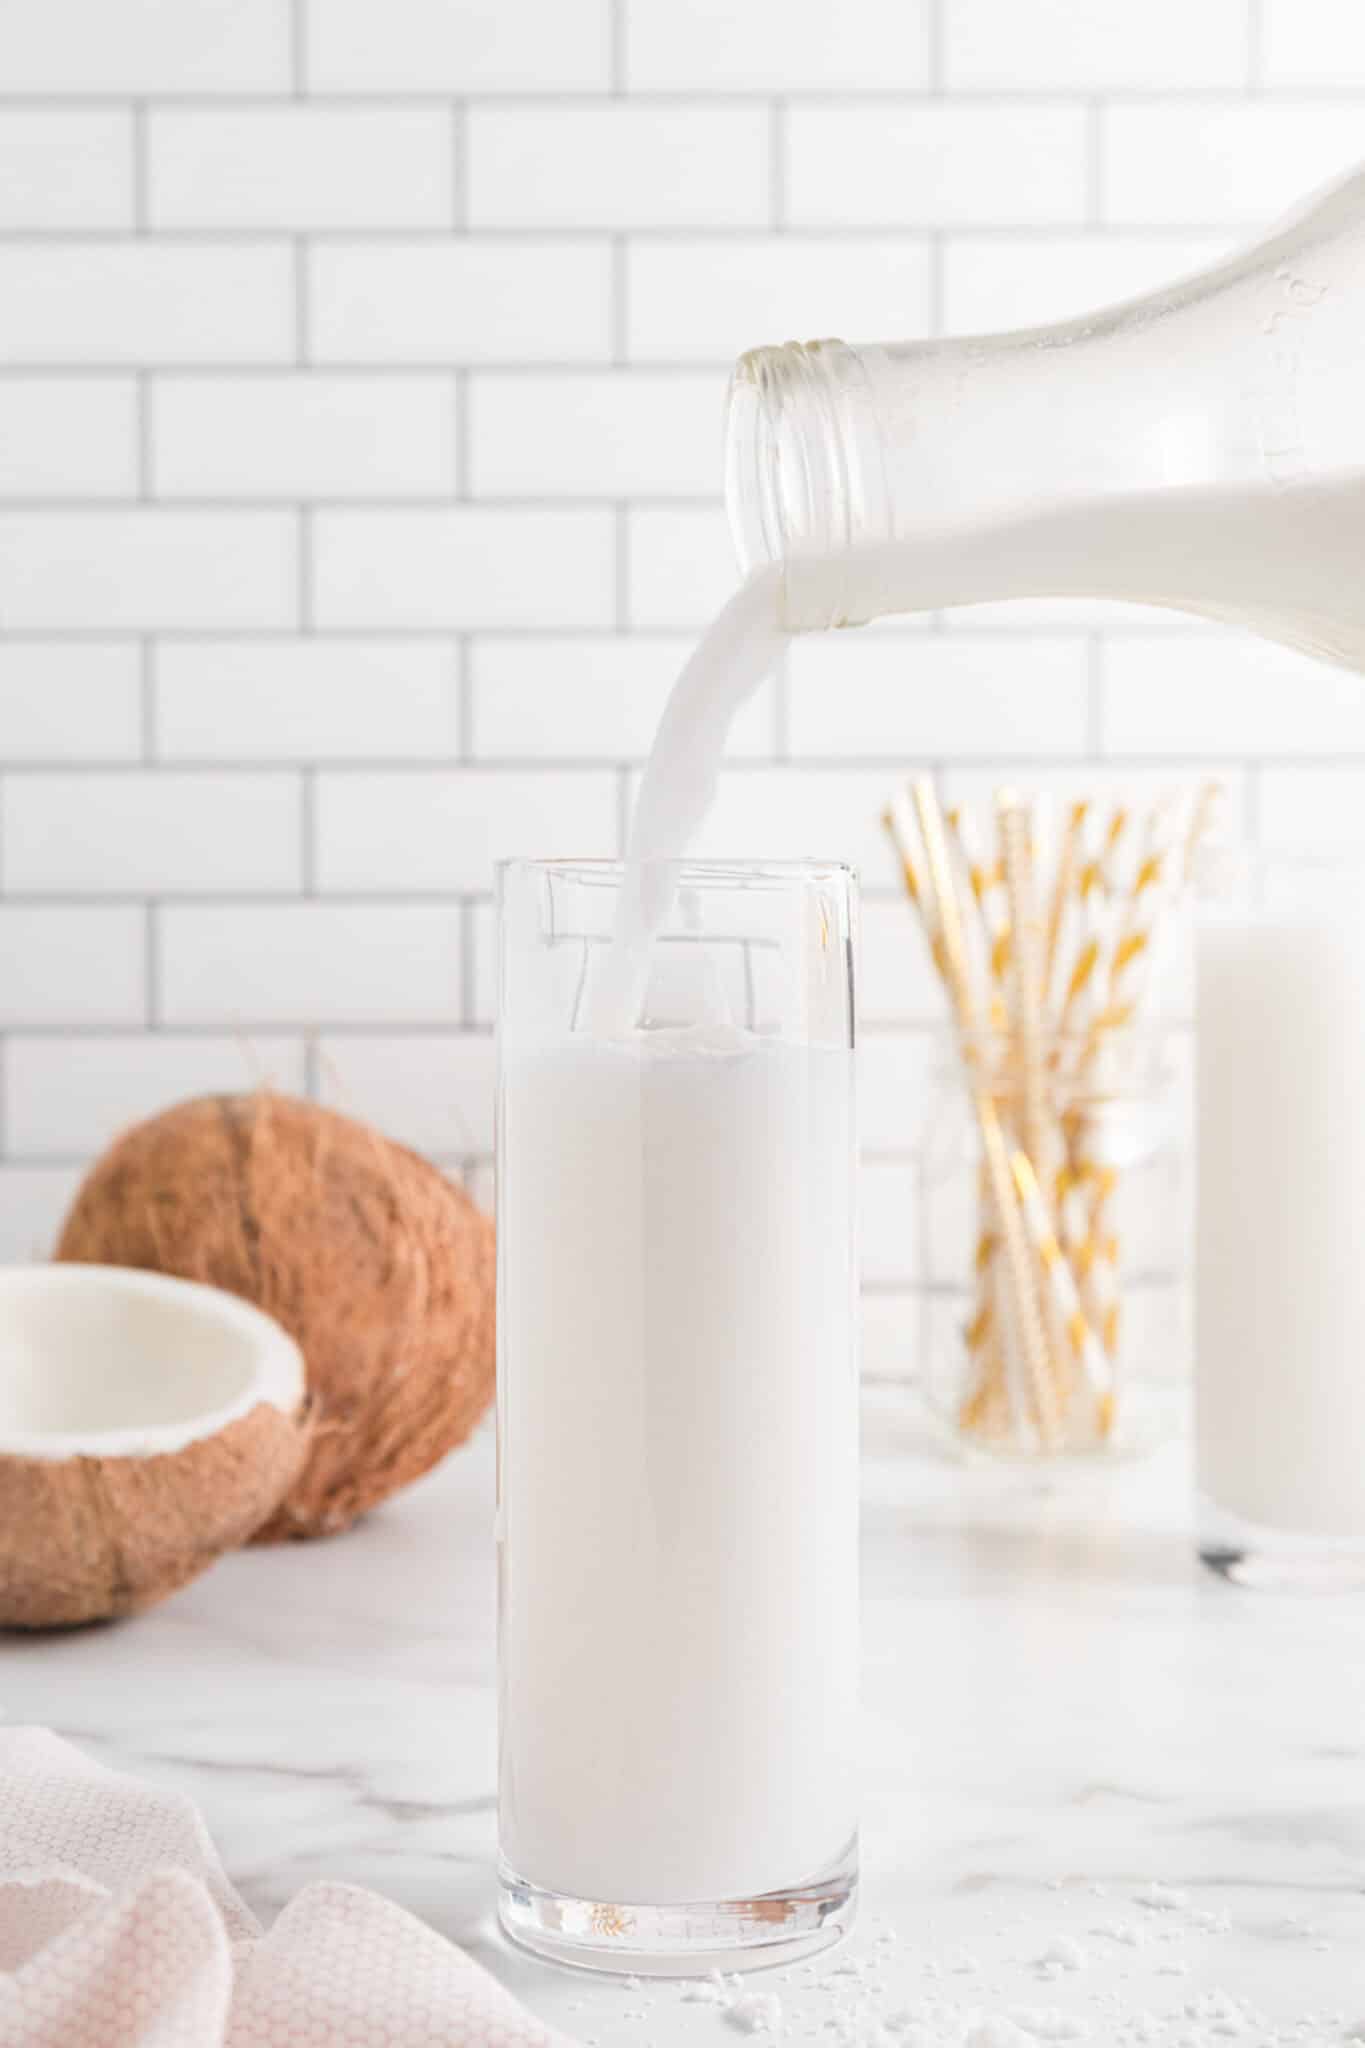
You can then discard the coconut pulp that is leftover, or you can use it to add extra fiber to smoothies or baked goods.
Your homemade light coconut milk will stay fresh in the fridge for at least 5 days, but mine has been getting all used up much faster than that.
I love serving coconut milk with granola (see my recipe for Air Fryer Granola) or using it as the base of a smoothie or shake (see my recipe for a Coconut Shake). It’s also excellent in soup to add creaminess with no dairy.
Recipe Tips
- If your coconut milk separates in the refrigerator, just shake it up before using it. You may also need to let it warm up on the counter for a few minutes to help it mix up again.
- To make light coconut milk, reduce the shredded coconut in half to 3/4 cup instead of 1 1/2 cups.
Recipe FAQs
You can use it to add a tropical flavor to soups, stews, or curries. You can also use coconut milk to your coffee as a dairy-free creamer.
It is rich and creamy, with a light tropical flavor.
It’s not uncommon that you can get a hard top layer on your coconut milk as it cools in the refrigerator. That is the saturated fats that have separated from the water and have now hardened in the cold temperature.
You can either let the coconut milk come back up to room temperature and shake it to mix it up again. Or, you can use a knife to break through the hard layer and use the coconut milk underneath the surface.
More Easy Dairy-Free Milk Recipes You Might Like
- Cashew Milk
- Homemade Unsweetened Almond Milk
- Macadamia Nut Milk
- Oat Milk Creamer
- Pumpkin Seed Milk
- Vanilla Hemp Milk
Recipes Using Coconut Beverage
Vitamix Coconut Milk
Here’s how to make Vitamix Coconut Milk using a high-speed blender and a nut milk bag. Learn how to make vegan and dairy-free homemade coconut milk without fillers or preservatives.
- Total Time: 6 minutes
- Yield: 10 1x
Ingredients
- 1 1/2 cups dried, unsweetened shredded coconut
- 4 cups warm filtered water
Instructions
- Combine the coconut and warm water in your Vitamix high-speed blender. Process for 20-30 seconds or ingredients are well combined.
- Pour the coconut mixed with the water through a nut milk bag into a large bowl. Squeeze the milk through the bag. Discard or save the pulp for another usage.
- Pour the milk into a glass container to be stored in the refrigerator (up to 5 days) or use it immediately in recipes calling for non-dairy milk.
Notes
- If your coconut milk separates in the refrigerator, just shake it up before using it. You may also need to let it warm up on the counter for a few minutes to help it mix up again.
- To make light coconut milk, reduce the shredded coconut in half to 3/4 cup instead of 1 1/2 cups.
- Prep Time: 5 minutes
- Cook Time: 1 minute
- Category: Beverage
- Method: Blender
- Cuisine: Healthy
- Diet: Vegan
Nutrition
- Serving Size: 1/10 of recipe
- Calories: 56
- Sugar: 1.4 g
- Sodium:
- Fat: 5.6 g
- Saturated Fat: 4.9 g
- Trans Fat:
- Carbohydrates: 1.4 g
- Fiber:
- Protein:
- Cholesterol:
Don’t forget to join my newsletter list to get exclusive clean eating recipes and tips. The newsletter is 100% free with no spam; unsubscribe anytime.
About the Author: Carrie Forrest has a master’s degree in public health with a specialty in nutrition. She is a top wellness and food blogger with over 5 million annual visitors to her site. Carrie has an incredible story of recovery from chronic illness and is passionate about helping other women transform their health. Send Carrie a message through her contact form.












Such an easy and budget-friendly recipe!
I like your warm water recipe (instead of boiling, like my previous one)! I use the residue in my mesh bag for coconut flour(dried and whizzed in my Vitamix), so no waste!
Brilliant idea, Bonnie!!!
Made this today. Just omitted the dates. I found after chilling the milk that sheets of coconut formed together. I just used a single layer of cheese cloth over a mesh strainer to strain the pulp. Should I use something with a finer sieve? I really like how simple and yummy it is though. And so much cheaper than store bought, and without all the additives!
I have not yet made coconut milk. I’ve only really dabbled with almond & hemp (the easy ones). I didn’t realise it could be so easy to make! I don’t usually use dates in my milk, but got the idea once from you and LOVED it! So good!!! So trying this soon! =)
looks delicious! What’s the purpose of using hot water versus cold water like most nut milks call for? thanks!
Hey, Jill! Great question. I’m guessing because the coconut is dried and it helps it blend easier. I’ve tried it both ways (room temp and hot water) and I think the milk was a little richer when I used hot water, but I don’t think it’s a necessity.
This sounds delicious! I would add some carob/cacao powder as a chocolate fan as I am!
BRILLIANT, Natalia! 🙂