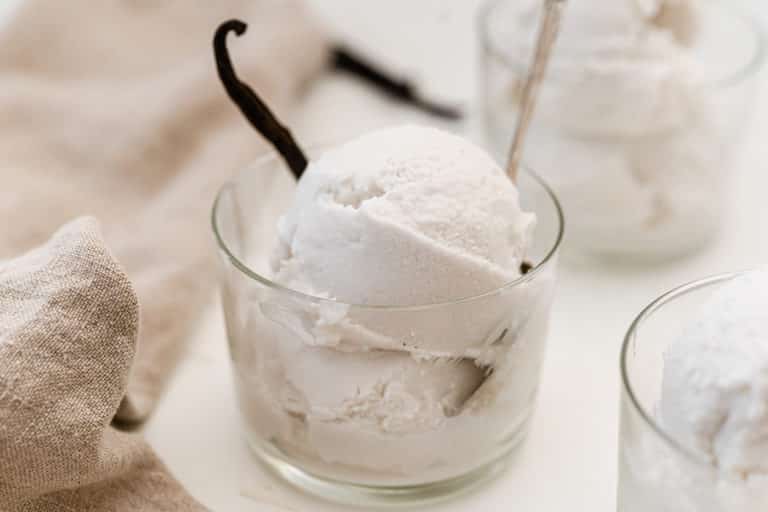
Vitamix Ice Cream Recipe (Dairy-Free)
This recipe for Vitamix Ice Cream is so creamy and thick using canned coconut milk. You just need a few ingredients to make this homemade dairy-free vanilla ice cream with no churning. This is the perfect frozen dessert made without an ice cream maker!
Craving ice cream and want to make your own?
As long as you have a high-powered blender like a Vitamix blender, you can make ice cream at home with no churning and no need for an ice cream machine.
Only a little prep is needed and you can be enjoying dairy-free ice cream in minutes. It’s an easy recipe that will satisfy your sweet tooth!
Why You Need This Recipe
- For this delicious dessert, no special equipment other than a blender is needed – many people have high-powered blenders, but how many have ice cream makers? Don’t worry, fresh homemade ice cream is just a blend away.
- Make it in a flash. Once you’ve tried and loved this recipe, you can easily keep these ice cubes on hand for ice cream at any time.
- Vegan and dairy-free, this Vitamix ice cream is perfect for many with food allergies. Read more about the benefits of not eating dairy.
Vitamix Ice Cream Ingredients
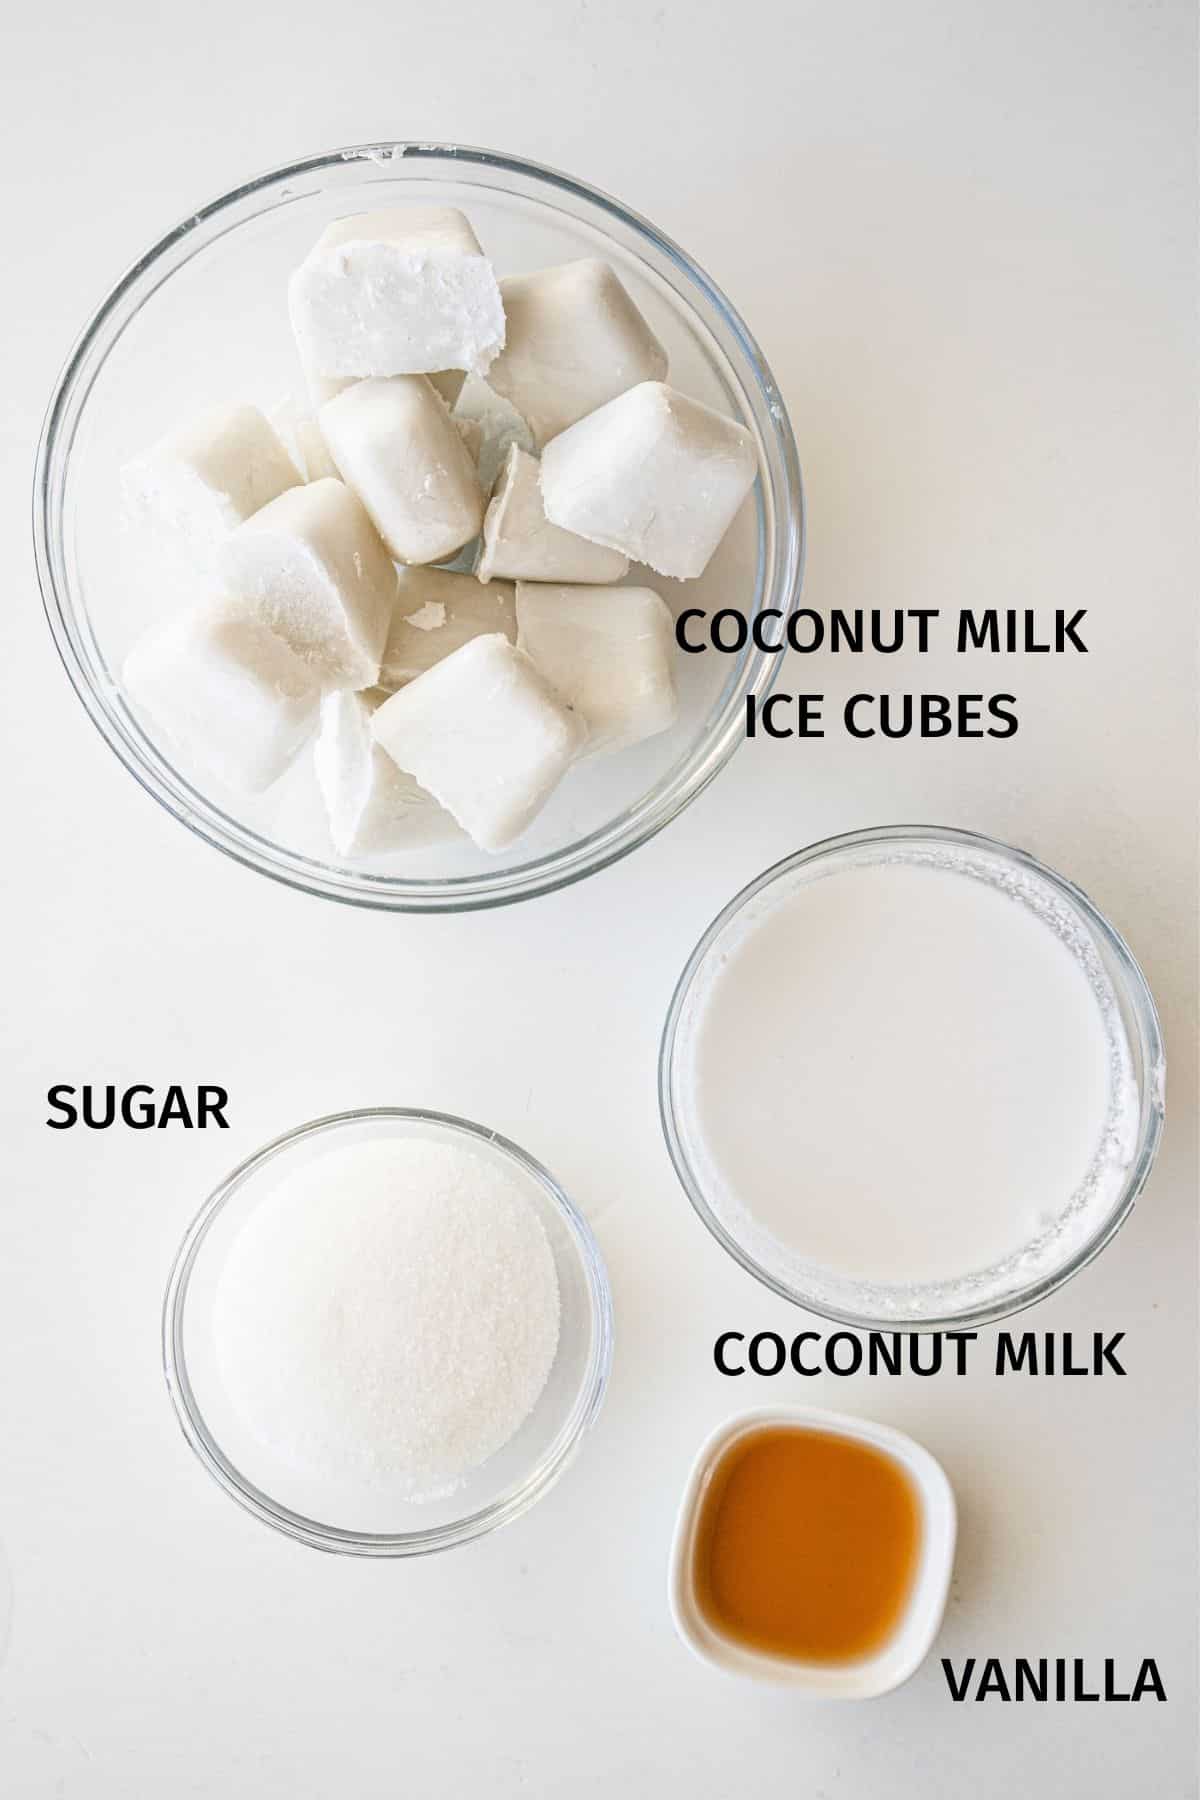
- Coconut milk is a very rich, creamy dairy-free option. The fat content of canned coconut milk is similar to that of dairy heavy cream which makes it a perfect replacement. Make your own homemade coconut milk if you prefer. Or, if you aren’t on a vegan or lactose-free diet, you can use whole milk.
- I share in the recipe how to prep coconut milk ice cubes in ice cube trays to make the ice cream.
- Vanilla extract adds pure, crisp flavor.
- Sugar lends sweetness to this frozen dessert. You can also use a liquid sweetener like maple syrup, but it will alter the color of the nice cream to a light brown instead of white.
Please see the full recipe card at the end of this post for the exact measurements.
Recipe Substitutes
- To make frozen milk ice cubes using dairy milk, pour either whole milk or canned coconut milk or coconut cream into an ice cube tray. Freeze for 12 hours, or until solid. Remove the frozen milk ice cubes to a zip top bag. Measure out 2 cups of the cubes for this recipe. Note: your ice cream won’t be dairy-free or vegan if you use dairy milk.
- To make chocolate ice cream, add ¼ cup of unsweetened cocoa powder to the blender before blending. You can also add chocolate chips or frozen fruit to adjust the flavors of the finished product.
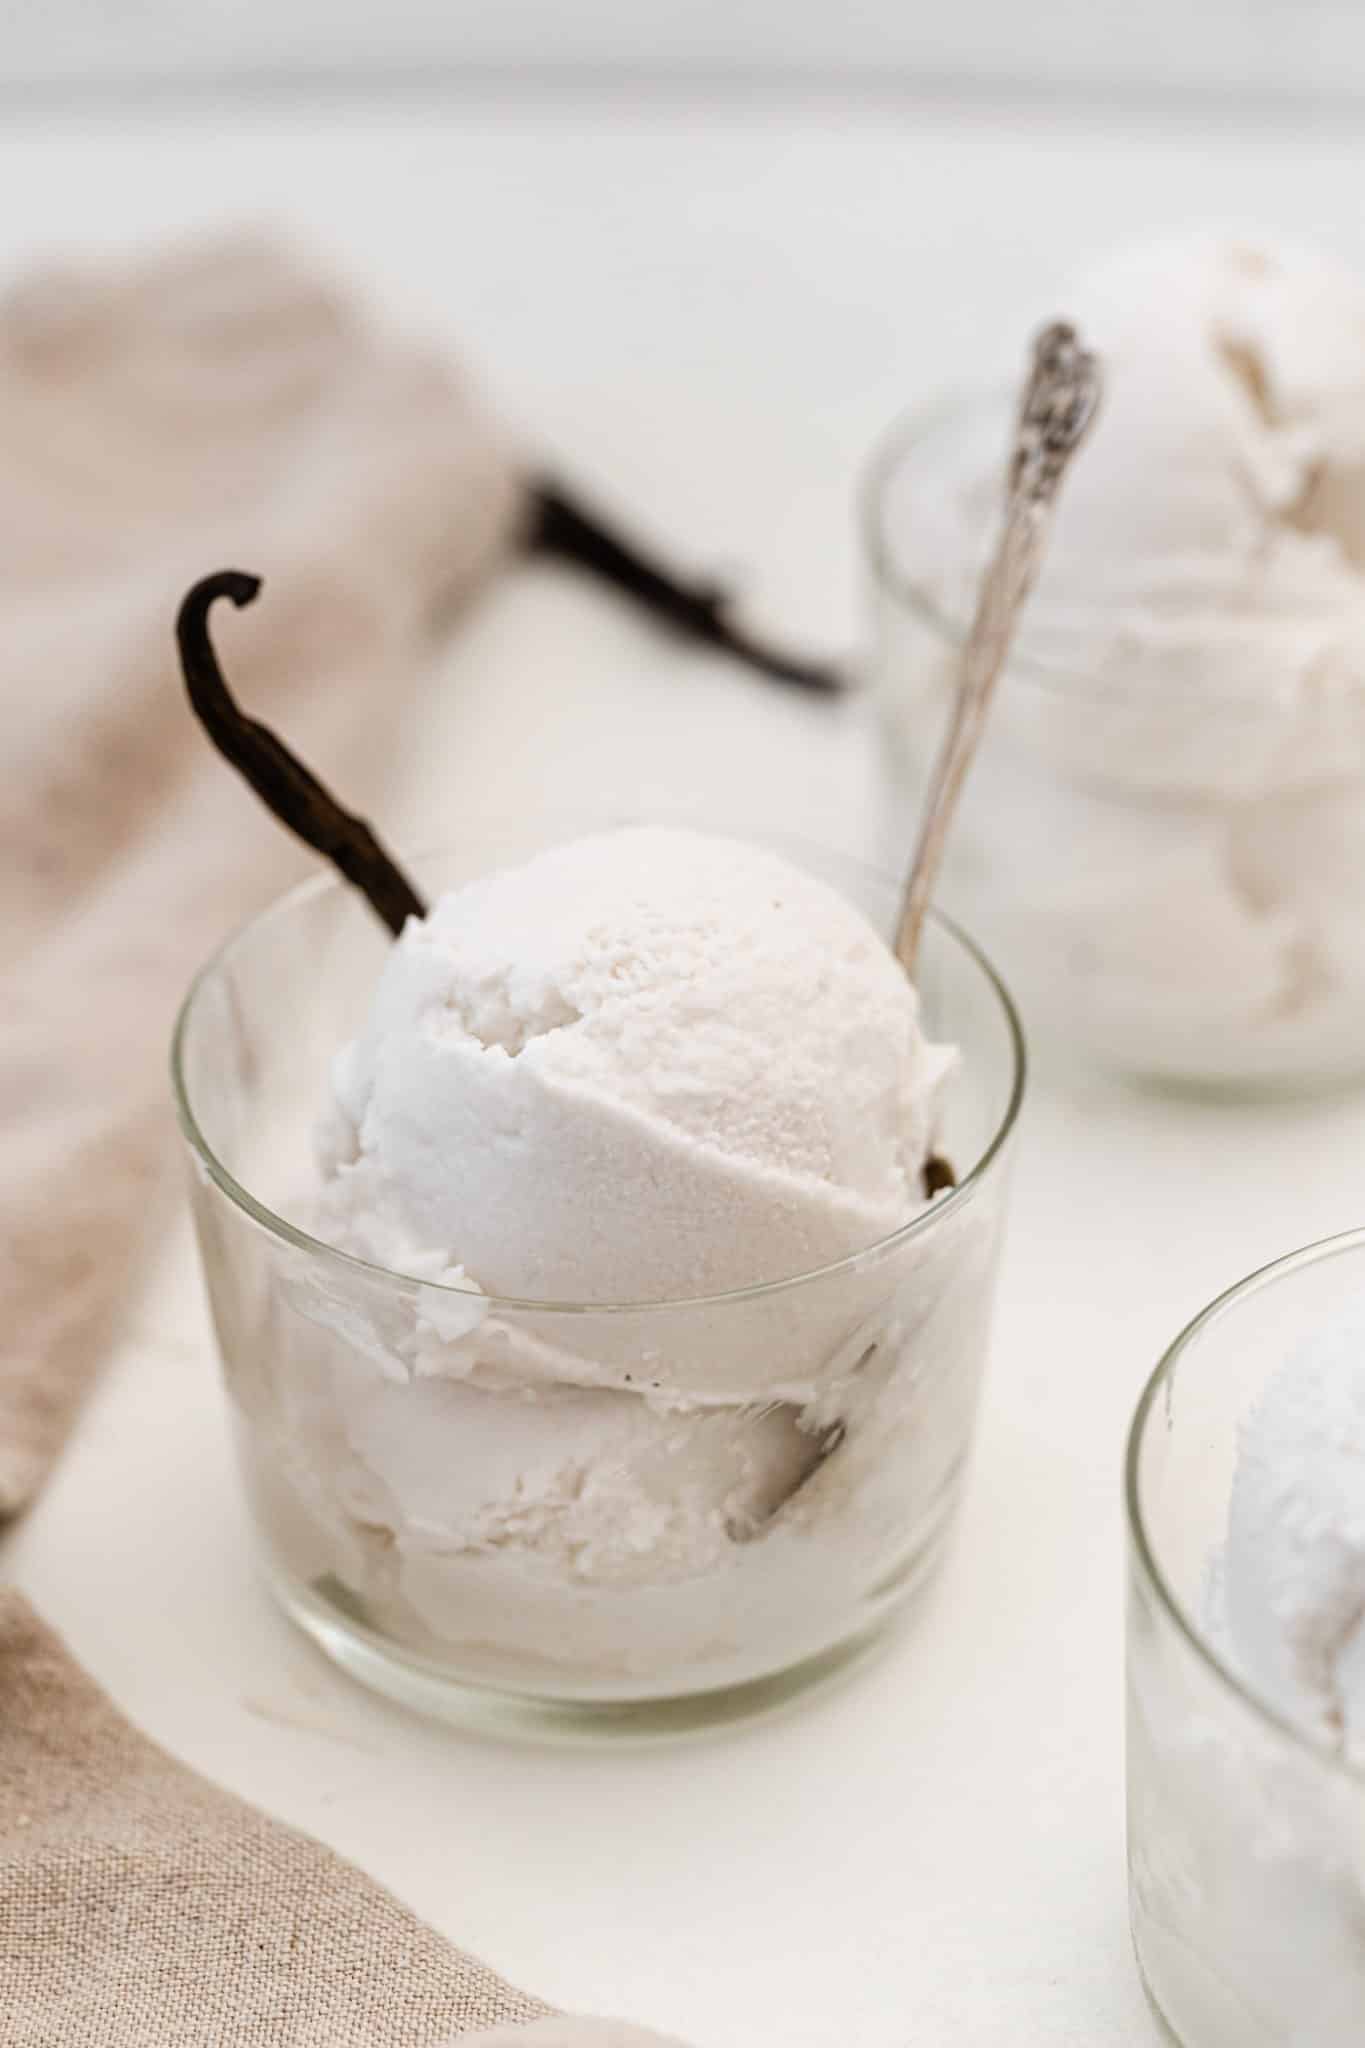
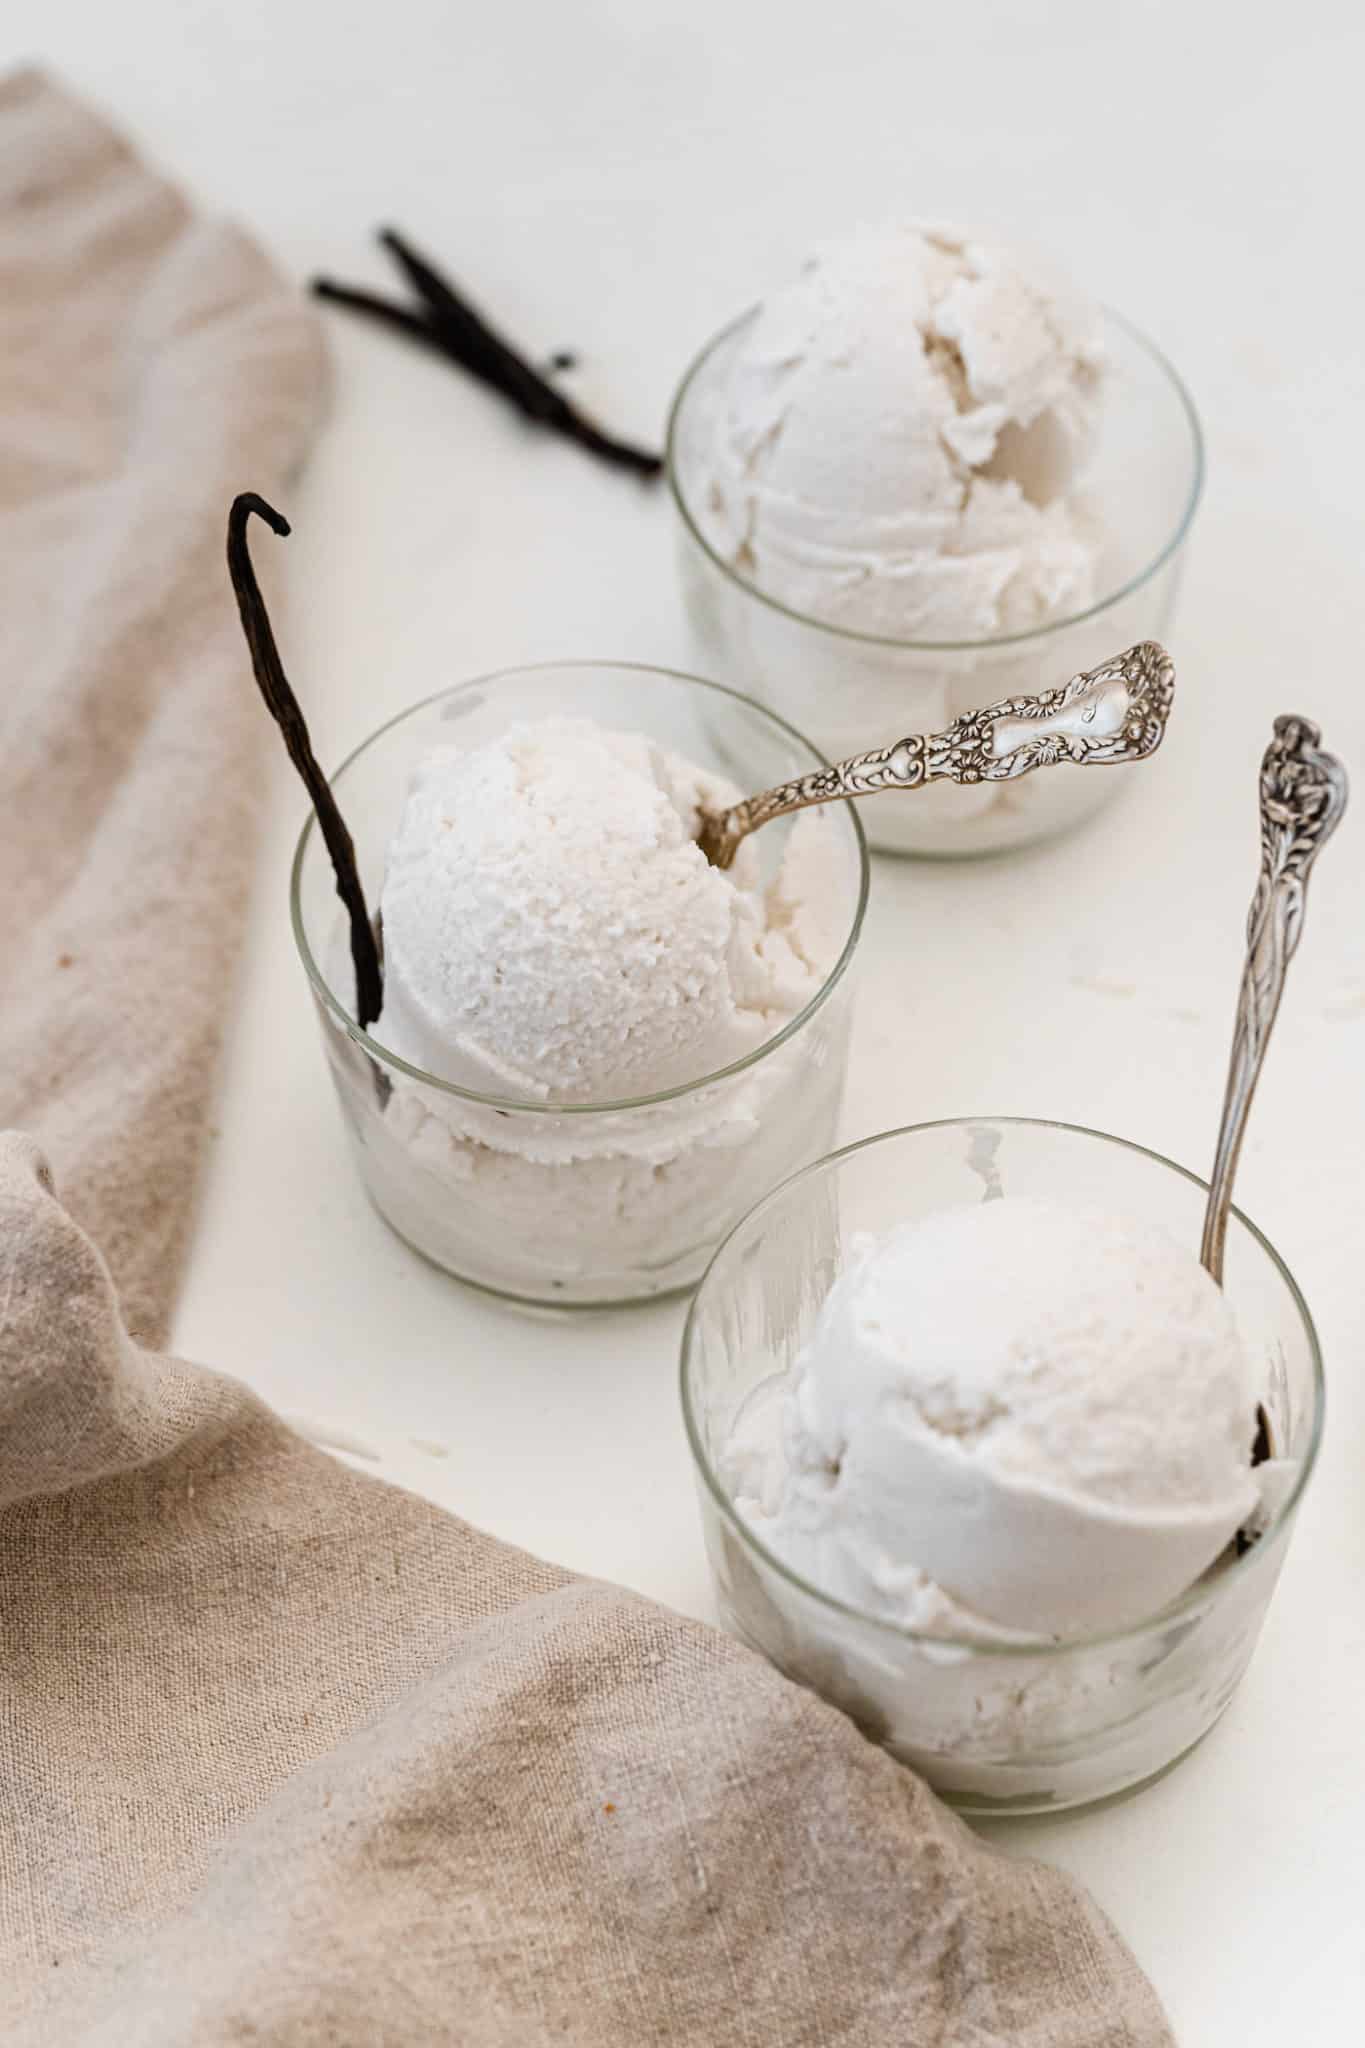
- To make vanilla bean ice cream, include the seeds from one vanilla bean pod in the blender.
Step-By-Step Instructions
Here’s how to make your high-speed blender Vitamix Ice Cream that you can enjoy all summer long.
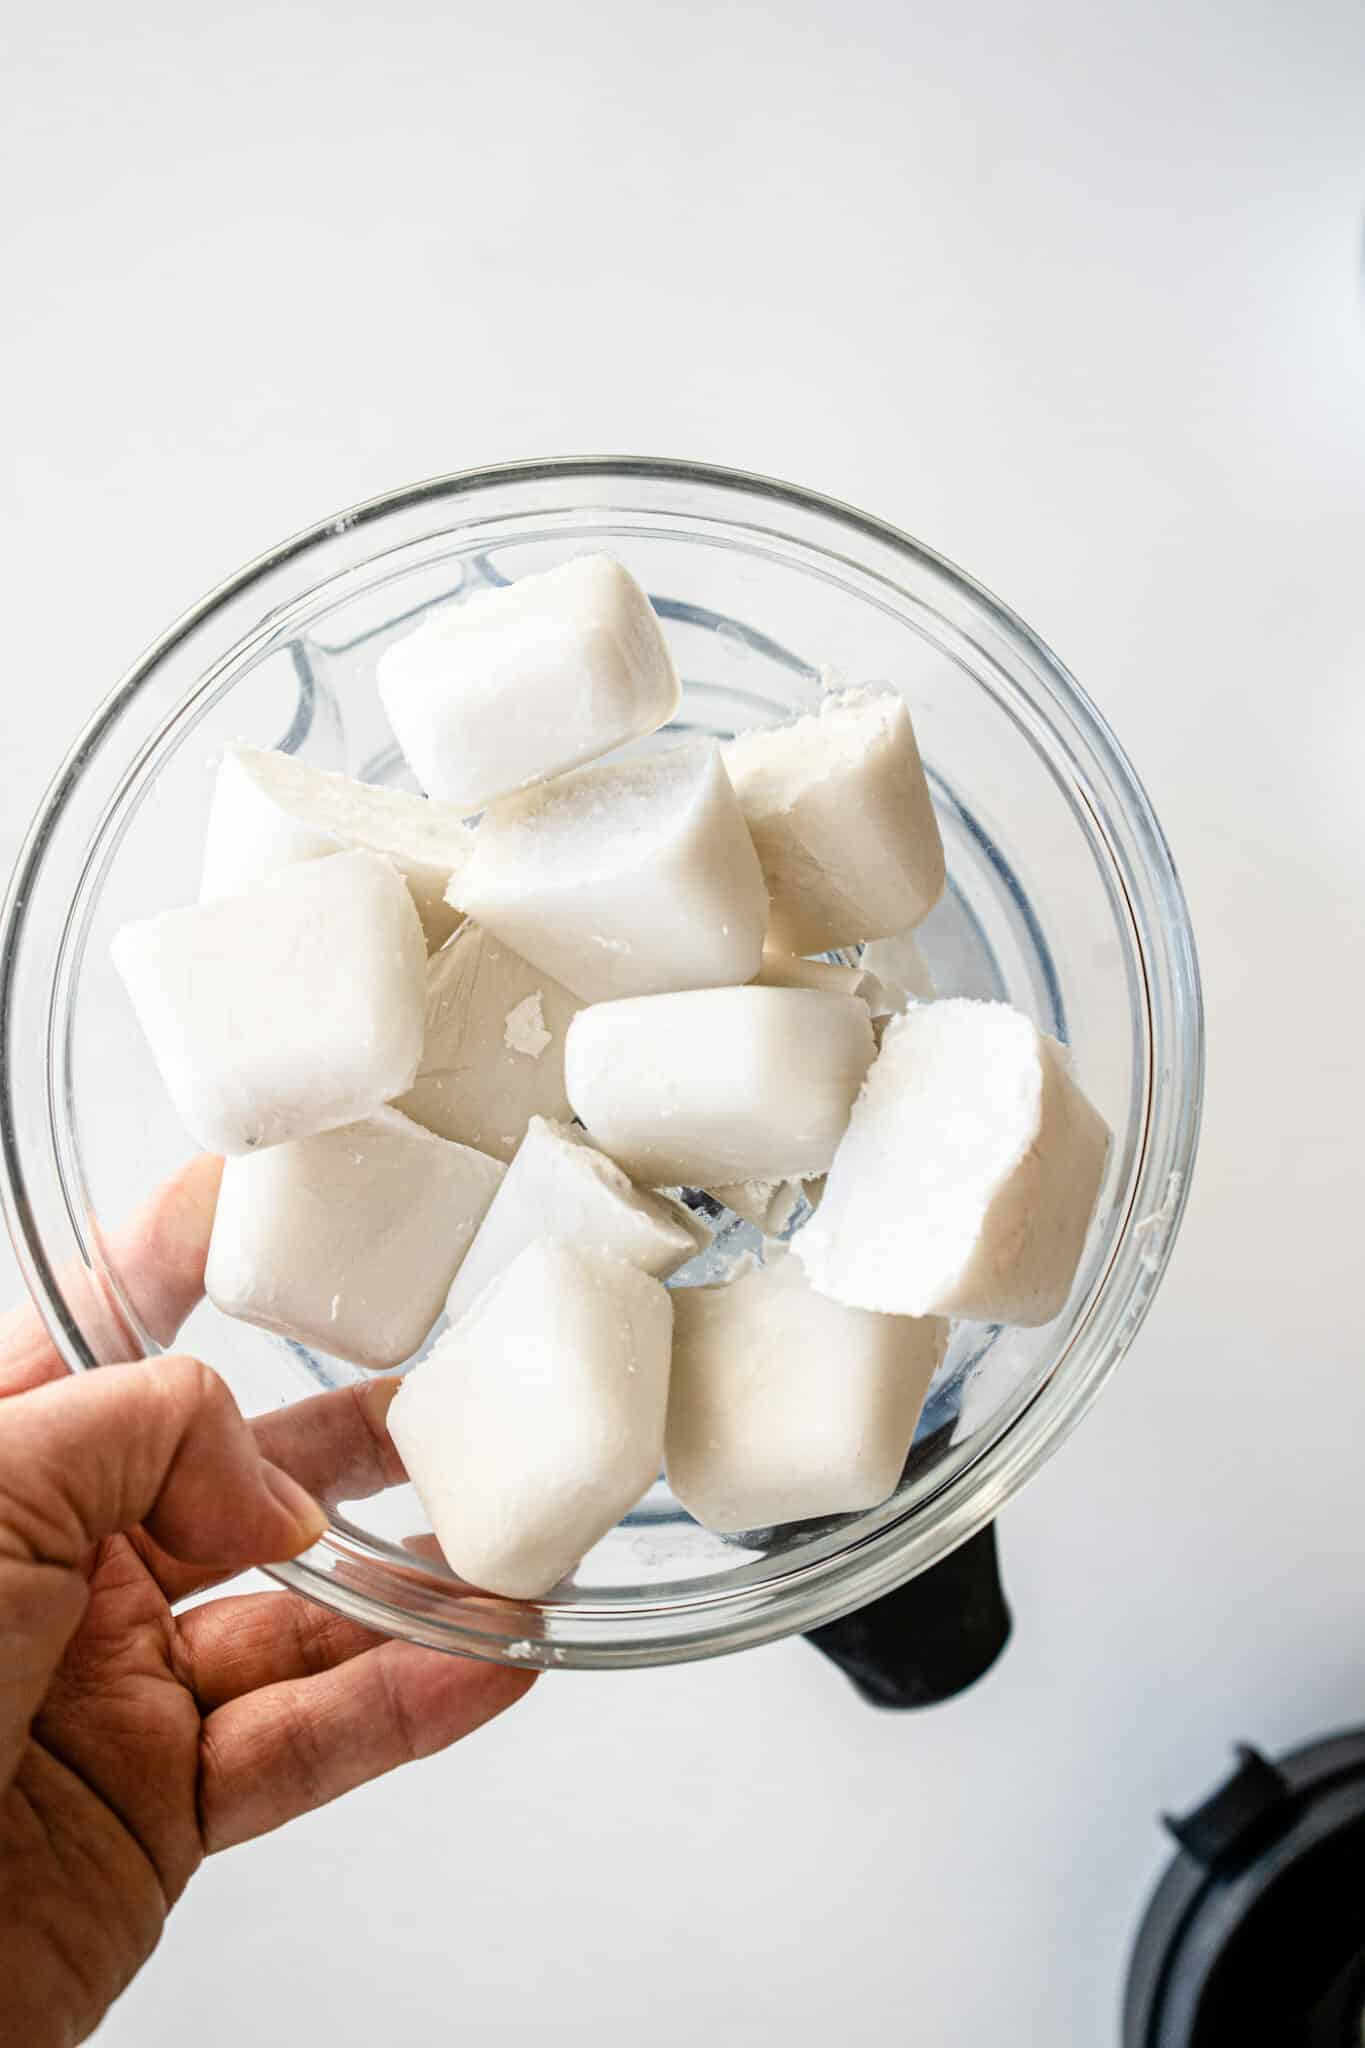
Step One: The night before, freeze your coconut milk in an ice cube tray. This will help create the thickness and texture of the real thing without an ice cream maker.

Step Two: Add ingredients to a high-powered Vitamix container in the order given.
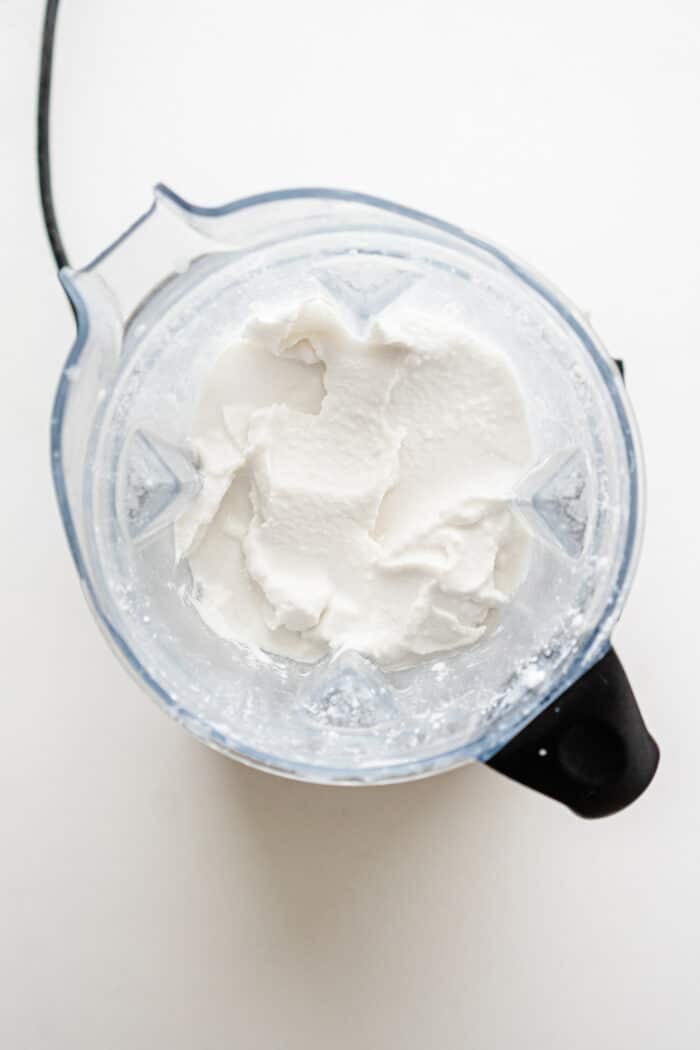
Step Three: Blend carefully, from the lowest speed to the highest speed, scraping down the sides as necessary.
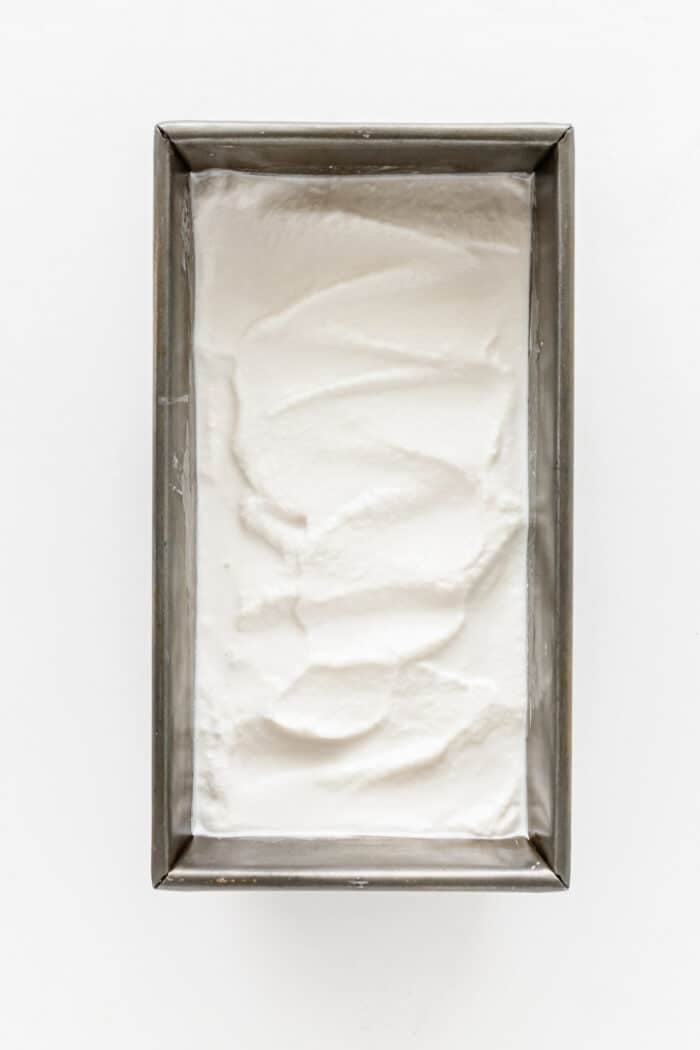
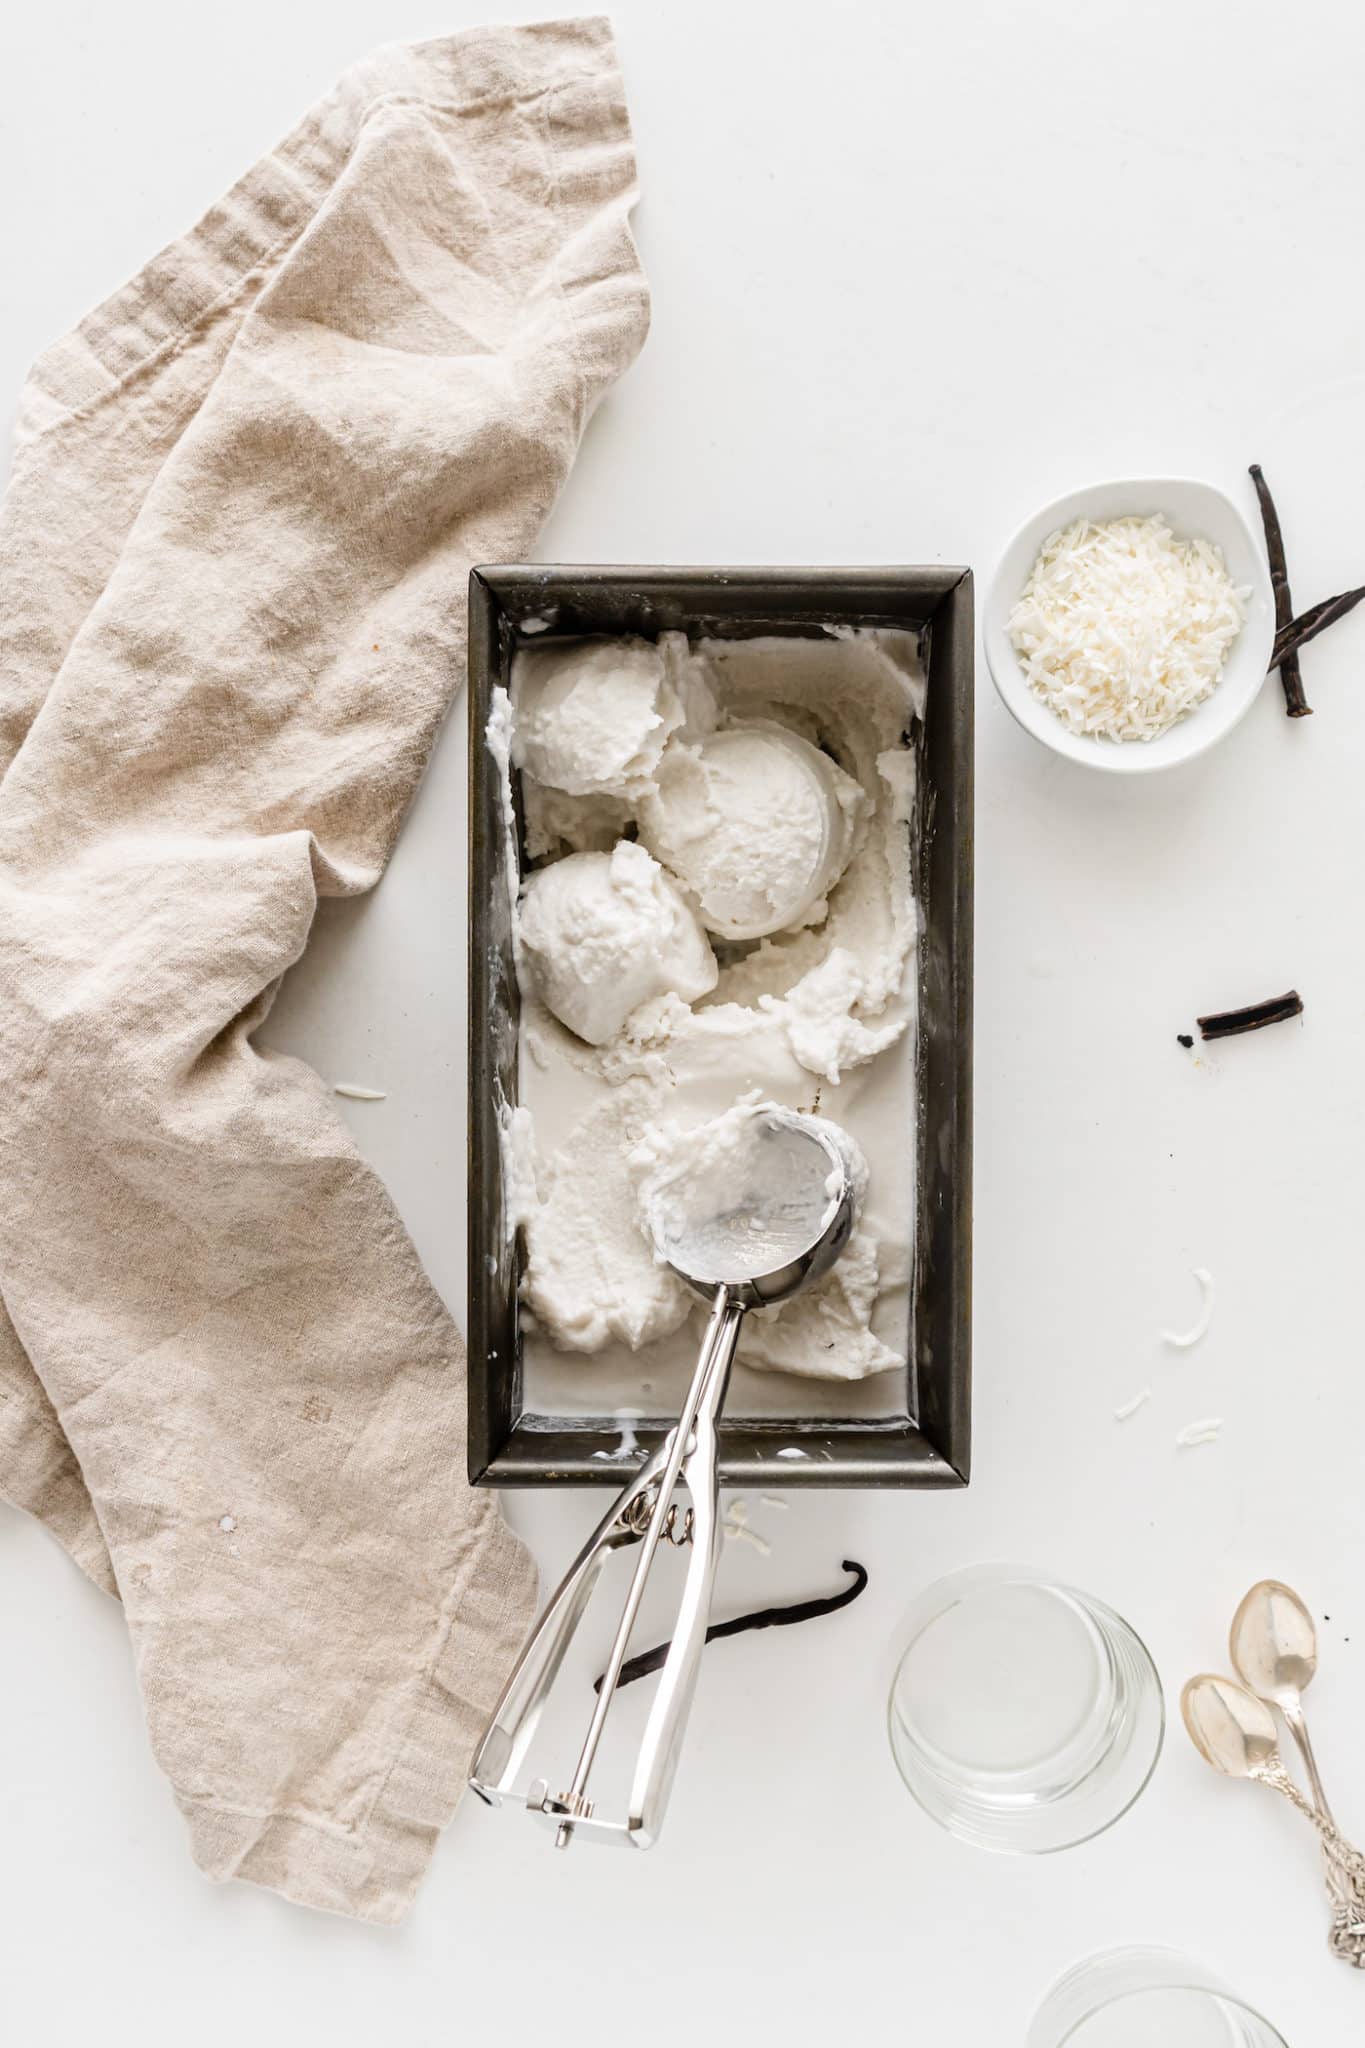
Step Four: Serve immediately or freeze for a firmer consistency.
I hope you agree that this delicious ice cream tastes better than any you’ve ever had. It’s a simple recipe that I make every summer.
Vitamix Ice Cream Recipe Tips
- Don’t use plant-based milks like almond milk, soy milk, or rice milk as they won’t be rich enough for ice cream (you’ll get more of an ice milk result).
- This ice cream is best served on the day it is made. No-churn ice cream gets very hard when left in the freezer and loses the delicious creamy texture. You can make the ice cubes ahead for ice cream any time. Blend the ice cream when you’re ready to serve.
- Freeze the leftovers in an airtight container that is also a freezer-safe container. You may need to let it soften for 5-10 minutes before serving as this ice cream will freeze very hard.
Recipe FAQs
Yes, you can make soft serve in a Vitamix. Using frozen fruit, a liquid base (such as milk or a dairy-free alternative), and a sweetener, blend the ingredients at high speed until smooth and creamy. The powerful motor of the Vitamix can create a soft-serve texture in just a few minutes. For a firmer consistency, you can freeze the mixture for a short time after blending.
Yes, but it won’t be as fast as using a high-speed blender. You may need to scrape down the sides a few times.
To prevent overheating, avoid blending for too long continuously. If needed, blend in short bursts and give the motor a break. Use the tamper to push ingredients towards the blades, which helps blend faster and reduces strain on the motor.
Every full-size model of Vitamix can be used to make ice cream (I would not use the personal cup adaptor). I have used several model types; right now I have a Vitamix Explorian.
More Ice Cream Recipes You Might Like
- Vegan Chocolate Peanut Butter Banana Ice Cream
- Cookies and Cream Coconut Ice Cream
- Chocolate Avocado Ice Cream
- Dairy-Free Mango Ice Cream
- How to Make Vitamix Sorbet
Or, see my complete index of healthy ice cream recipes.
Don’t Miss These Vegan Frozen Treats!
I hope you make this recipe! If you do, please leave a comment and a starred review below.
And, consider following me on social media so we can stay connected. I’m on Facebook, Pinterest, Instagram, and YouTube!
Vitamix Ice Cream Recipe
This recipe for Vitamix Ice Cream is so creamy and thick. You just need a few ingredients to make this homemade dairy-free vanilla ice cream with no churning.
- Total Time: 15 minutes
- Yield: 6 1x
Ingredients
- 1/2 cup full-fat canned coconut milk
- 2 cups frozen coconut milk ice cubes (see notes)
- 1/3 cup sugar
- 1 teaspoon vanilla extract
Instructions
- In the base of your high-speed blender, combine the coconut milk, coconut milk ice cubes, sugar, and vanilla extract.
- Turn the blender on low, and then gradually turn it up to high, using the tamper to push the ingredients into the blade.
- You may need to stop and scrape down the sides of the blender.
- Continue blending until the ice cream mixture is thick and creamy.
- Serve immediately, or transfer to a freezer-safe container to freezer for 15 minutes to 2 hours to thicken.
- If your ice cream freezes too hard, just let the container sit on the countertop for a few minutes before scooping.
Notes
- To make frozen milk ice cubes, pour either whole milk or canned coconut milk into an ice cube tray. Freeze for 12 hours, or until solid. Remove the frozen milk ice cubes to a zip top bag. Measure out 2 cups of the cubes for this recipe. The total cooking time for this recipe does not include the prep to make the ice cubes or the time they need to freeze.
- To make chocolate ice cream, add ¼ cup of unsweetened cocoa powder to the blender before blending.
- To make vanilla bean ice cream, include the seeds from one vanilla bean pod in the blender.
- This ice cream is best served on the day it is made. But, you can freeze the leftovers in an airtight container. You may need to let it soften for 5-10 minutes before serving as this ice cream will freeze very hard.
- Prep Time: 10 minutes
- Cook Time: 5 minutes
- Category: Dessert
- Method: Blender
- Cuisine: Dairy-Free
- Diet: Vegan
Nutrition
- Serving Size: 1/6 of recipe
- Calories: 193
- Sugar: 11.2 g
- Sodium: 10 mg
- Fat: 16.1 g
- Saturated Fat: 14.2 g
- Carbohydrates: 13.3 g
- Fiber: 0 g
- Protein: 1.5 g
- Cholesterol: 0 mg
Don’t forget to join my newsletter list to get exclusive clean eating recipes and tips. The newsletter is 100% free with no spam; unsubscribe anytime.
About the Author: Carrie Forrest has a master’s degree in public health with a specialty in nutrition and is a certified holistic nutritionist. She is a top wellness and food blogger with over 5 million annual visitors to her site. Carrie has an incredible story of recovery from chronic illness and is passionate about helping other women transform their health. Send her a message through her contact form.


What can I use instead of sugar??
You can use your favorite sugar-free sweetener.
What setting did you blend the ice cubes in? I find that the vitamix has trouble blending ice unless it’s on the highest setting.
Mine just has a dial so the highest setting.
Has anyone made thi@ icecream using Pure Cane or Swerve instead of sugar?
It should be a simple swap. Enjoy!
I love how creamy this turns out. I have an ice cream maker but I’m lazy and prefer to use the blender instead!